I have been all about yarn, pom poms, and tassels this winter. For Christmas, I topped my wrapped presents with yarn pom poms. I’ve got a couple of yarn Valentine’s Day projects in the works, and now I’ve added some chic yarn tassels to my new Ikea Eivor throw. I’m not a knitter, but I love the warmth these yarn crafts add to my home decor. I’m still getting used to these cold New England winters after having lived in a warm climate my whole life, and my new tassel blanket is definitely worth cozying up with!
This post contains some affiliate links for your convenience (which means if you make a purchase after clicking a link I will earn a small commission but it won’t cost you a penny more)! Click here to read our full disclosure policy.
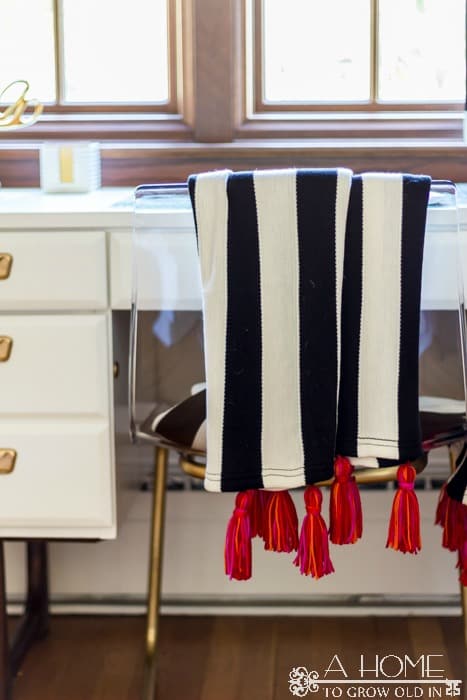
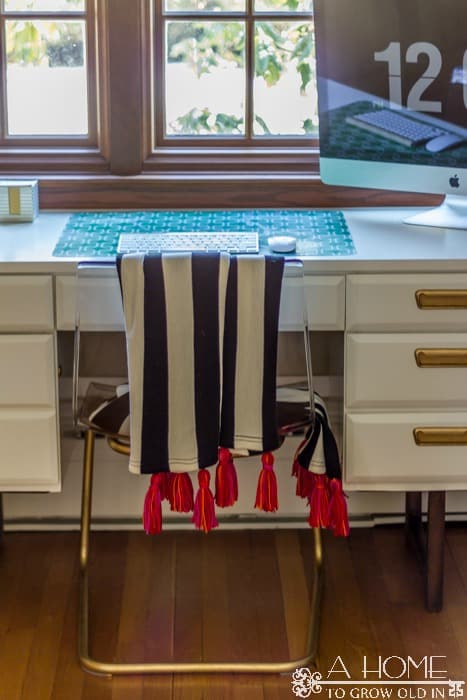
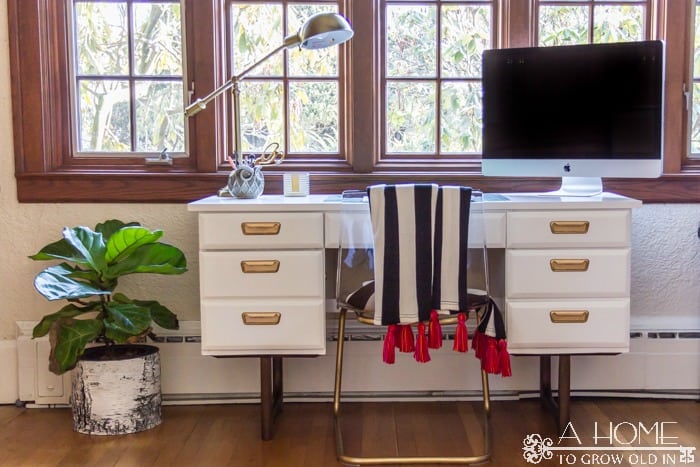
Last weekend I made the trek down to our closest Ikea (it’s an hour away). I so miss being close to an Ikea! It’s my favorite place for inexpensive home decor, organization, and kitchen stuff, so I may have gone a little crazy with my shopping. But I digress…For a while now I’ve noticed the Eivor throw pictured in a lot of bloggers’ homes. I love it’s classic black and white stripes, but just couldn’t picture a good place for it in my own home. While I was shopping I started looking at the Rens sheepskin for the back of my desk chair. You see, my desk area is FREEZING! I face a huge window, and to the left of me is an uninsulated wall, both of which let in all kinds of cold. I pretty much keep a space heater on at all times while I’m working. So, while I was looking at the sheepskin I thought of the perfect place to keep the Eivor throw. The black and white stripes look great with my white and gold mid-century modern desk. I could have left it as is, but knew I had to give it a little lagniappe (something extra)!
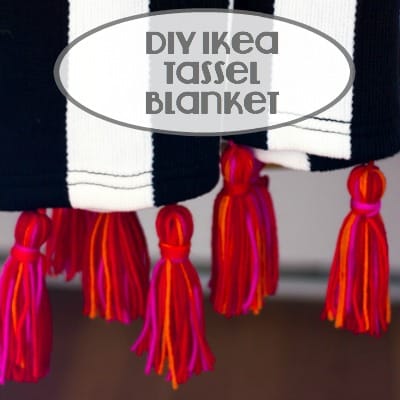
I sewed some yarn tassels on to the blanket, and I have to say that it ended up being an easier project than I expected. I have made lots of yarn pom poms, but this was my first try at tassels. Tassels are definitely much easier! You don’t have to wrap the yarn as many times, and they take much less time to shape. I made a total of 14 tassels, and I’d say each one took less than 5 minutes to make. Here’s what I did…
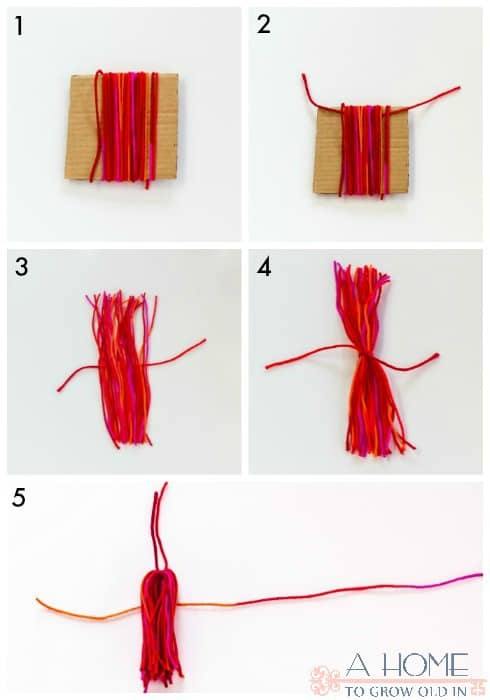
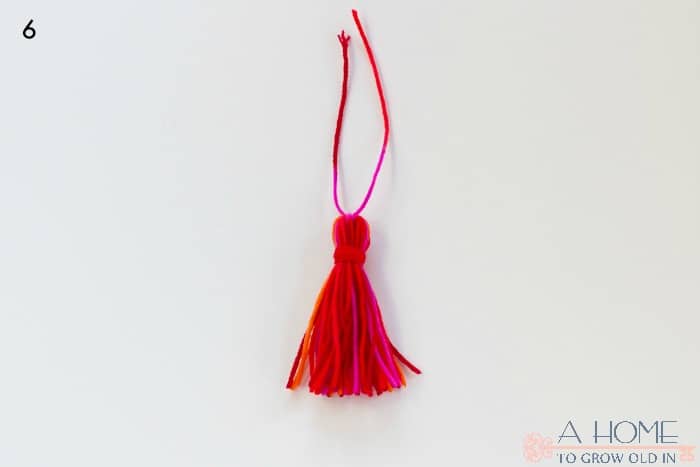
(1) I cut a 5 inch square out of cardboard (the length of your cardboard will be the approximate length of your tassel), and wrapped the yarn around it 25 times. (2) I then took about a 8 inch piece of yarn and slid it in between the cardboard and the wrapped yarn and moved it to one end of the cardboard. Some tassel instructions say to tie a loose knot with the 8 inch piece of yarn, but I did not find that necessary. Next, I cut the wrapped yarn straight across at the opposite end of the cardboard. (3) I laid the cut yarn on a flat surface, and centered the 8 inch piece of yarn underneath it. I found that centering the yarn really helped with how much trimming I had to do at the end. (4) I tied a knot in the 8 inch piece of yarn very tightly 4 times. By tying it so many times it gave the tassel a little nub which made it easier to sew onto the blanket when it was completed. (5) Then, the cut yarn is folded in half with the knotted 8 inch yarn sticking out the top. I tightly wrapped about a 12 inch cut piece of yarn about a half-inch from the top of the tassel 5 times. The two ends were then knotted together twice, and I let the ends hang with the rest of the cut yarn. (6) Lastly, the ends were trimmed evenly.
I thought about using the knotted ends of yarn at the top of the tassel to secure it to the blanket using a plastic yarn needle, but ultimately decided to cut the ends off, and I sewed each tassel on to the blanket using some black button thread and a darning needle.
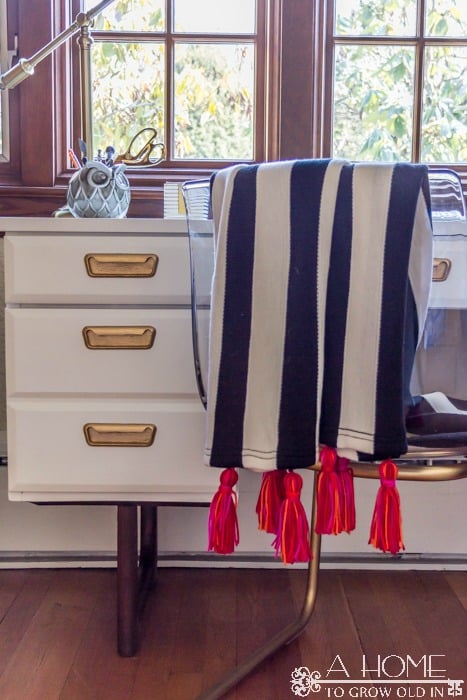
I used 7 tassels on each end of the blanket, and attached a tassel at the middle of every other black stripe. I think this ended up being just the right amount of color that the blanket needed. I used a multi-color yarn, but you could get the same effect by layering different colored yarn when you wrap around the cardboard. It took about half a skein of yarn for the whole project.
I love the pop of color that my tassel blanket gives my desk. Now, I have a blanket to keep me warm while I work, and it even looks great when I’m not working.



This looks great, Robin! I always look forward to the email announcing another great idea from you!
Thanks, Barb! That’s so nice to hear!
Great post! Love the pictures of your desk area and appreciate the step by step directions!
Thanks! Glad to hear you like it!
So pretty, Robin and what a great idea to add some personal touches! It turned out lovely.
(P.S. I love your theme!)
Thank you for sharing this week at Brag About It link party on VMG206 (Mondays at Midnight). I plan to feature you next week!
~ Megin of VMG206
I’m so happy to hear you liked it, Megin! My blanket is sitting on my lap as I type, so it’s definitely getting a lot of use. Thank you so much for featuring me! I also noticed your new theme. It looks great!
This looks so cute! I’m inspired AND just happen to be making an IKEA trip this week. Thanks!
Awesome, Jessica! And, it looks like all the craft stores are having yarn sales this week, so hopefully you can find something great. Let me know how it works out!
100% adorable! I have this throw & I could totally use one in every room. Love the tassel addition!!
I had been eyeing this throw for a long time! It’s just so versatile. There may be another one in my future! Thanks so much for stopping by, Julie! And, thanks for hosting the Pretty Project Party!
I actually have this blanket and am already thinking of a place I can throw it with some NEW TASSELS! Thanks for sharing with the Pretty Project Party!
This is the best blanket, and it’s just asking for tassels! Thanks so much, Heather!
I love the tassels. They are like the icing to a cake or the jewelry to an outfit. Thanks for sharing the how to!