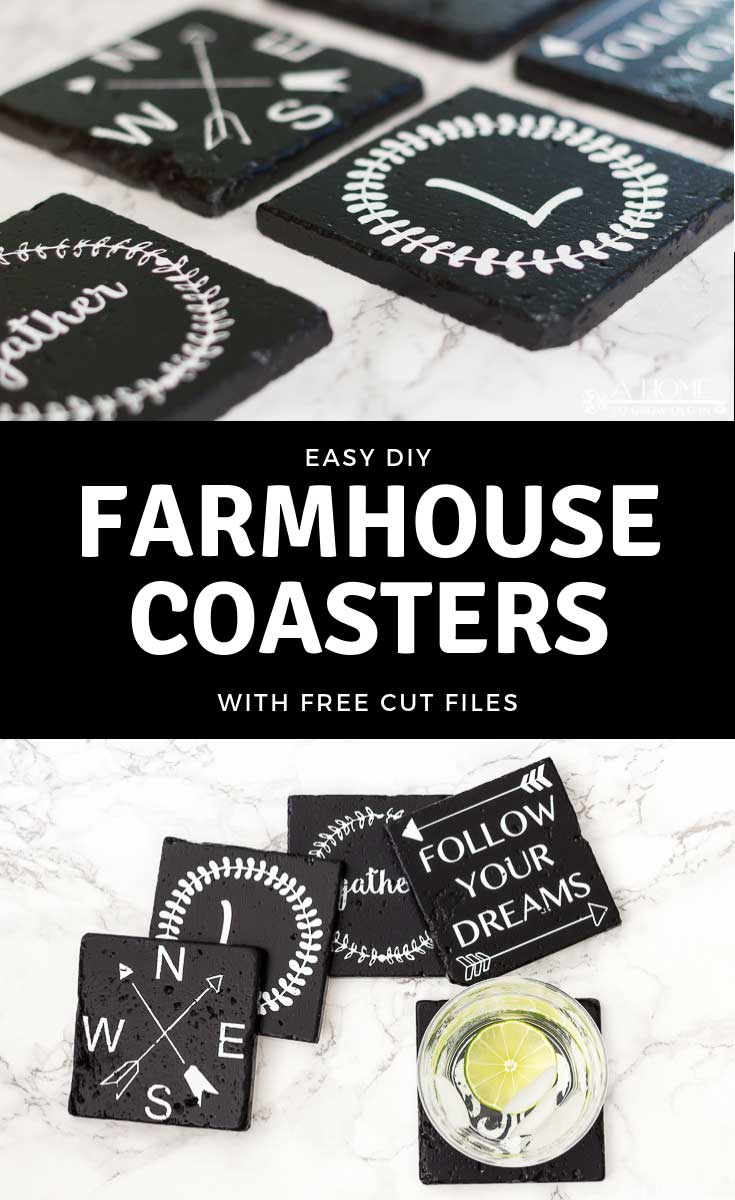
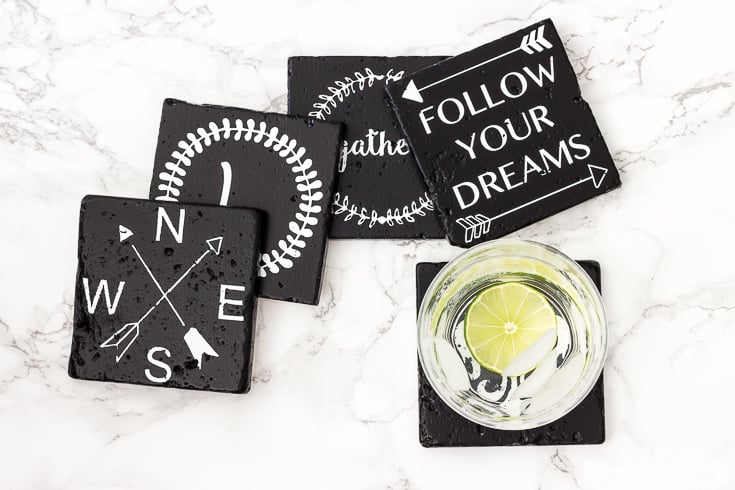
An easy tutorial for DIY farmhouse coasters using a Silhouette. This inexpensive DIY looks great and can be done in almost no time at all!
Ok, I love my kids, but who’s excited school is back in session?? Raise your hand! I can’t see you, but I’m sure many of you had your arms up!! Now that I have a little more time, I am in the process of making over our family room, which includes refinishing our coffee and end tables, and I just purchased a new media console. The room is really coming together, and I can’t wait to show it to you! After all the work that I put into the tables and the money spent on the console, I’m not all that anxious for them to get scuffed up. As I keep wiping up water stains from glasses, the lightbulb went off, and I realized that somehow we don’t have any coasters. So, I decided to create these DIY farmhouse coasters.
I thought coasters would be a fun and easy thing to make and they would fit in more with the decor of the room. I also had everything on hand already except for the stone tiles, so this was a really inexpensive DIY. If you are looking for more DIY coaster ideas, then check out these cute and easy ones!
This post contains some affiliate links for your convenience (which means if you make a purchase after clicking a link I will earn a small commission but it won’t cost you a penny more)! Click here to read our full disclosure policy.
Tools and Supplies Needed for these DIY Farmhouse Coasters:
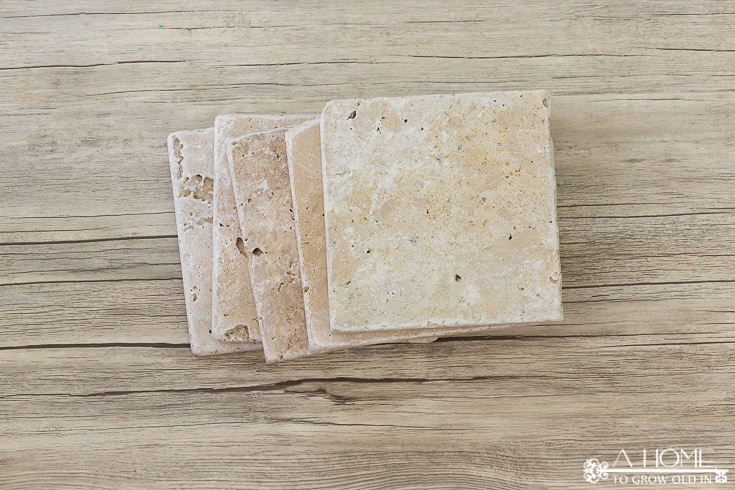
- 4 in. ceramic or stone tiles (These are also available at most hardware stores.)
- spray primer
- matte acrylic paint (I used Titanium White)
- chalkboard spray paint or flat black spray paint
- Silhouette Cameo or Portrait
- contact paper or stencil film
- SVG cut files
- small stencils (optional)
- felt pads
- ModPodge in matte finish
How to Make the Coasters
1. Prime and Paint the Stone Tiles with the Base Color
I originally planned to use some of the cheap white tiles that cost about 19 cents each from Home Depot, but the store I went to was out of them. I found some travertine stone tiles that were less than $4 for a pack of 9 (if your store doesn’t them, you can order these online), and I think it worked out for the best. They are not a completely smooth surface, but it adds to their charm. Because they are a porous natural stone tile, I started by giving them a quick coat of spray primer to help seal them. I let the primer dry for an hour and then sprayed them with several light coats of chalkboard spray paint a few minutes apart. I used chalkboard spray paint as I already had it on hand, but I think that a flat black spray paint would work just as well.
2. Cut the Stencil Out
While the paint was drying I starting working on the stencil designs with my Silhouette Cameo. My Silhouette is probably my favorite arts and crafts toy. In case you haven’t heard of it before, it’s an electronic cutting machine. It looks and works a lot like a printer, except instead of using ink to draw lines or letters it has a tiny knife that cuts them out in various mediums like vinyl or fabric.
I can’t even begin to tell you how many random things I use it for like labeling school stuff for the kids with vinyl letters, making prints with the gel pens, labeling envelopes for our holiday cards, and of course, making stencils like these. If you’ve never used a cutting machine to make vinyl stencils, here is a great tutorial on how to create your own as well as how to apply them.
I love having my Cameo, but for those of you looking for a less expensive option, there is the Silhouette Portrait. It’s a little smaller and it would probably work for most of the projects that I work on. If you’ve been thinking about getting a Silhouette, for the price, I think the Portrait is a good way to go.
I came up with 5 SVG stencil designs that you can download for free if you are a subscriber to our newsletter.
These Printables and/or SVG designs are exclusive for A Home To Grow Old In subscribers to download for FREE. Just sign-up below and you’ll receive an email with the information to access the resource library that contains the SVG.
Once you’ve confirmed your email address, you’ll be enrolled in our weekly newsletter full of our latest posts as well as content that is exclusive for A Home To Grow Old In subscribers. Plus, you’ll have access to our Resource Library that is full of free printables and SVG cut files.
Free printables and SVG files from A Home To Grow Old In are for your own PERSONAL USE ONLY.
3. Apply the Stencil to the Tile and Apply Paint
There is also a great selection of stencils that you can purchase here if you don’t have a Silhouette. I cut my stencils out of contact paper or stencil film and apply it to the top of the tile. Once you have the stencil where you want it, use a very small brush to apply a very thin coat of the ModPodge around the outline of your stencil. This forms a clear seal to help keep the paint from seeping under the stencil. Once that dries, use a foam brush to apply your acrylic paint to the tile.
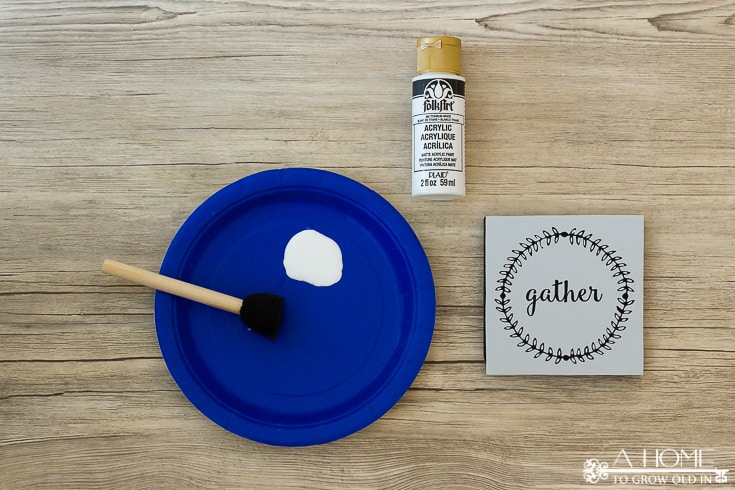
Let your paint dry overnight, and then remove the stencil. If your paint seeps through at all it is very easy to touch up with a small detail brush. I sprayed some of the chalkboard paint onto a paper plate and used the detail brush to paint over any areas that needed a touch up.
4. Seal the Coasters
To seal the coasters, I applied 3 coats of ModPodge over the top of the tile. I used ModPodge because it comes in a matte finish, which was the look I was going for.
5. Apply Pads to the Bottom of the Coasters
Finally, I added the felt pads to the bottom of each of the coasters to keep them from scratching any surfaces.
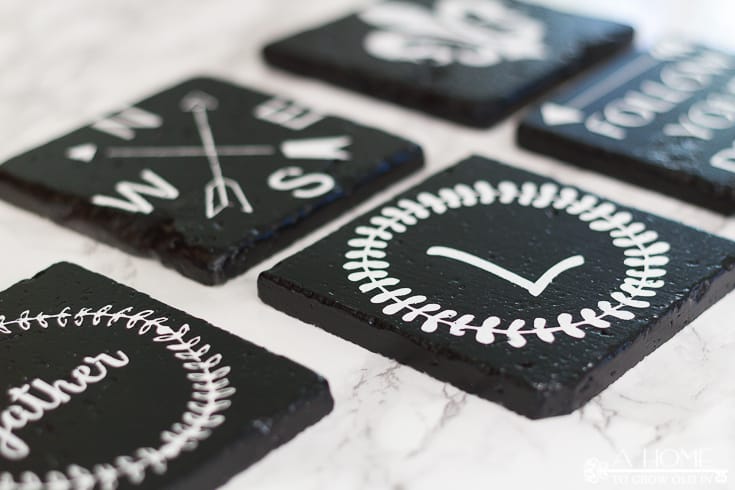
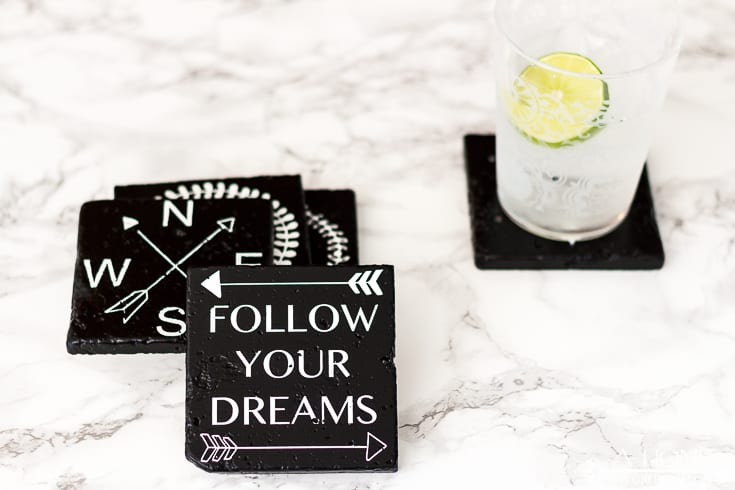
How do you think these DIY farmhouse coasters turned out? The natural holes in the tiles give the coasters a vintage feel that has a lot of charm. I also didn’t really worry about any spots that I missed with paint because it just adds to the look. Wouldn’t these be cute propped up for some extra artwork in the room when they aren’t in use?
Personalizing Your DIY Farmhouse Coasters
I only painted these with a black background and white design, but how do you think they would look in reverse? They would also look pretty with a white background and a colored design to match your decor. If you make these, I’d love to see the colors you use. Please feel free to tag me in any images you share of your finished DIY coasters.
Need even more ideas for DIY coasters? We’ve got a super easy No Sew Flannel Fabric Coaster Tutorial, but you may also want to check out this collection of 30 great coasters you can make for all types of home decor.

While you’re here, check out more of my DIY home decor ideas!


Robin, these are adorable! I really like them and they look so easy to make.
These are so cute! I love the designs you used.
These were so much fun to make! I’m so glad you like them. Thanks, Mary!
Robin, I love these coasters so much that I chose them as my feature for Totally Terrific Tuesday tomorrow. They really were my favorite! You are so talented!
Sherry, you are so sweet! Thank you!
These are beautiful. Never seen coasters in a farmhouse style.
Thanks so much!
What specific type of contact paper did you use?
Hi, Lindsey! For this particular project I used Contact brand, but I’ve also used contact paper from the dollar store with no problems. I find that as long as you apply a little ModPodge around the edges first and use a sponge paint brush that is lightly loaded with paint you don’t have any issue with paint bleeding under the contact paper. Please let me know if you have any other questions, and I’d love to hear how it turns out!
Awesome thanks! I tried today with regular vinyl and on the “gather” the inside portion of the leaf was coming out not sure what I was doing wrong…..