Hi, there! I hope your summer’s going well! I can’t believe we are already over half way through July! It’s crazy to think school is going to be starting again soon! I’ve already noticed back-to-school supplies out in the stores.
So far this summer we’ve already had 4 different sets of house guests. It’s been wonderful because I’ve gotten to show off our guest bedroom makeover that I finished early in the summer for the One Room Challenge. I thought I’d share with you today an easy DIY project that I realized was missing from the makeover. We worked so hard to get this room ready, and I noticed that something as simple as a tissue box didn’t really go with everything else in the room that we put so much thought and time into in the makeover. While I know this is really minor, it bugged me, and I thought I could come up with something to help it blend in a little more than it was.
This post contains some affiliate links for your convenience. Click here to read my full disclosure policy.
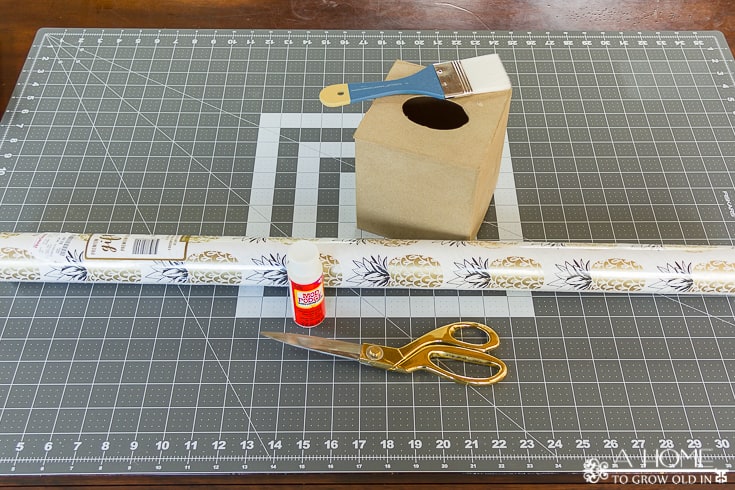
Here’s what I used…
- Paper mache tissue cover
- Mod Podge (I used gloss)
- Wrapping Paper (I purchased this wrapping paper from HomeGoods)
- Paint brush or foam brush
- Scissors
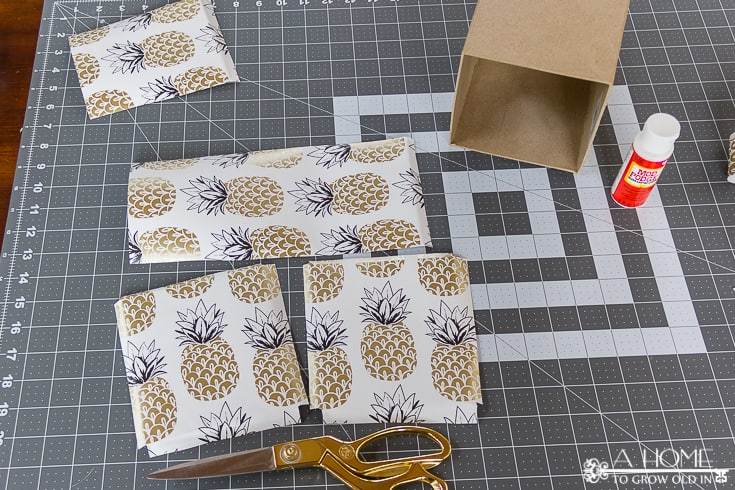
I started by cutting 4 pieces of wrapping paper. Here are the dimensions I cut for the tissue box I listed above.
- 5″ x 11″ (this includes a little overlap for the bottom)
- 5″ x 6.5″ (this includes overlap for the top and bottom)
- 5.75″ x 6.75″ (I cut 2 pieces this size and had overlap for both of the sides as well as the top and bottom)
Since I was using wrapping paper with a repeating pattern, I tried to cut the wrapping paper so that each piece had the same section of the pattern. Then, I cut notches into all 4 corners of the 5.75″ x 6.75″ pieces. This allowed me to get nice, sharp corners when I wrapped the overlapping sections.
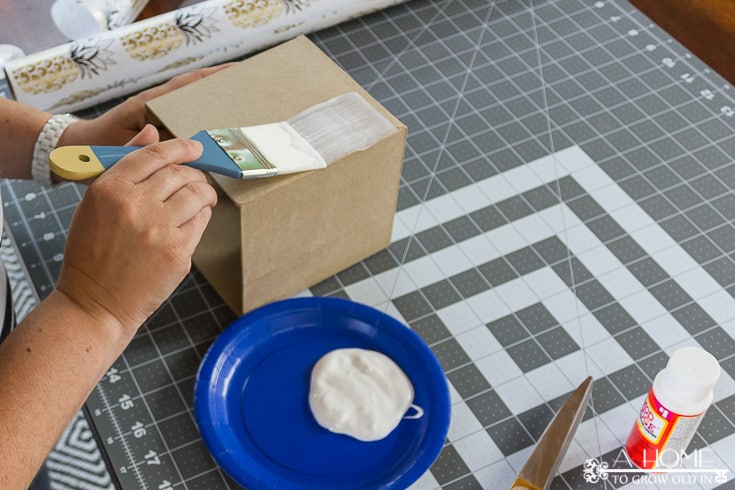
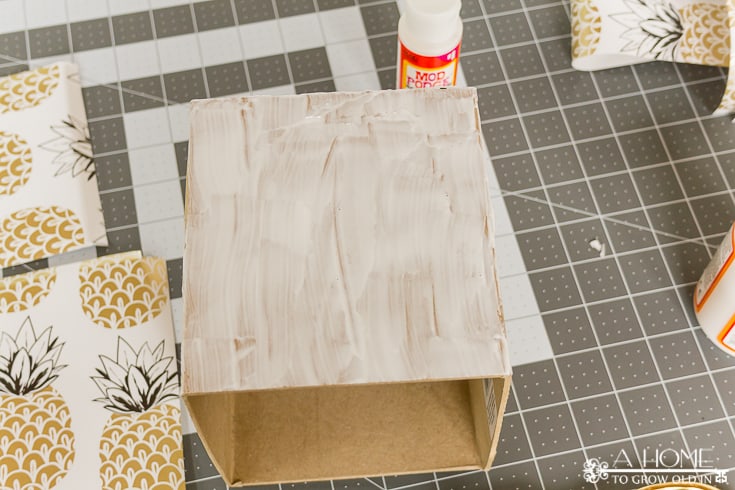
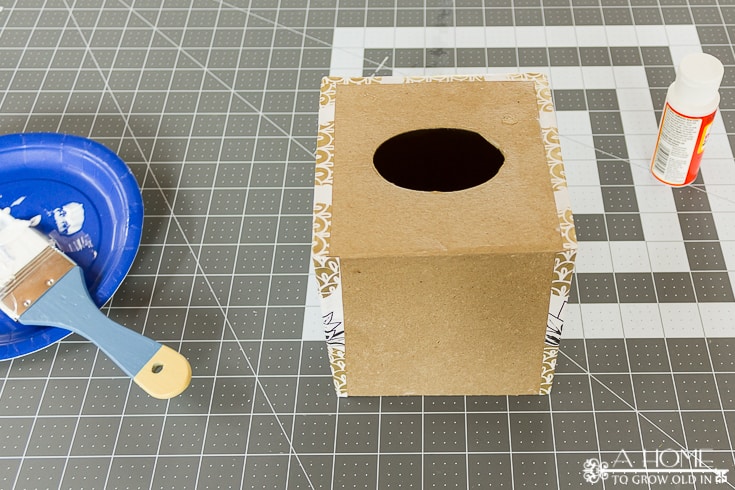
I applied Mod Podge to the to the tissue box with a brush in what I would say was a medium thick layer. It’s better to have too much than too little, and if you have too much you can always wipe it off.
The two 5.75″ x 6.75″ pieces went on first directly opposite from each other. I smoothed the pieces out with my fingers and wrapped the overlapping edges over the sides. Any excess Mod Podge was wiped off with a paper towel. Then, I applied the 5″ x 6.5″ piece the same way and wrapped the overlapping edges over the top and bottom.
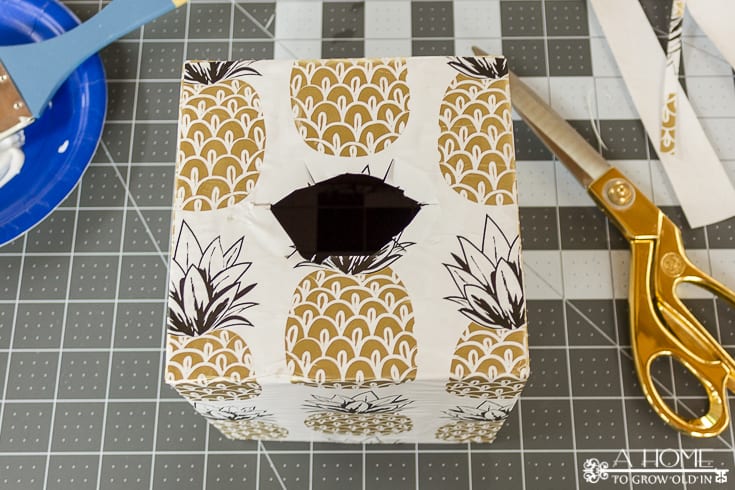
The last piece to go on was the 5″ x 11″ piece. It went over the top of the tissue box, along the remaining side, and I wrapped the overlap around the bottom of the box. I applied Mod Podge to the top and smoothed it out before applying Mod Podge to the side. Then, I cut an oval about a 1/4″ smaller than the opening at the top. I applied some Mod Podge on the underside of the oval opening, and I cut 6 small slits in the oval overlap so that it would wrap around smoothly.
Once the tissue box felt dry, I applied 3 even coats of Mod Podge over the top of the wrapping paper, allowing each coat to dry in between. The tissue box is ready to use once the final top coat is dry.
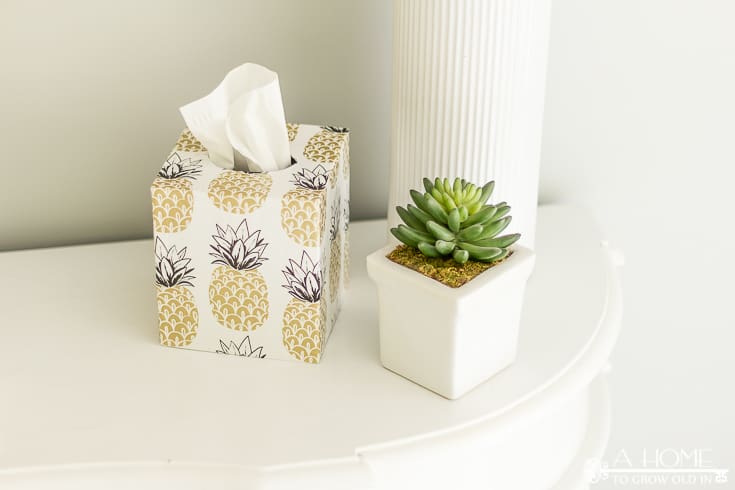
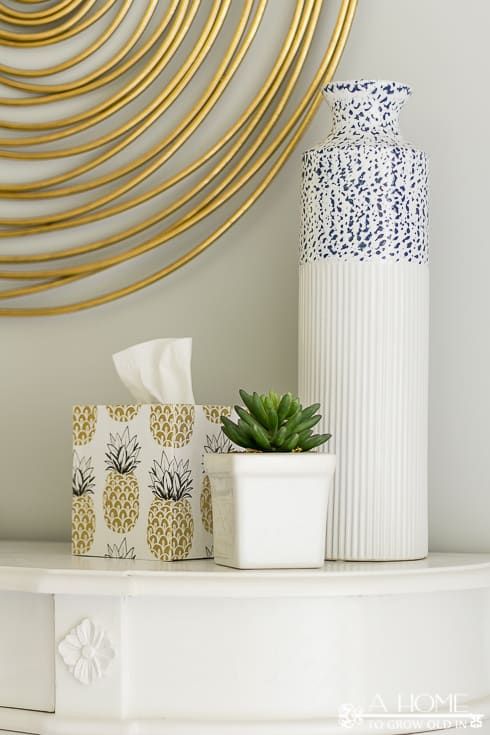
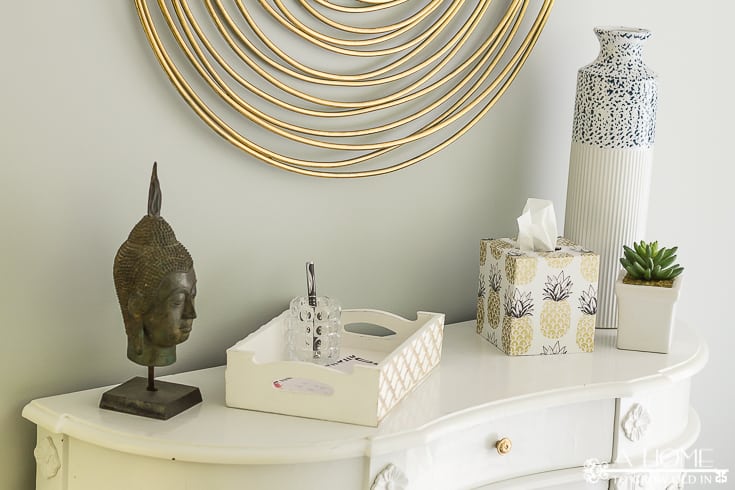
How cute is this gold pineapple wrapping paper? The tissue box totally fits in with the rest of the white and gold decor of the room now. You hardly even notice that it’s a tissue box.
Don’t forget to pin it, so you’ll have it when you need it…



This is adorable! Love your choice in paper! I think I need one! Thanks for linking up to Merry Monday! Pinned & Sharing on FB! Have a great week!
Kim
I’ve been loving everything pineapples lately! Thanks so much for stopping by and sharing, Kim!
Very beautiful, creative, and shows lot of talent on your part. I love this.
Thanks so much, Ivory!
This is so cute and easy, I can see myself trying this out very soon! Just pinned 🙂
I need one of these! We fight allergies at our house so I always have a box of tissues in each room. Thanks for sharing at the Wednesday Showcase party. Pinned!
We are the same way with tissue in every room! I’m kind of a wrapping paper fanatic, so this gives me an excuse to go pick out some more paper at HomeGoods to match each room in our house. I’m so glad you stopped by!
This is super cute, and totally on trend right now! Thanks for sharing with us at the Totally Terrific Tuesday party, we hope to see you back again tomorrow!
Thanks so much, Nicki! The pineapple wrapping paper was just too cute to pass up!
Love this! Makes me want to Mod Podge something today. Love the pineapples as well. Visiting from Wednesday Showcase party.
Thanks, Victoria! By the way, I love your site name!
Such a clever idea and such cute paper you picked too. Pinning because as you say, I never know when I’ll need this idea!
Thanks so much for stopping by and pinning, Julie!