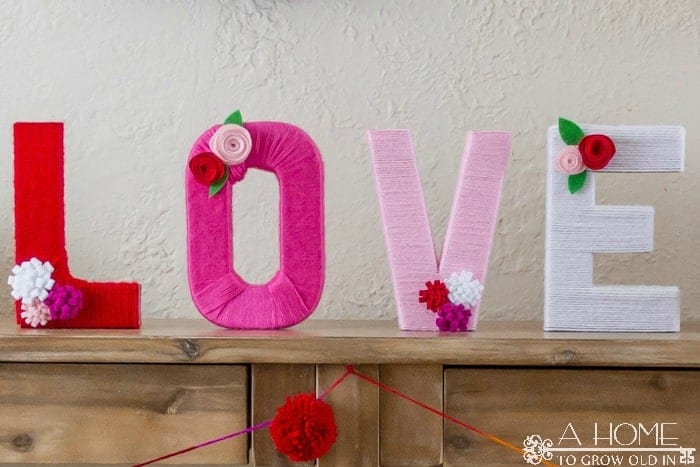
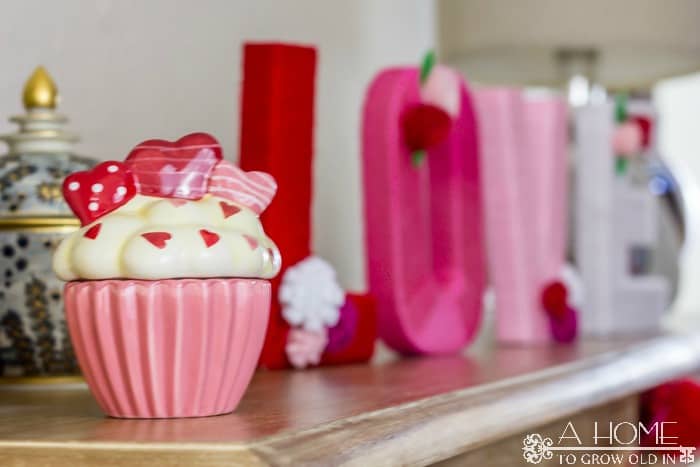
Yarn Wrapped Love Letters are a great DIY project to add to your mantle or entry table! I’ve included the instructions on how to make felt flowers.
Wow! It’s Saturday! Where has this week gone? My husband traveled all week (this isn’t really anything new), but now he’s home again. We got a little snow yesterday, so the kids ended their week with a snow day and no school. And…today my youngest turns 4 years old! I can’t believe how fast time has flown by. He doesn’t like cake #notsurehowthatspossible, so this morning I’m working on a giant cookie for his big day. I can’t say I’ve ever made one giant cookie before, so this might be interesting.
Well, before all of today’s birthday craziness begins, I want to share with you how I made the yarn wrapped letters in my Valentine’s Day projects post. They were actually very easy, but I will admit they took a little bit of time to make. Best to make them on a tv binge night. They are so worth it, though!
This post contains some affiliate links for your convenience (which means if you make a purchase after clicking a link I will earn a small commission but it won’t cost you a penny more)! Click here to read our full disclosure policy.
Here’s what you need:
- paper mache letters (The craft stores are also a great source for letters.)
- yarn
- hot glue gun (I prefer a small one for this because they don’t get quite as hot.)
- felt
- acrylic paint
- fabric scissors
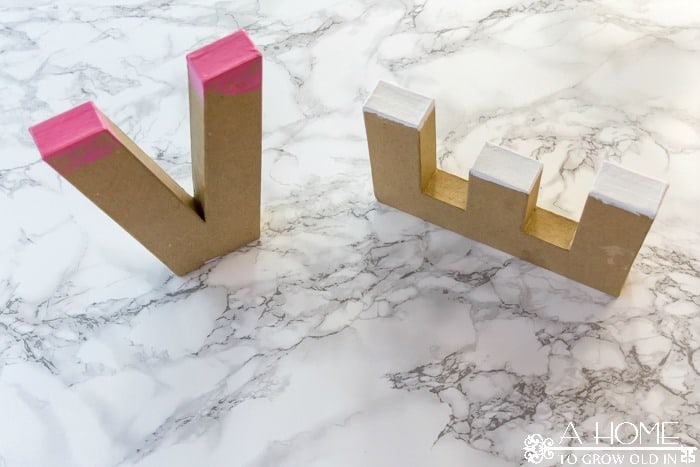
Honestly, I really didn’t think this through before getting started. I just thought, “how hard can it be to wrap some yarn around these letters?” And, for the most part, that was true, but there was a little hiccup due to my lack of planning. I decided to put a little acrylic paint to match the yarn on the ends of the letters (check out my pic below). My first letter, the “L”, was no problem. For each letter, I started with a little dab of hot glue on the back, stuck an end of yarn to the glue, and went to town wrapping. The corners are a little tricky, but I just overlapped the yarn as I wrapped, and occasionally used a dab of glue on the back to hold a piece in place.
The “O” was definitely the most time-consuming because you have to wrap through the hole in the center. I pulled out about an arm’s length of yarn and cut it off from the skein. I wrapped that piece of yarn until I got to its end, and finished it off with a dab of glue. Then I started over with another length of yarn until I completely wrapped the “O”. I originally tried not to overlap the yarn on the “O”, but it ended up being too time-consuming. It definitely looks better when it’s not overlapped, so if you have the time and patience, go for it! I also found it easier to do the straight areas first, skipping the corners until the end.
The “V” was probably the easiest with no corners to worry about. I just went straight down one side until I got to where the sides connected and stopped. Then, I went down the other side, but this time when I got to where the sides connected I kept going until I got all the way to the bottom.
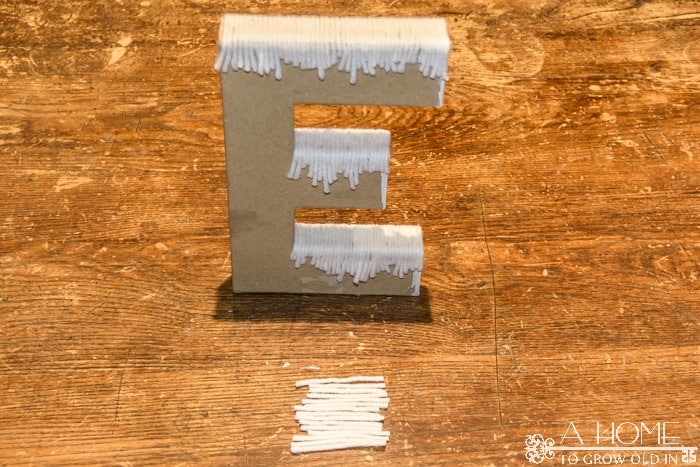
The “E’ was my hiccup! I didn’t think about the direction I would wrap my yarn when I painted my ends, and it turns out I painted the wrong ends. I wanted to wrap horizontally, but that would mean the top parts would be exposed, and I felt like that was too much paint showing.
Luckily, someone else had already solved this problem. To fix it, I wrapped some yarn around my hand numerous times and cut off both ends of the yarn to make 2″ to 3″ strands. Then, I glued the strands onto the top of the letter, covering the top, and trimmed it up a bit more than I show in the picture below. It actually ended up going on very quickly, and if I realized how easy it was, I probably would have done the same thing for the “L” and “V” instead of paint. Either way looks fine though because it’s such a small area compared to the “E”. Once the tops were on, I wrapped the rest of the letter horizontally.
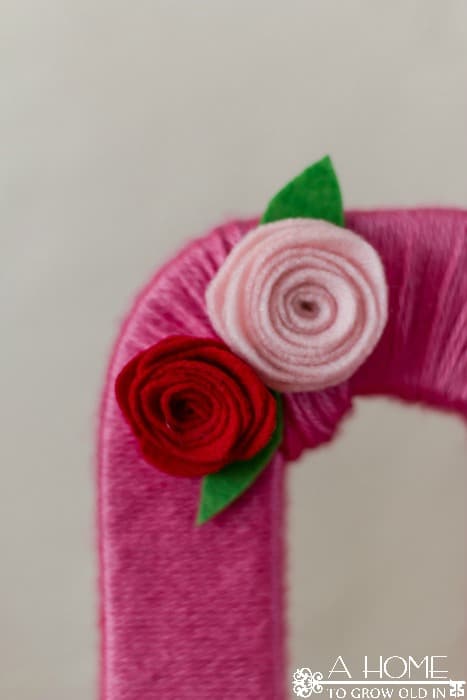
To finish the letters off, I used two different kinds of felt flowers. The patterns I used are incredibly simple, but they look fantastic. I used 9″ x 12″ sheets of felt that cost less than 40 cents a sheet at the craft stores.
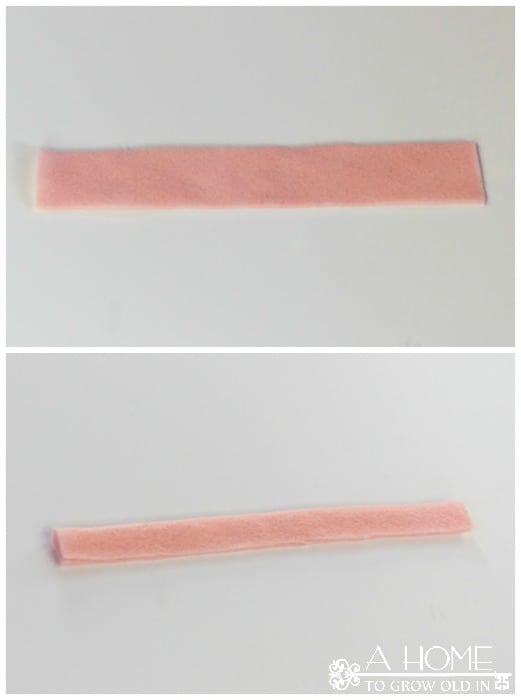
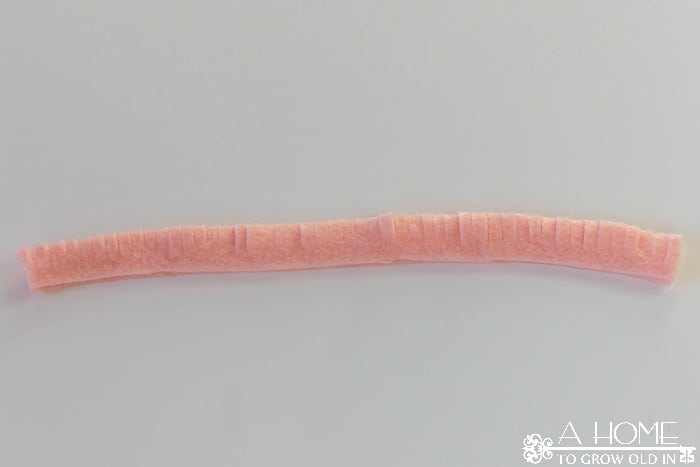
To make the first flower, I cut off about a 1″ x 9″ strip from the end of a felt sheet. Fold the strip in half and apply glue at the bottom to hold the fold together.
Then, I cut slits along the folded part of the strip. I found that using hot glue to hold the fold together at the bottom helped with cutting the slits because my scissors naturally stopped at the glue before they cut all the way through.
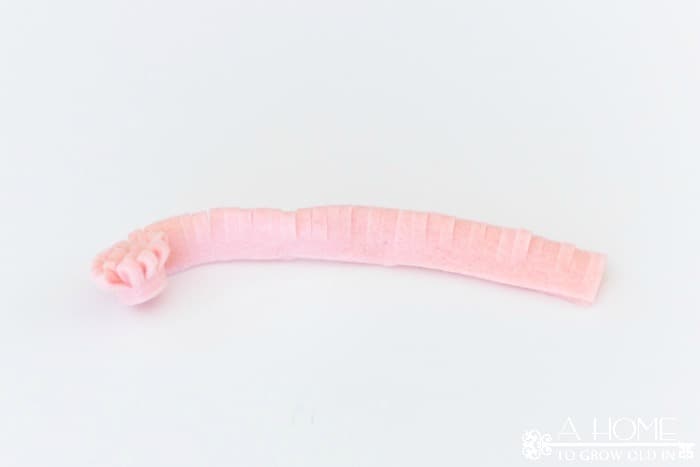
Lastly, I rolled the strips of felt up, placing a little bit of hot glue every few rolls to hold it together.
I used shorter lengths of felt strips to make the smaller sized flowers, or you can cut the felt strip off as you’re rolling and get to the size you want. I also varied up the distance that I cut the slits in the strip. I call this flower my “hydrangea”.
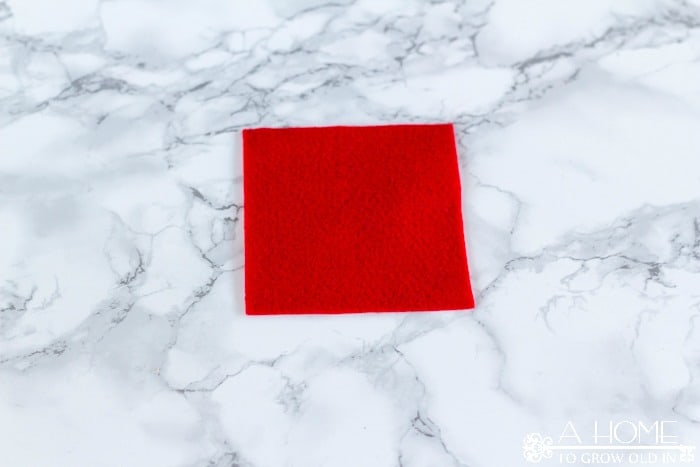
The second flower I made is a “rose”. I started by cutting a 4″ square out of the felt.
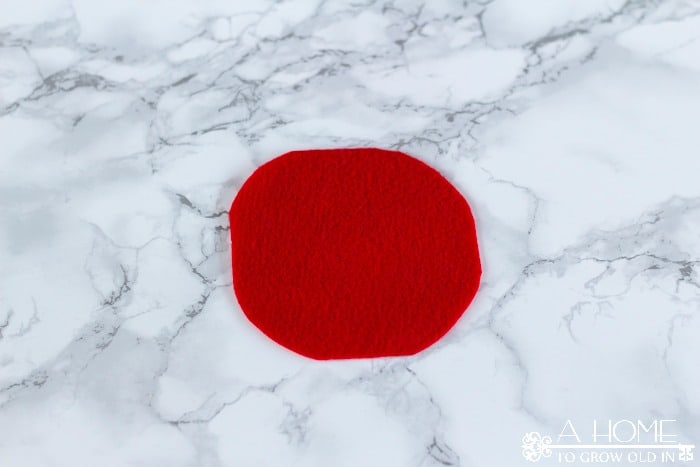
Then I rounded off the edges of the square with the scissors.
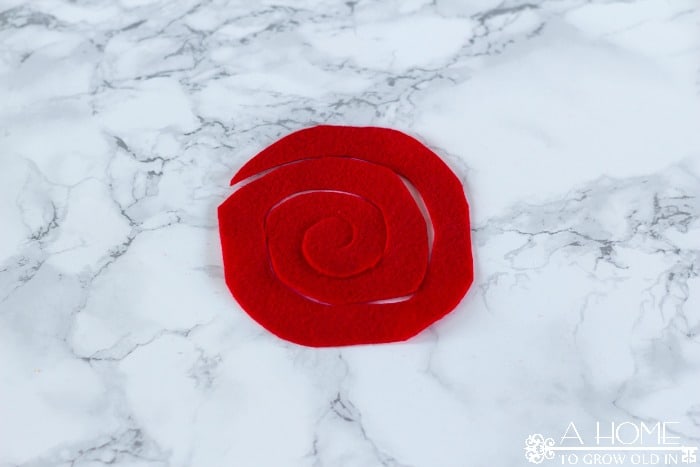
Next, I cut a swirl into the middle of the felt, leaving a pointy end and a stubby end.
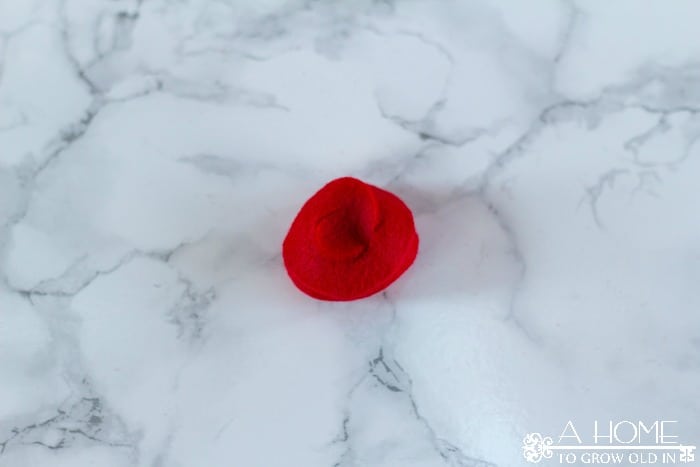
Start rolling up the felt from the pointy end.
Once it was rolled up, I secured the stubby end to the bottom with a little hot glue.
I varied up my sizes of felt squares with these flowers as well.
Once all the flowers were done, I glued them in clusters to the letters. I also cut out a few leaves and glued them behind the flowers.
These letters are a fun way to dress up your mantle or an entryway for the holiday. They’d also be a great addition to a nursery using a baby’s name for the letters.
With two little guys (well, maybe not so little anymore), my husband and I usually end up staying home for Valentine’s Day, but we always have a nice dinner after the kids go to bed. We get so busy that we often forget to take a little time for ourselves. Valentine’s Day is a nice reminder to do just that! Do you have any plans with your loved ones?




Super cute LOVE letters. I love working with felt. Great idea! Visiting from The Creative Gallery link party.
Thanks! The flowers were my favorite part to make. I’ve already got another project in mind for them. Hope you’re having a great weekend!
These are so cute! Love the felt flower additions. Pinned, tweeted, and shared. Thanks for sharing at Merry Monday, hope to see you again next week!
Thanks, Chelc! They were fun to make! I’ll be back at Merry Monday, so see you next week!
This is so awesome! Pinned and tweeted. Thanks for sharing this at our party! I hope to see you next Monday because we love to party with you! Happy Wenesday! Lou Lou Girls
Thanks so much! I always love stopping by Lou Lou Girls! Happy Valentine’s Day!
This is so pretty! (I also couldn’t stop staring at your marble counter-top…drool!)
Thanks so much, Sarah! Please keep in touch. It would be fun to have another newbie blogger for support!
This is such a sweet project for Valentine’s Day ! Thank you for sharing the tutorial with us at Brag About It! Pinning and tweeting to share.
~Laurie
Robin,
These yarn covered letters are adorable. I love making felt flowers and use them often on my wreaths. These letters, spelling out words of love and joy, would be a wonderful gift for others. I may make some in green and orange for “Lucky” St. Patty’s Day!