How cute are these DIY glitter coffee cups? They are perfect for teacher or co-worker gifts!
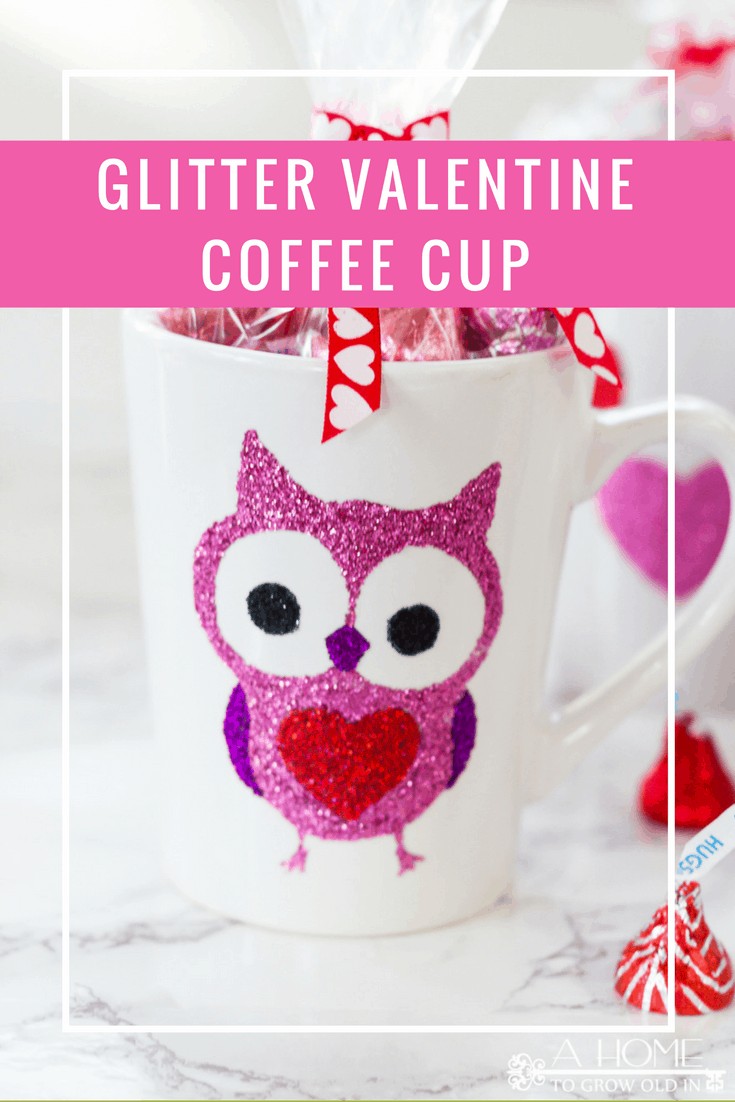
Hi there! Can you believe it’s already February? Where did the last month go? I hope you are in a crafty mood today because I am sharing one of my all-time favorite projects. Like really, really all time favorites! There is glitter involved, so how can it not be? These coffee cups came out beyond cute, and I am so excited to show you how I made them (if I can stop myself from eating the chocolate I filled them with for just a moment).
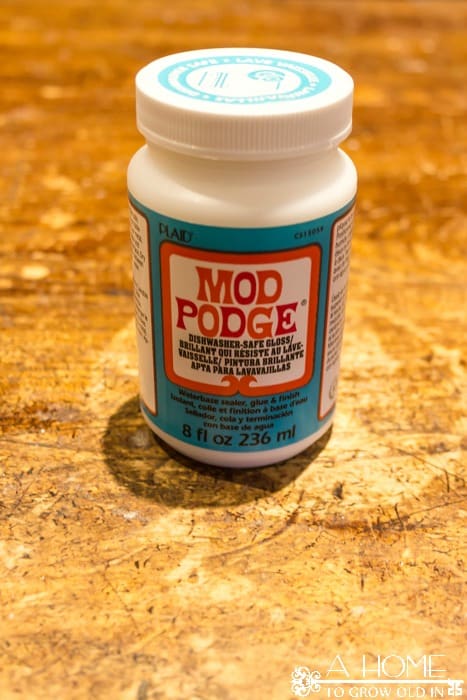
I love to set out special coffee cups at my coffee station each holiday. Since I had no cups for Valentine’s Day, I thought this would be a great way to try out a new product I recently discovered. It all started a while back when I was at Michael’s picking up some Mod Podge for another project, and I noticed that they now have a dishwasher-safe version. I didn’t have a need for it then, but I’ve been trying to come up with a use for it ever since.
This post contains some affiliate links for your convenience (which means if you make a purchase after clicking a link I will earn a small commission but it won’t cost you a penny more)! Click here to read our full disclosure policy.
I originally planned to put hearts and cute Valentine’s candy phrases like “Be Mine” or “Too Cute” on the coffee cups. The hearts worked out great, but the candy phrases peeled right off when I took off the stencil. There just wasn’t enough surface area on the letters to stick to the cup. I knew I could come up with something other than just hearts, but what? Luckily, inspiration struck while I was helping my kiddos put up some Valentine’s gel window clings. The set we were putting up had some cute Valentine’s owls that didn’t seem too intricate. Now I just needed to figure out if I could manage to apply multiple colors of glitter for one image. Solid color hearts were one thing, but this would be a little more detailed.
Turns out it really wasn’t that hard. I was able to create an owl design that wasn’t too detailed, so I could keep the colors to a minimum. These cups take a little bit of time because you need to wait for it to dry in between the different colors of glitter, but each step takes a minute or less of actual work time.
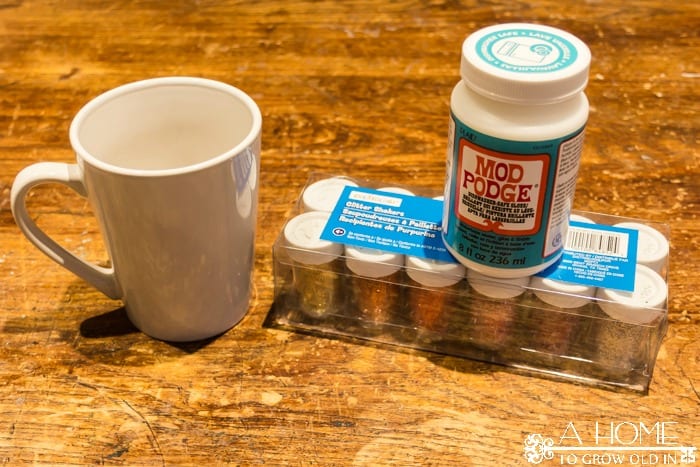
Here’s what I used:
- white dollar store coffee cups
- dish-washer safe Mod Podge
- small paint brush (like the kind you would use with a kid’s watercolor set)
- glitter shakers in multiple colors (I found mine at Michael’s. The smaller the glitter the better.)
- contact paper
- Silhouette Cameo or Portrait
- Silhouette cut file (you can download mine here)
In case you haven’t heard of Silhouette before, it’s an electronic cutting machine. It looks and works a lot like a printer, except instead of using ink to draw lines or letters it has a tiny knife that cuts them out in various mediums like vinyl or fabric. My husband got one for me for Christmas a couple of years ago after I mentioned seeing some really cool projects that used one, and it’s been my favorite toy ever since.
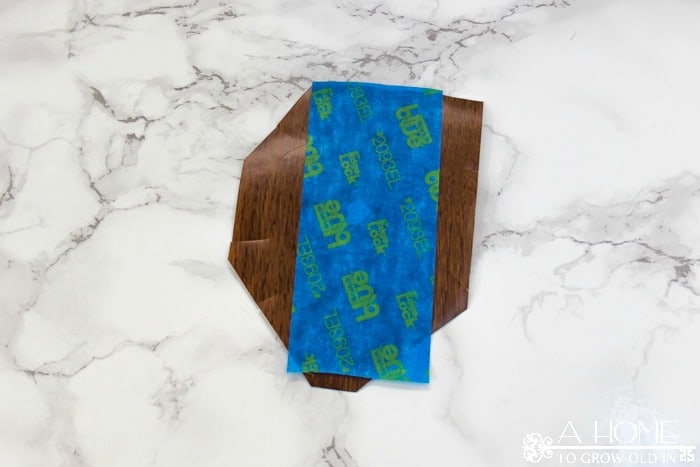
I used contact paper that I picked up at the dollar store (it’s much cheaper than using removable vinyl) to make my stencil. If you don’t have a Silhouette, you could print out a simple image (you wouldn’t want anything too intricate), lay it on top of the contact paper, and cut it out with an X-acto knife. You could also use the outer part of some vinyl window clings as a stencil. If you are using a Silhouette, for the cut settings I created a custom material type with the ratchet blade depth set at 3, the speed at 5, and the thickness at 5.
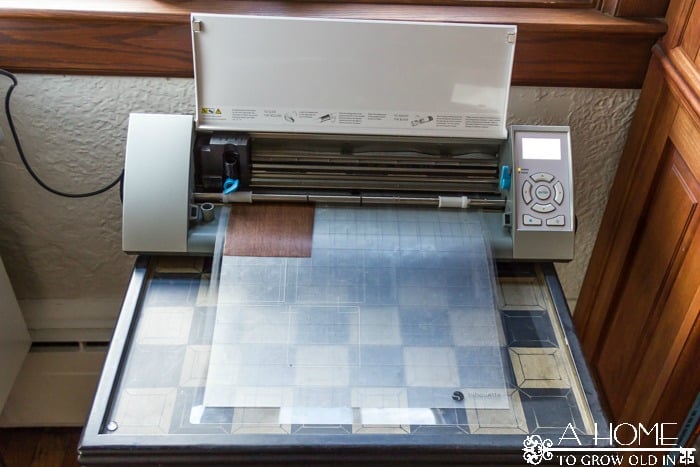
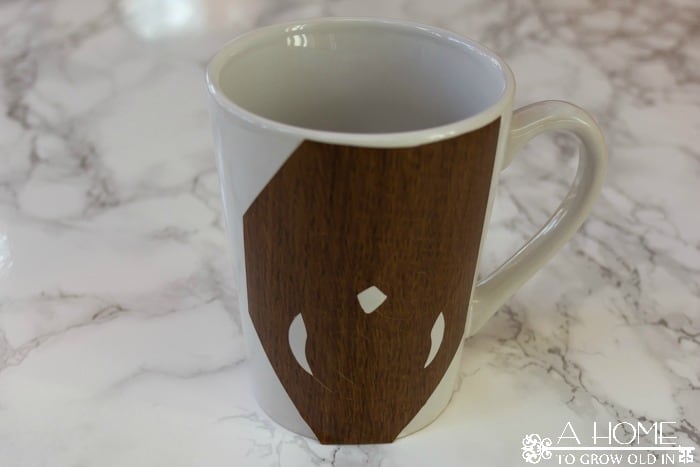
Once the stencil is cut out I put some painter’s tape on top of it to hold all the pieces together when I took the backing off the contact paper.
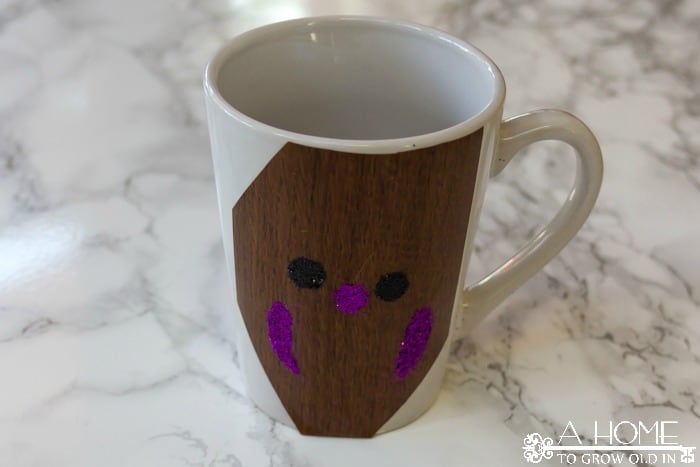
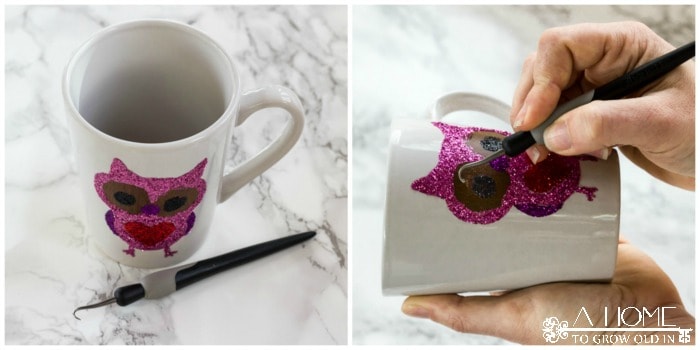
Then, I positioned the stencil on the front of each the coffee cups and very carefully removed the painter’s tape (you can save the piece of tape to help with glitter clean up). Make sure to smooth out any bubbles in the contact paper. Next, I removed the sections of the stencil where I was going to apply glitter in stages. First were the beak and wings because I was using the same color of glitter on those areas. I painted on the Mod Podge to those blank areas with a very small paintbrush and shook glitter over it. This took less than a minute to do, but you need to wait 15-30 minutes for it to dry before moving on to the next color. You don’t have to wait for it to completely dry, but it also shouldn’t be tacky, or your next color will stick to it.
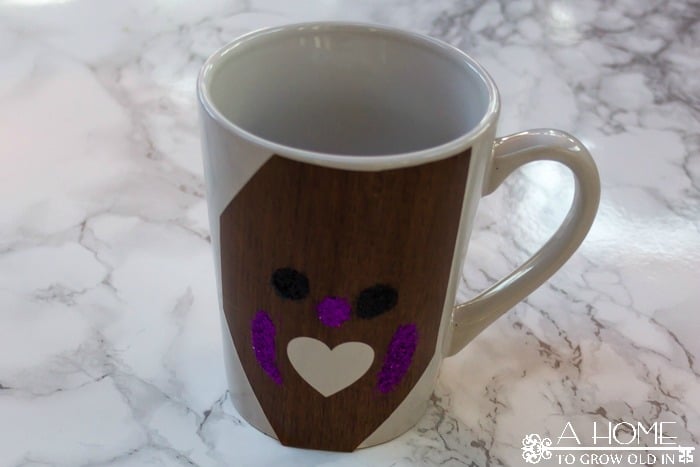
Once the wing and beak area dried I did the same thing with the inner eyes. If I felt like there was too much stray glitter in random places on the stencil I would use a small piece of the sticky side of the painter’s tape to pick it up. Be careful if you blow off excess glitter because it can mix with the other colored glitter. If it does, just use your painter’s tape to pull it off.
Next was the heart, and then the body.
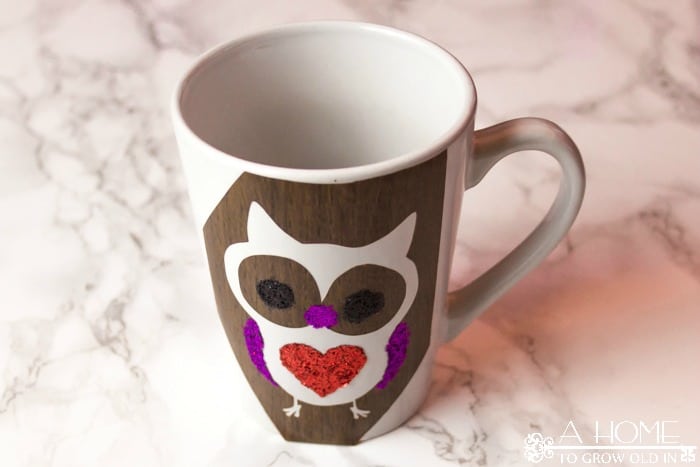
Once those last sections are dry you can pull off the outer part of the stencil.
The very last area of the stencil to remove was around the eyes. It was a little tricky because the edges were covered in dried Mod Podge and glitter, so I used a hook. If you don’t have a hook, then use a knife or something with a point that can get under the contact paper so that you can pull it off.
If you have any areas that need to be touched up, use either your paintbrush or a toothpick to apply a small amount of Mod Podge, and then shake glitter over it. The toothpick worked out great for the feet area since the lines there are much smaller.
After all the vinyl was removed I applied a final coat of Mod Podge over all the glitter, making sure to go around all the edges to seal everything.

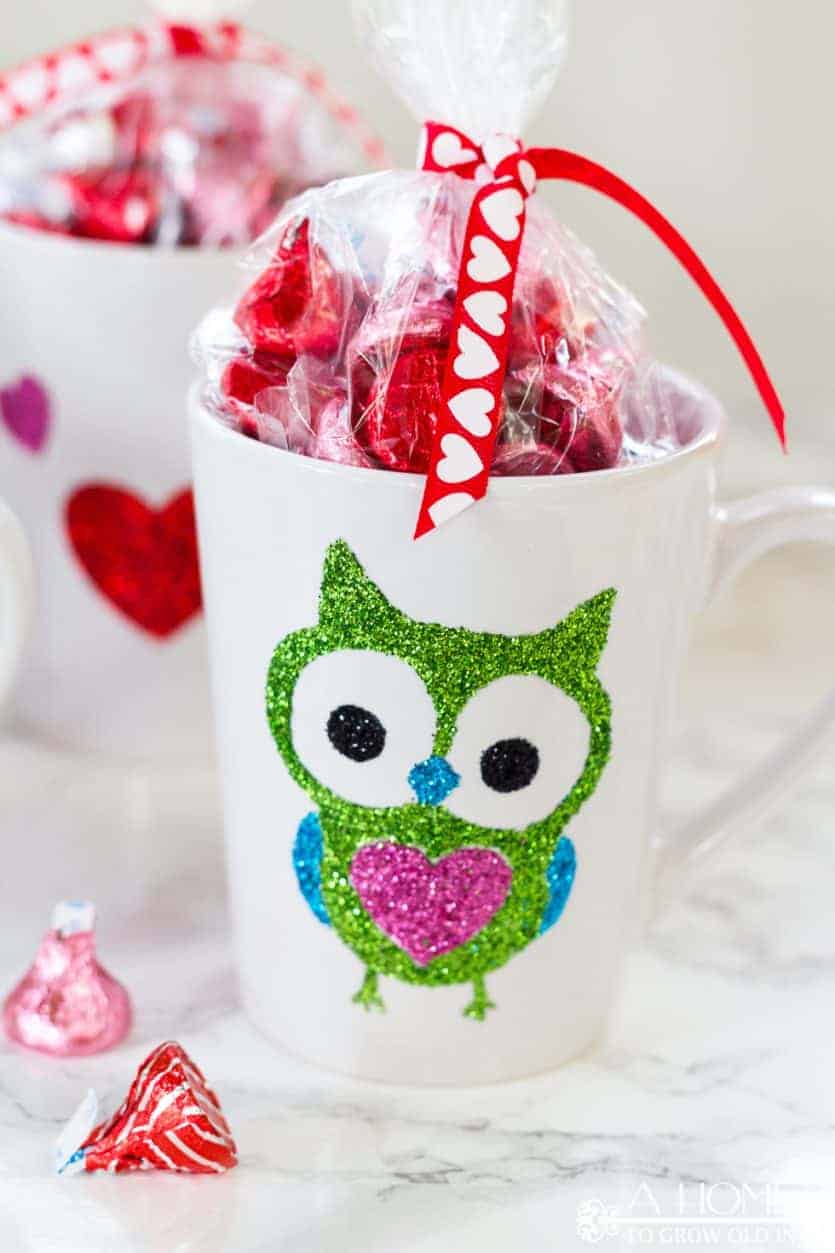
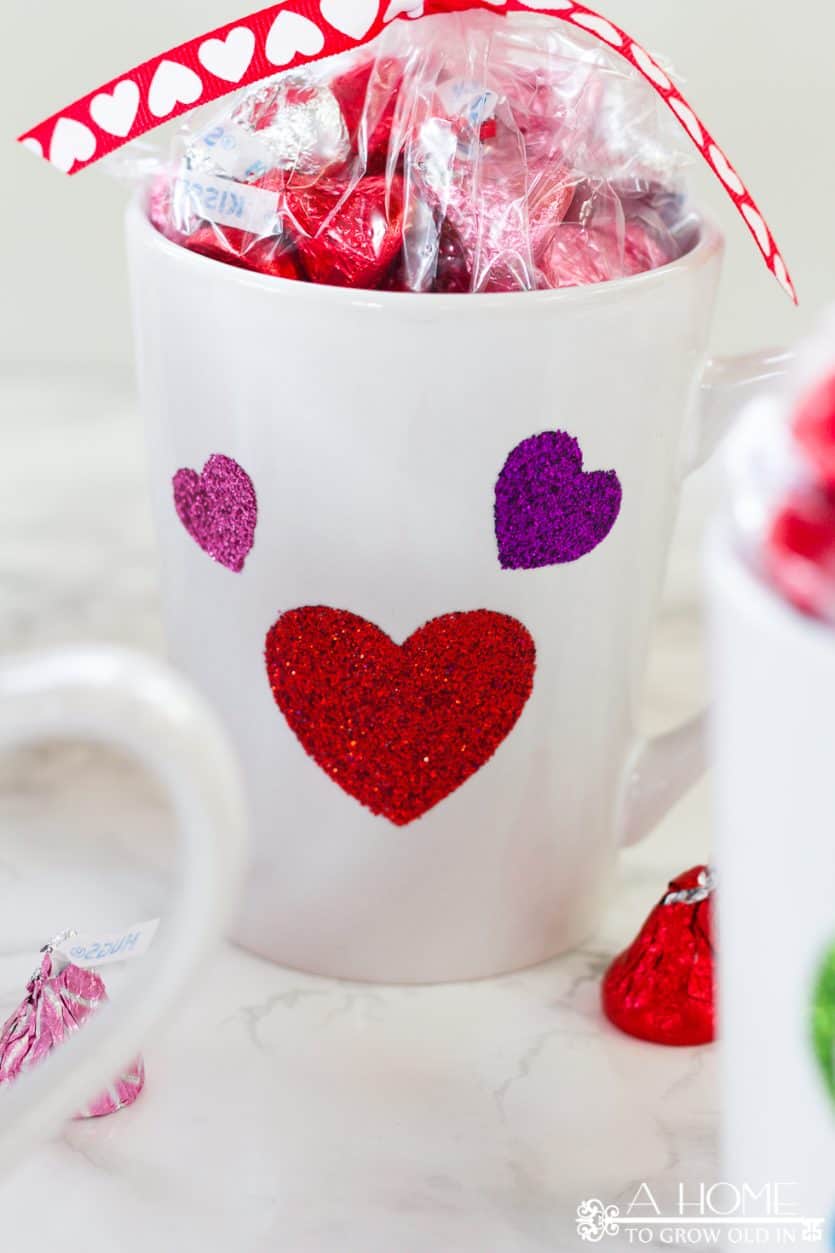
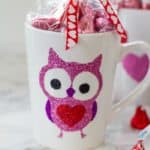
These coffee cups make great gifts for teachers or co-workers if you fill them up with candy or even a Starbucks gift card. Who wouldn’t want to receive that? Or, just keep them for yourself. Don’t forget to download the Silhouette cut file, which has both the owls and hearts.
{CLICK HERE TO DOWNLOAD THE SILHOUETTE CUT FILE}
If you’re into decorating for Valentine’s Day, you may want to check out how I made these really cute yarn wrapped “LOVE” letters with felt flowers and the rest of my Valentine’s Day projects. They’re just a few simple things that get me the kids excited for the holiday! And when Valentine’s Day is over, you can get excited for St. Patrick’s Day with a couple of free SVG files, “Let the Shenanigans Begin” and “May the Luck be with You“, to continue to make your own creations!


Robin, you are amazing! This is such a clever idea that can be used for lots of different occasions! Thanks for sharing!
Thanks so much! That really means a lot!
Robin, these are absolutely adorable! My daughter loves owls and as soon as I saw these at Oh My Creative, I knew she would love one! Thanks so much for sharing and pinning – hope you’re having a happy week!
Thanks, Cindy! My kids love using them for hot cocoa, so hopefully your daughter will love them as well. It was a lot of fun coming up with these, and it’s really great to hear that you like them. Hope you’re having a fantastic week, too!
coffee lovers need pretty cups and these look so cool I wish i had a silhouette need to get one thanks for sharing this project have a great week
These cups are soooo cute! Love the sparkle of the glitter! Thank you for sharing with us at Brag About It! Pinned to share.
Hi Laurie! I always love stopping by Brag About It! Thanks so much!
How cute are they!?!?! I never would have guessed these were handmade 🙂 I hope you can stop by:
http://collettaskitchensink.blogspot.com/2016/02/book-review-heart-divided-by-kathleen.html
Colletta
Hi Coletta! Thanks for the big compliment!
How fabulous these are! The little heart in the centre is far more my style then hearts everywhere. Such a pity your words didn’t stay on.
You know, I was pretty disappointed when my letters didn’t stay on, but if they had, I wouldn’t have been pushed to come up with the owls. It ended up working out in the end. Thanks for stopping by to check them out!
Love! Pinned and tweeted! Thank you so much for sharing this with us at our linky party. We hope to see you next Monday @ 7 because we can’t wait to see your new creations! Happy Sunday! Lou Lou Girls
These are adorable! It would be easy to customize for any holiday!
Different holiday images are a great idea! And, the glitter and Mod Podge goes a long way, so all you’d need to buy are the $1 coffee cups. Thanks, Mary!
These are super cute but I need a DIY that I can do without the cameo machine, cause I ain’t got one. Great mugs and I’m an owl freak!!
Hi Michelle! I wish I had a better way to make them without the Cameo, but they were too cute not to share. I’m so glad to hear you like them. Thanks!
Oh these are too adorable! I just love anything owl – so I may be borrowing/stealing this idea
I never heard of dishwasher safe modge podge! Thanks for sharing this!
off to Michaels
Christina, it makes me so happy to hear that you love them! Thank so much for taking the time to tell me. Let me know how they turn out!
a couple of moths more left until valentines… i already have a great idea in list
thanks for sharing
Very nice and useful tutorial. I love this.