Well, it is officially spring here! We finally had some gorgeous, sunny days in the 60s and 70s this weekend! Of course, that beautiful weather made it difficult to work on our guest bedroom makeover, so I didn’t get as much done as I would have liked. Oh, well! Life goes on! We had a fabulous weekend! This week is Spring Break for my kids, and I have a feeling I may be falling a little more behind on the challenge. But, you’re not here today to hear about the weather or my guest bedroom…I want to tell about how I aged galvanized metal buckets to make these rustic herb planters!
This post contains some affiliate links for your convenience. Click here to read my full disclosure policy.
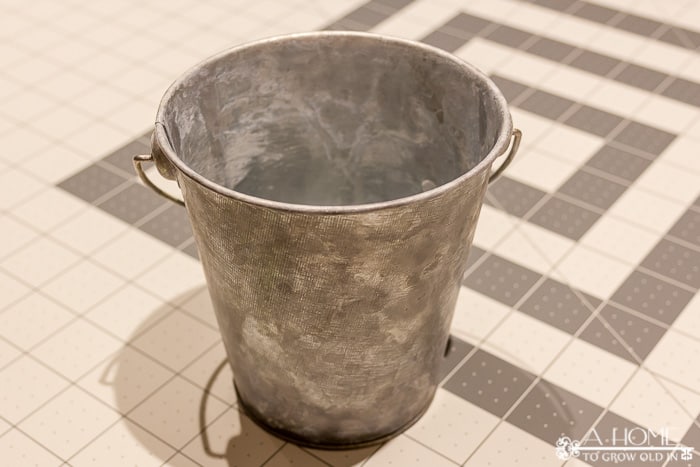
This project started when I was checking out the Dollar Spot section at Target (Ikea also has a similar option). I found some really cute small galvanized buckets that I knew I had to do something with. They are $1 each and are the perfect size for so many things. I’ve been thinking about picking up a few more to corral the kids art supplies. It would be super easy to just stick a chalkboard label on them and use them to organize so many things in their playroom!
I love growing herbs indoors for cooking, but usually, I just keep them in the containers they came in from the grocery store. I thought these little buckets would be perfect for giving them a little more decorative home.
The aging process was really easy once I figured it out. I used Zep Acidic Toilet Bowl Cleaner to do most of the work.
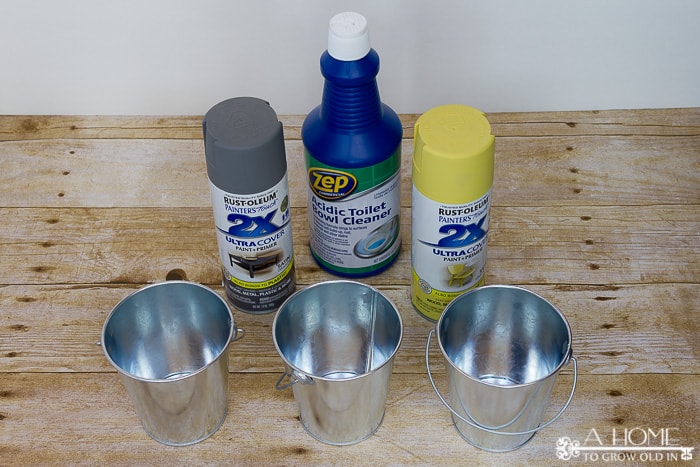
Here’s what I used:
- Zep Acidic Toilet Bowl Cleaner
- steel wool
- rubber gloves
- baking soda
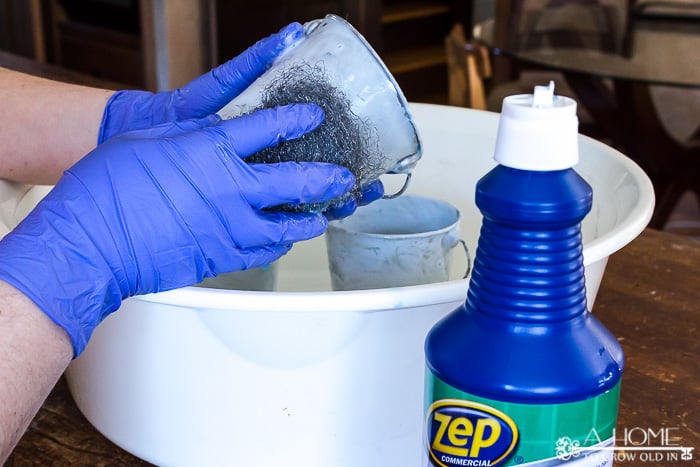
I found a large plastic bucket to do all the work in so that I didn’t get toilet bowl cleaner all over everything. I roughed up the buckets with the steel wool and then applied the cleaner all over the buckets.
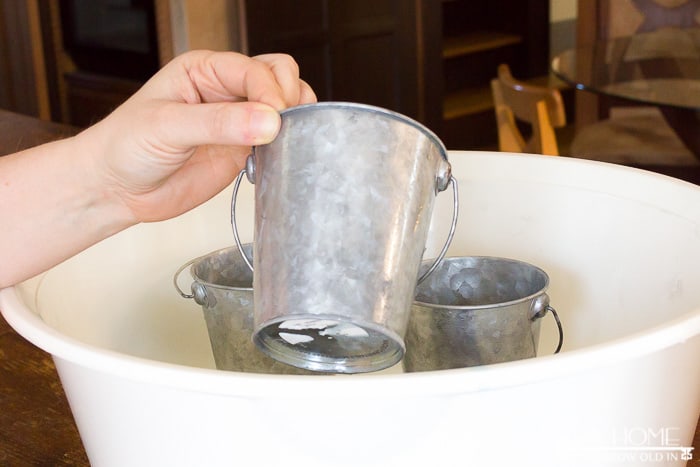
The glossy finish was worn off in about 30 minutes, but it didn’t have the look I was hoping for. It wasn’t shiny anymore, but it also didn’t have an aged appearance, so I reapplied the toilet bowl cleaner.
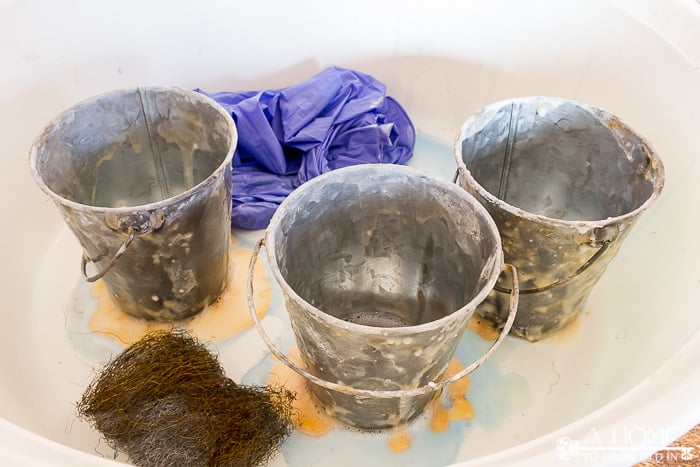
30 minutes later it still looked the same, so I needed to try something else. I decided to add some baking soda in with the toilet bowl cleaner to make a paste. It instantly foamed up as soon as I put in the baking soda, so don’t be surprised by it. I applied the foamy paste to the buckets, and that’s when the magic started to happen! Almost instantly I could see rust starting to pool, so I knew it was doing the job!
I let the buckets sit until they were fairly dry, about 45 minutes, and then rinsed them off. They looked so much better this time! They had much more of an aged patina to them.
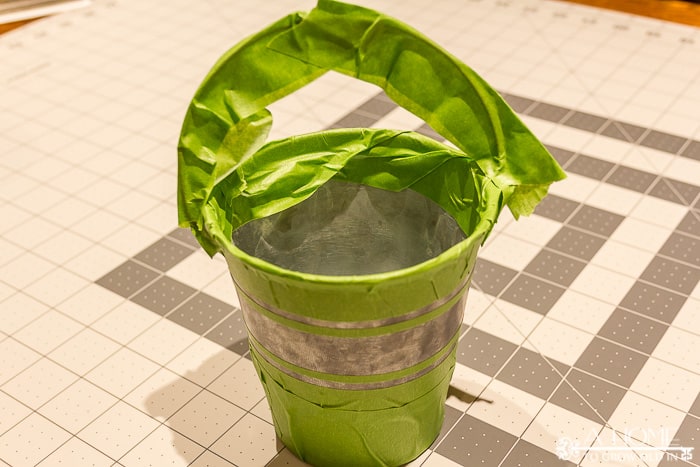
Once you’re done aging them it’s time to get creative! I decided to paint some stripes on them and label the herbs I was planting. First, I taped them off with painters’ tape.
*A tip on painting stripes on a curved surface…cut thin pieces strips of tape to get straighter lines, and then use wider pieces of tape to cover areas you don’t want painted after you make your lines. I didn’t figure this out until I was on my third bucket, and I was trying to get straight lines from thick pieces of tape. Using thin strips of tapes first made it so much easier to apply!
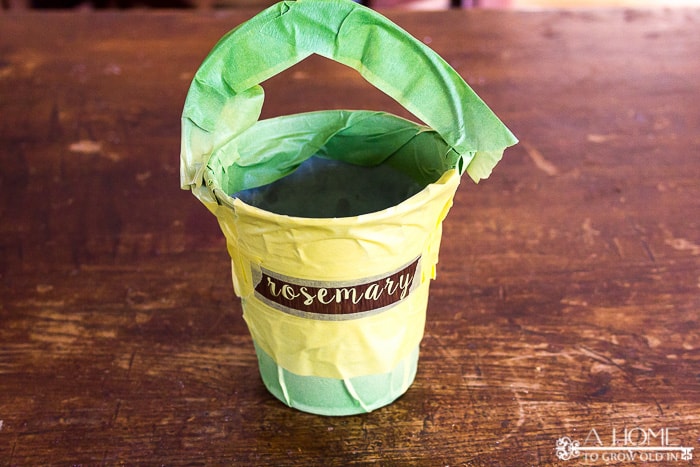
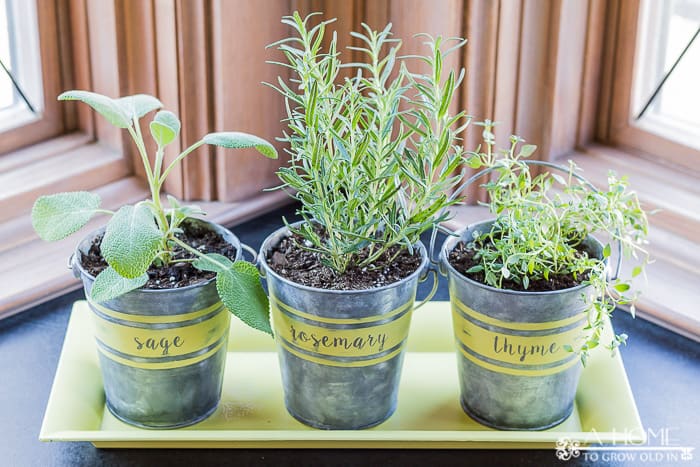
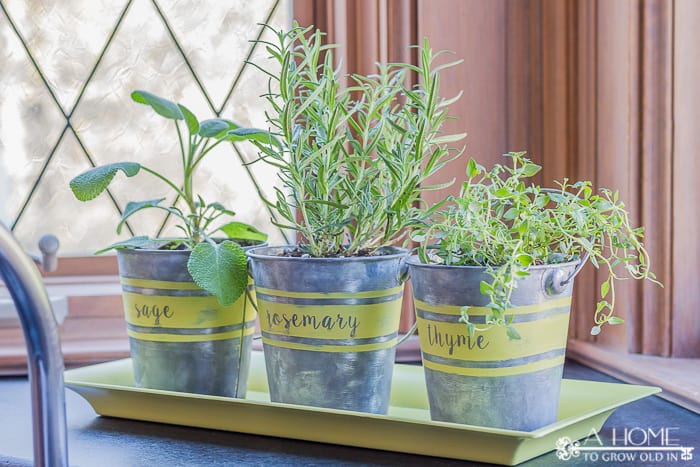
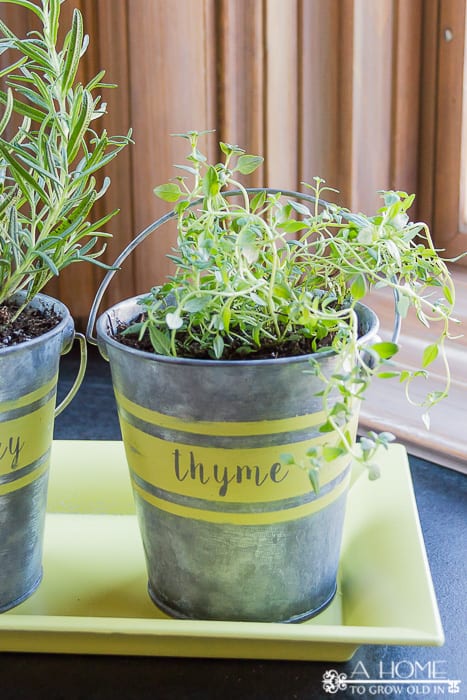
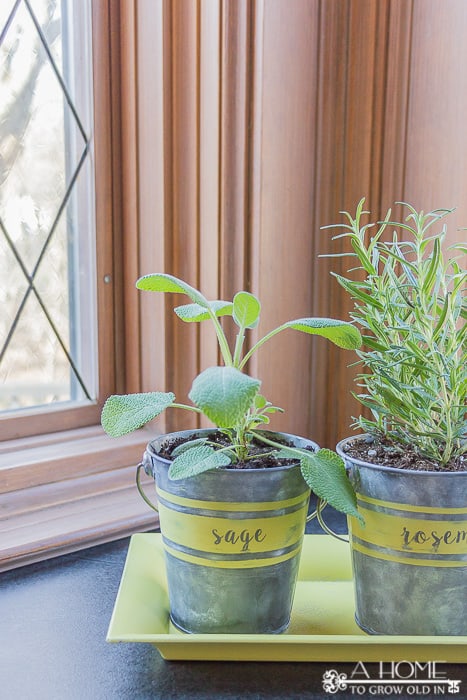
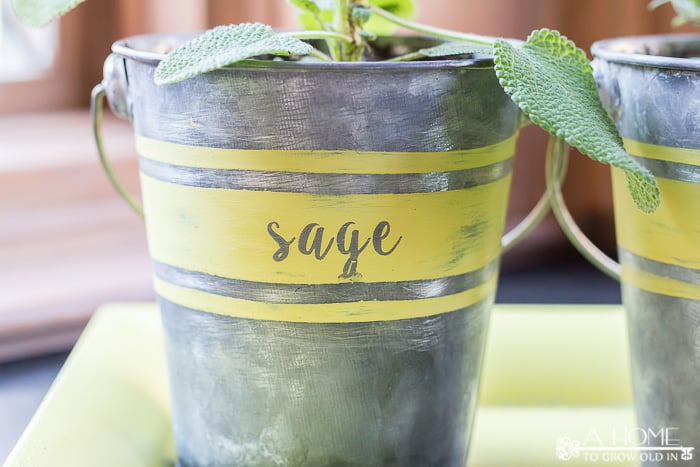
After I taped them off, I sprayed them with Rust-Oleum’s Lemon Grass, which has been one of my favorite colors lately. It’s a sunny shade of yellow that looks great with gray. Once that dried, I cut the letter stencil with my Silhouette, applied it to the buckets, taped off a few more areas, and sprayed the letters with Rust-Oleum’s Satin Granite.
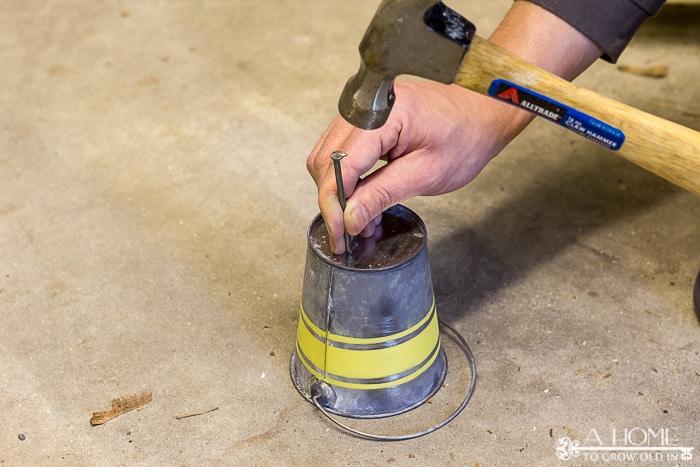
Since I am using these buckets as planters we punched a few holes in the bottom with a nail for drainage.
To give them a little more rustic look, I distressed the buckets with some sandpaper in a few spots and then filled them with herbs. As I was setting them in front of my window I remembered a small tray I have that would be the perfect size for my new planters. I gave it a single coat of Lemon Grass spray paint, allowing the silver from the tray to show through a bit.
[clickToTweet tweet=”Learn how to age galvanized metal quickly to make these rustic farmhouse herb planters!” quote=”I found some really cute small galvanized buckets that I knew I had to do something with. They are $1 each and are the perfect size for so many things.”]
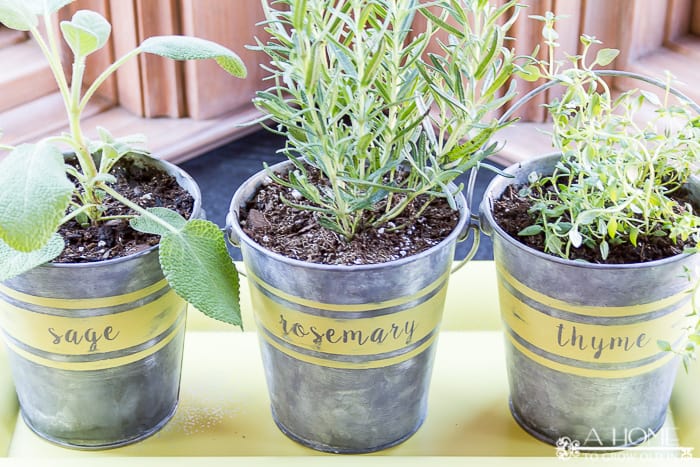
Check out how they turned out…I love how they look on my kitchen windowsill. They have just the right amount of rustic!
While I was at Target I also picked up a larger oval galvanized bucket with rope handles that I can’t wait to turn into an outdoor planter. Have you aged galvanized metal before? What kind of projects have you used it for?
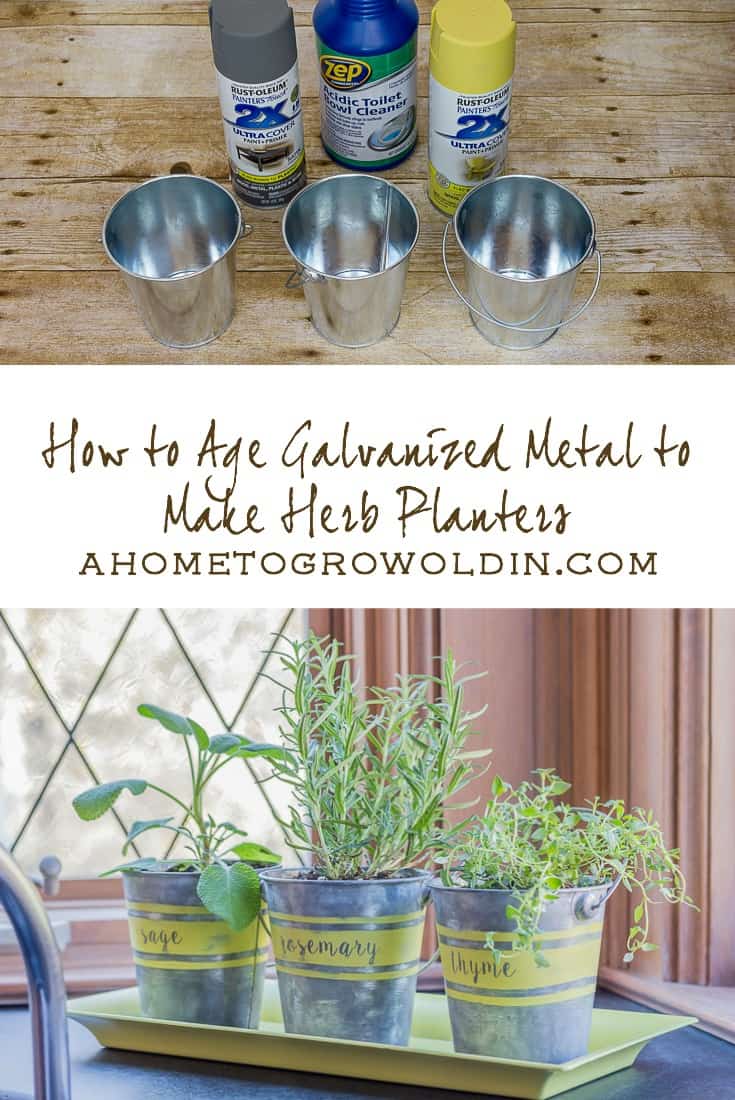
Here’s a pinnable image you can use:
If you like this post, I’d love to stay in touch! You can sign up to receive my emails here. Email subscribers have exclusive access to my printables library that I’m adding to all the time. Check it out a few of the printables available below. Or, if you’d prefer, I’d love to also connect on social media. Those buttons are on the top right-hand side of the page! Hope to see you again!!!
I’m linking up with the Pretty Project Party.


Robin, you are amazing!!! So creative and frugal too. Love it!
Hi, Kay! Thank you! I love it when I can turn something from the dollar section into something I love using!
What a cute and simple DIY project! I love sprucing up dollar store finds!
Thanks, Mary! This was a fun one!
Cute!
Thanks, friend!
These looks so amazing! Thanks for sharing at Whimsy Wednesday!
Hi, Anita! Thanks for stopping by!
This is so cute! What a great way to save on planters. I love the aged look! This is perfect for a farmhouse style home. Thanks for joining us for the Wednesday Showcase!
Thanks, Jenna!
Your pretty galvanized pot trio caught my eye at the Lou Lou Girls party. I love how you gave the pots an aged patina and especially love the yellow stripes combined with the font you used for the herb labels. LOVE!! Pinning to share!
Hi, Marie! I’m so glad you found me! I have been using this color yellow for so many projects lately! I love it! I must be needing some sun in my life. Thanks for stopping by and sharing!
What a charming idea. I would love for you to come share on Share the Love blog party. Open thru Thursday. http://homecookingrecipebox.blogspot.com/2016/04/sharing-love-blog-party-2.html
Hi, Linda! I’d be happy to share it on Share the Love! Thanks for the invite and for checking me out!
These are so cute! I love the names painted on the planters.
Pinned. I hope you’ll join us for Thoughts of Home on Thursday tomorrow. 🙂
Thanks so much, Stacey! I’ll definitely stop by Thoughts of Home on Thursday!
Thank you for joining us at Thoughts of Home on Thursday.
I love your project-
I think I may need to give this a try!
Super cute idea. I have one bucket that I’m going to try this on. How did you think up using toilet bowl cleaner>
Hi Carol! I wish I could say I’m smart enough to know that toilet bowl cleaner would remove the shiny layer from the metal, but I had to “Google it” when I thought up this project. You can use a variety of acids from vinegars to different kinds of toilet bowl cleaners. Thanks for checking it out!
This is a fantastic project! I will be featuring this at Thoughts Of Home On Thursday this week:)
Jemma
Thanks so much, Jemma! I’m so happy to hear you are featuring it!
Robin I have seen these very buckets. You are so clever and creative. Thank you so very much for joining Thoughts of Home on Thursday. Your post truly delighted me.
You are so sweet, Laura! Thank you! Target (where I got the buckets) has great some really great stuff in their dollar section right now! It’s one of my favorite places to look for ideas!
Love these! I just bought a metal pot, but couldn’t find the worn look I wanted either. I guess I need to give this a try. Thanks for sharing at the Wednesday Showcase.
Hi Kati! I haven’t seen a lot of “aged” metal in stores that’s affordable, but luckily, there’s lots of the shiny stuff. Target has several cute pieces in their dollar section right now. Thanks for stoping by!
Thank you for sharing Robin on Share the Love Blog Party. Hope to see you this week. http://homecookingrecipebox.blogspot.com/ By the way you were featured!
Thank you so much for the feature, Linda! I’m looking forward to stopping by again!
these are really cute and would love to make my own thanks for sharing have a great week
Thanks so much, Lorraine!
What a sweet presentation I love the added color of yellow. This would be perfect in the any kitchen or also a great gift idea. Perfect blend of herbs too!
Thanks, Carole! I agree, I think these would make such cute gifts! So glad you stopped by!
If those aren’t THEE CUTEST little planter buckets! I love how you added the extra smaller stripes…it was the perfect touch! Thanks so much for linking up at the Pretty Project Party — please join us again this Thursday! – Rachael
You are too sweet, Rachael! I’m so glad you reminded me about the Pretty Project Party! Where has this month gone? Thanks for stopping by!
This is the cutest little herb garden! And I love the tutorial on aging the buckets!
Thanks, Leanne! These were a lot of fun to make, and it’s so nice to have fresh herbs all the time.
What cute little planters, and so easy to do. I like how you added the yellow stripe around each and the matching tray. Love the rustic farmhouse style.
Thanks, Linda! This color yellow has been my favorite lately. It’s such a happy color!
These are so creative! I love how they turned out. I’ll have to make these this spring!
Thank you for your idea. It’s very unusable and fresh thing for the New Year and Christmas. I think it can be used as a stand for the Christmas tree, I have already bought galvanized buckets to make this decoration.I wish you success in Blogging!