This decorative storage box is a crazy easy DIY that can be customized for any decor style! Let your creativity flow and make one for every room of your home!

I’m going to state the obvious here, but just in case you didn’t know, I love a beautiful home. That should be no surprise, but keeping a home beautiful and neat, especially with young children is not easy. One of my favorite ways to stash away small things like remotes or video game guys or the million other things that my children collect is with a decorative storage box. They are really easy to customize to your style or room decor, so I use them in so many rooms of my house!
This post contains some affiliate links for your convenience (which means if you make a purchase after clicking a link I will earn a small commission which helps keep my blog up and running but it won’t cost you a penny more)! Click here to read my full disclosure policy.
Here’s what you need:
- wooden craft box (craft stores have an even greater selection)
- wood filler
- 120 grit sandpaper
- wood craft sticks
- wood glue
- tack cloth
- paint
- cabinet pull or knob (Here’s the one I used.)
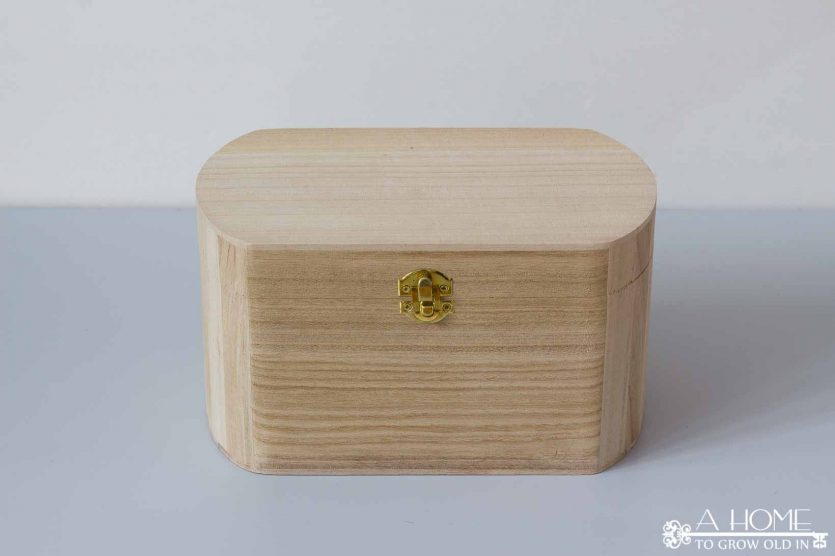
Here’s how my box looked when I started.
The craft stores have the best selection of wooden boxes, and they are really cheap when you use a store coupon. These craft boxes are very plain, and they are the perfect palette for any type of room decor.
The first thing I did was remove the lock and hinges from the front and back of the box.
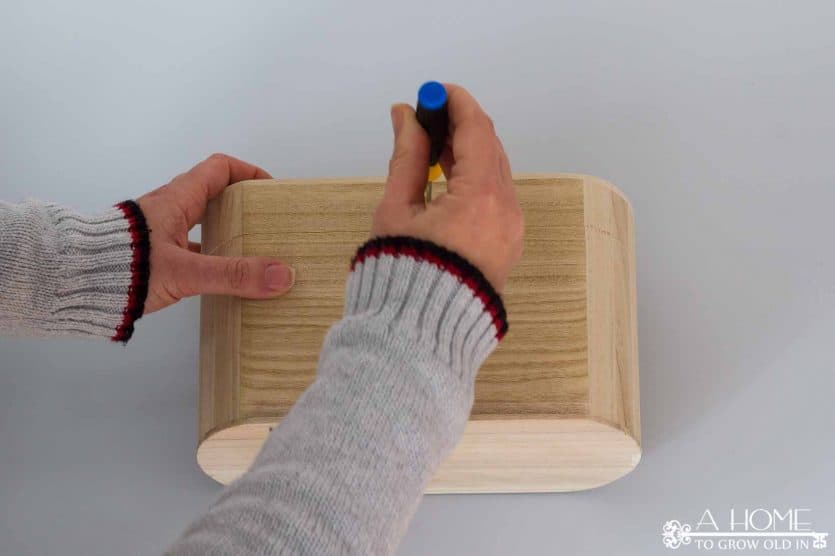
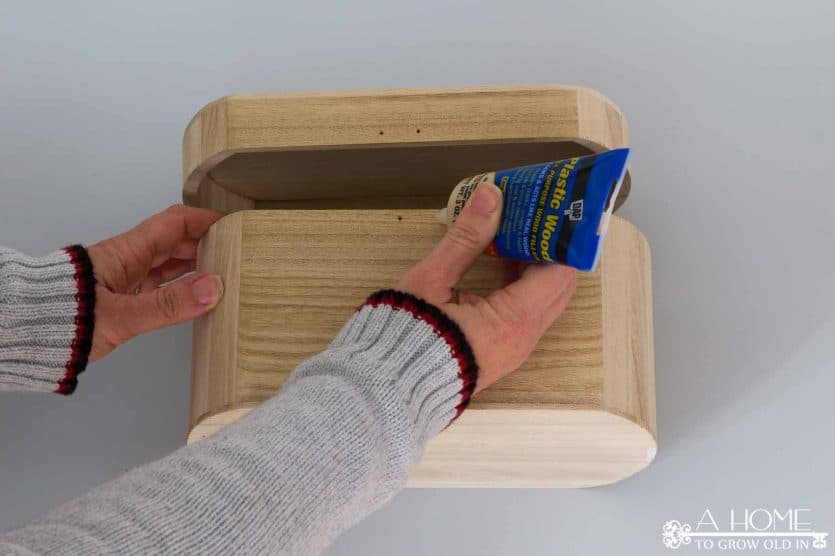
Then, I filled in the holes with wood filler and sanded the box really well. These boxes have a lot of woodgrain, so I spent several minutes sanding it as smooth as possible once the wood filler dried.
Having a knob or pull on the lid of the box makes the top too heavy and it will make the box fall over, so I did not replace them. I wanted to add something to the lid to hold it in place, though. Wooden craft sticks are easy to cut with a pair of tin snips or cutting pliers. I cut them just slightly taller than the inside of the lid and glued them on all four sides with some wood glue.
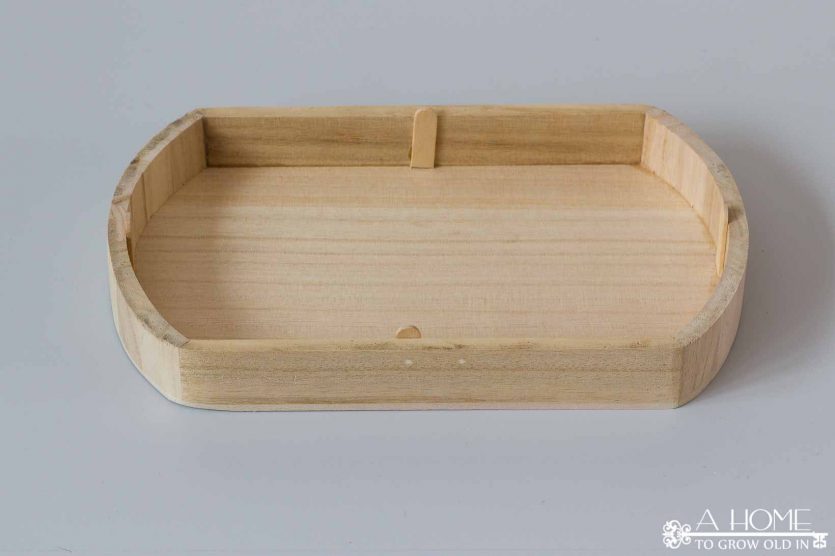
Before painting, make sure to clean the box really well by vacuuming it off, and then wiping it down with a tack cloth to remove any remaining dust.
Paint the box with your choice of paint. For this box, I used a white gloss spray paint. These also look great with distressed chalk paint. The possibilities are endless!
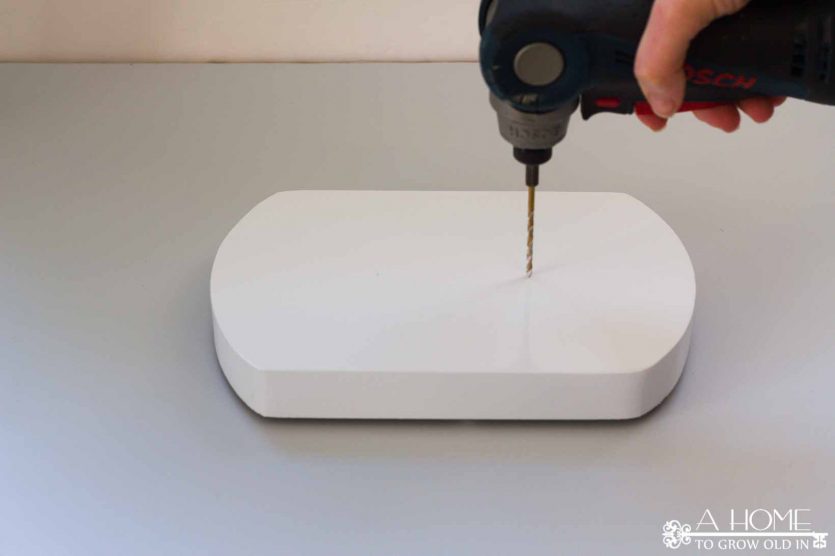
Once the paint dries, mark where your pull or knob will go, and drill your holes. If you want to reuse the hinges, you can screw those back on once your box is dry.
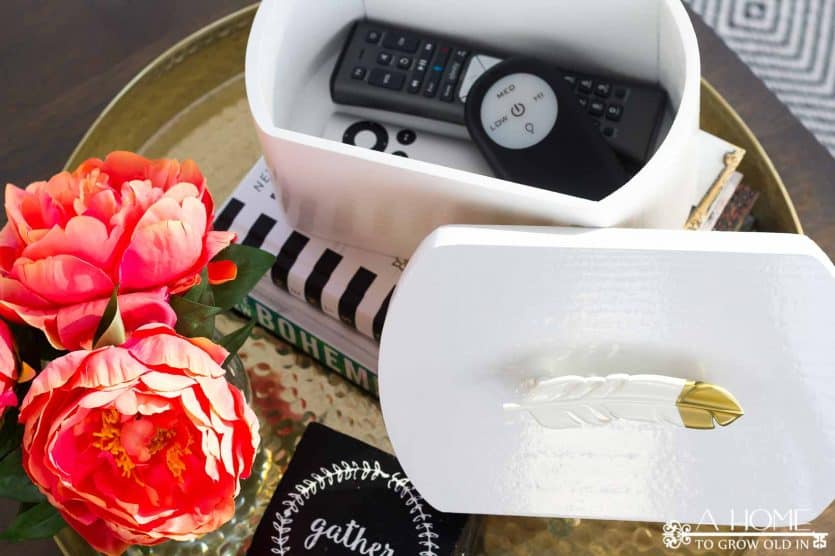
This decorative storage box is being used to hold all of the remotes we have in our family room. I love that they are easy to get to, and it looks great. And, believe it or not, I’d say the remotes get put away about 50% of the time. That’s a win for me!
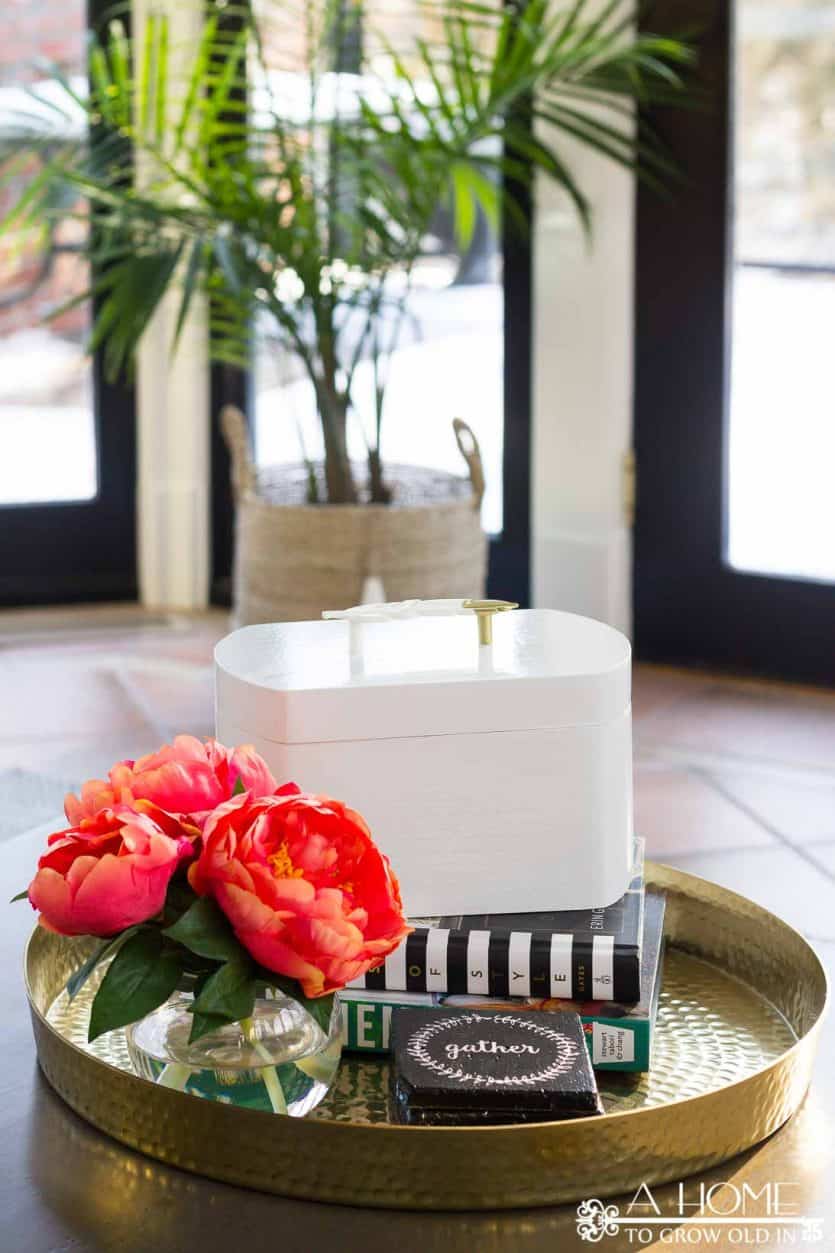
Aren’t these coasters cute? They’re another easy project. You can see how I made them here!
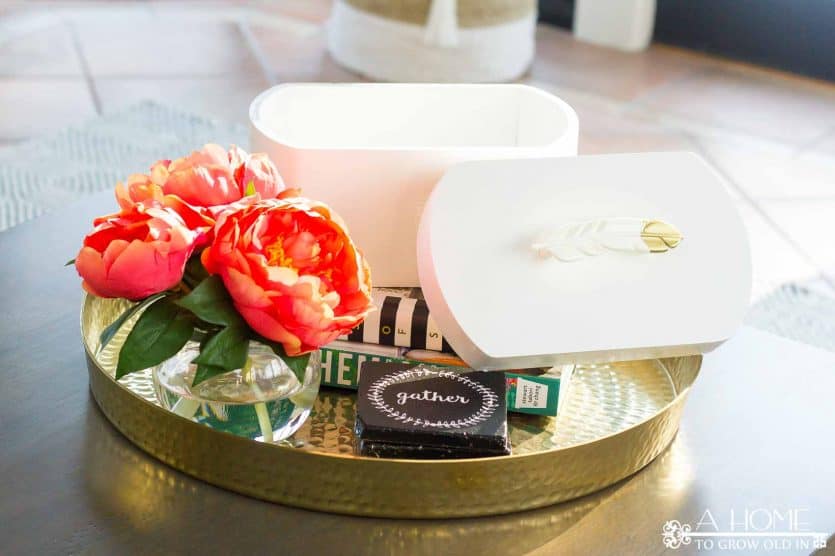
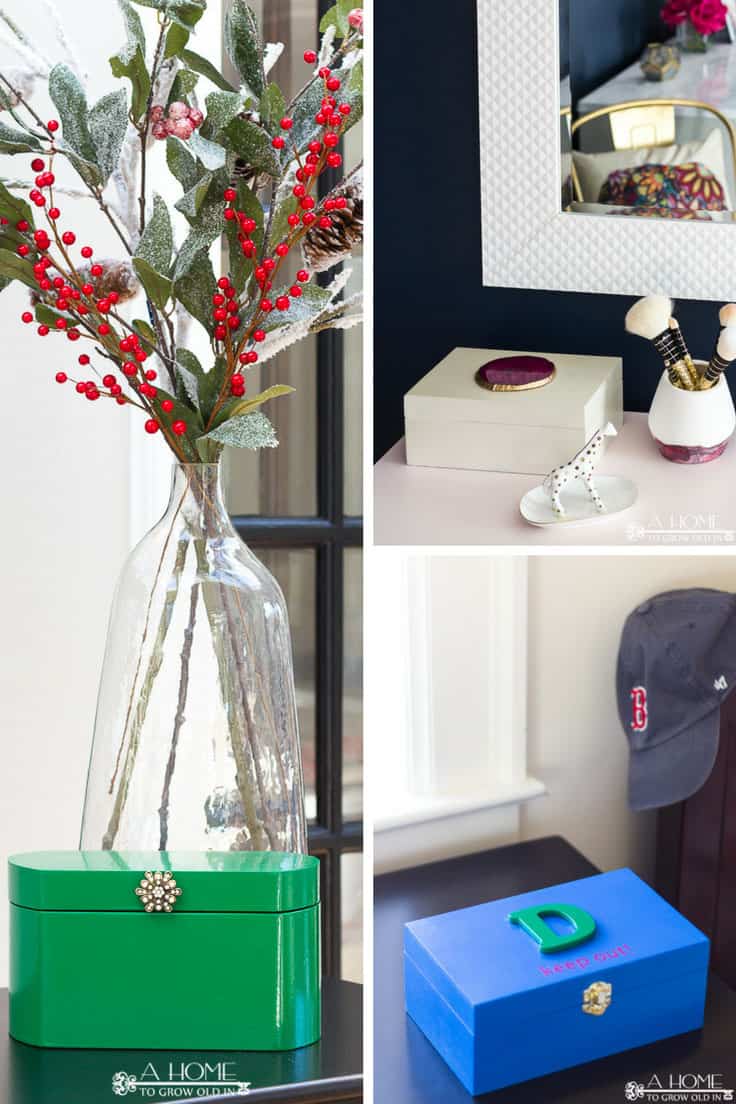
Here are a few more of these boxes that we are using around the house. They’re perfect for everywhere!


Leave a Reply