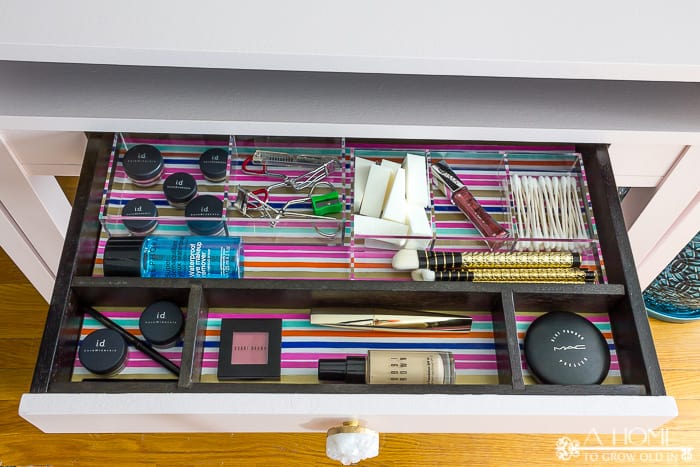
Hi guys! I thought I’d take a quick break from the One Room Challenge and our guest bedroom to show you how I made the colorful drawer liner for my bedroom vanity. If I’m going to take the time to organize something I want to make it look pretty, too! This is such a quick and easy project you’ll want to add them to all your storage areas. It’s so easy that it probably doesn’t need a tutorial, but I’ve done it enough times now that I’ve worked out a few of the kinks that I’ve come across in the process, and I thought I’d share those tips with you.
This post contains some affiliate links for your convenience. Click here to read my full disclosure policy.
Here’s what you need:
- wrapping paper (HomeGoods has the best selection of beautiful wrapping paper!)
- clear contact paper
- scissors
- measuring tape
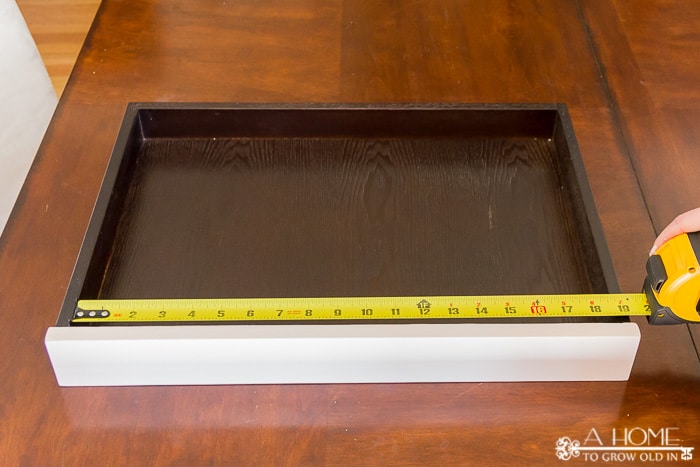
Take a quick measurement of the space you want to cover and cut out a piece of wrapping paper to match those dimensions.
Cut out a piece of the clear contact paper that is 1 inch longer and wider than your piece of wrapping paper. This helps give you a little bit of overlap in case the contact paper doesn’t roll out completely in line with the wrapping paper and also helps hold it in place while you apply it.
[clickToTweet tweet=”Create your own pretty shelf or drawer liner! Add this quick project to all your storage areas!” quote=”If I’m going to take the time to organize something I want to make it look pretty, too! This is such a quick and easy project you’ll want to add them to all your storage areas.”]
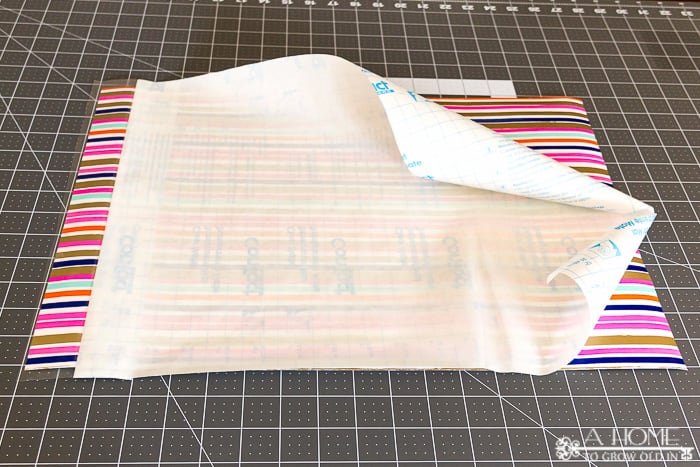
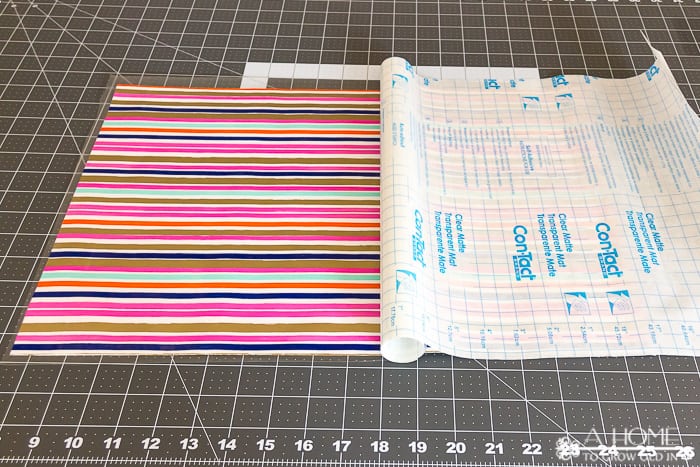
Turn the contact paper over so the backing is facing up. Peel it back and fold over about an inch or two, exposing the sticky side. Try to make your fold as straight as possible. The clear contact paper is difficult to see, so having a straight fold helps you to see if you are aligning it correctly to the wrapping paper. Turn the contact paper back over and align it on top of the wrapping paper so that about .5 inch of contact paper overlaps on all sides.
Make sure the sticky overlap is adhering to your work surface to hold everything in place while you work. Pull the backing from the underside, and use a credit card to push out any air bubbles every couple of inches as you go along.
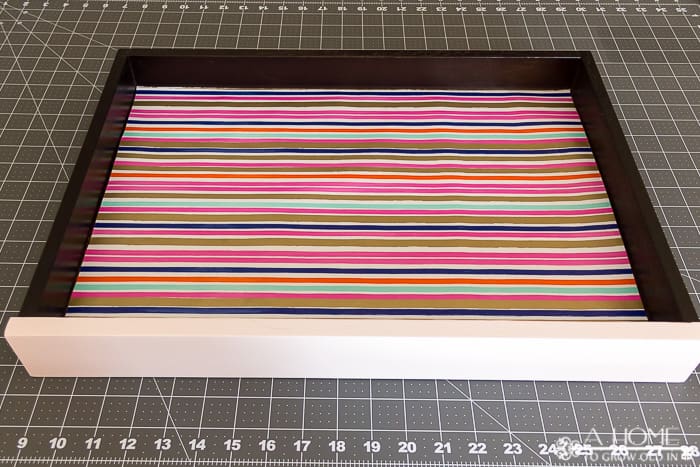
Trim off the overlap, and you’re done! You can use a little double-sided tape to hold the liner in place if needed when you use it. I applied the contact paper to the wrapping paper the same way I applied the marble contact paper to my bedroom dresser if you want more detailed instructions.
It always makes me happy to see a colorful liner when I open up a drawer or cabinet that I’ve worked hard to organize.
Was this easy enough for ya? What are your favorite ways to make your organizational projects look pretty?
If you like this post, you may also want to check out how I organized this vanity in our master bedroom makeover! Let’s stay in touch! You can sign up to receive my emails here. Email subscribers have exclusive access to my printables library that I’m adding to all the time. Check it out a few of the printables available below. Or, if you’d prefer, I’d love to also connect on social media. Those buttons are on the top right-hand side of the page! Hope to see you again!!!


[…] Create Pretty Shelf or Drawer Liner […]