Hello, sweet friends! Now that I’ve had a few weeks to enjoy our powder room makeover, I thought I’d share the easy way I got a custom bamboo shade for our bathroom window at a fraction of the price!
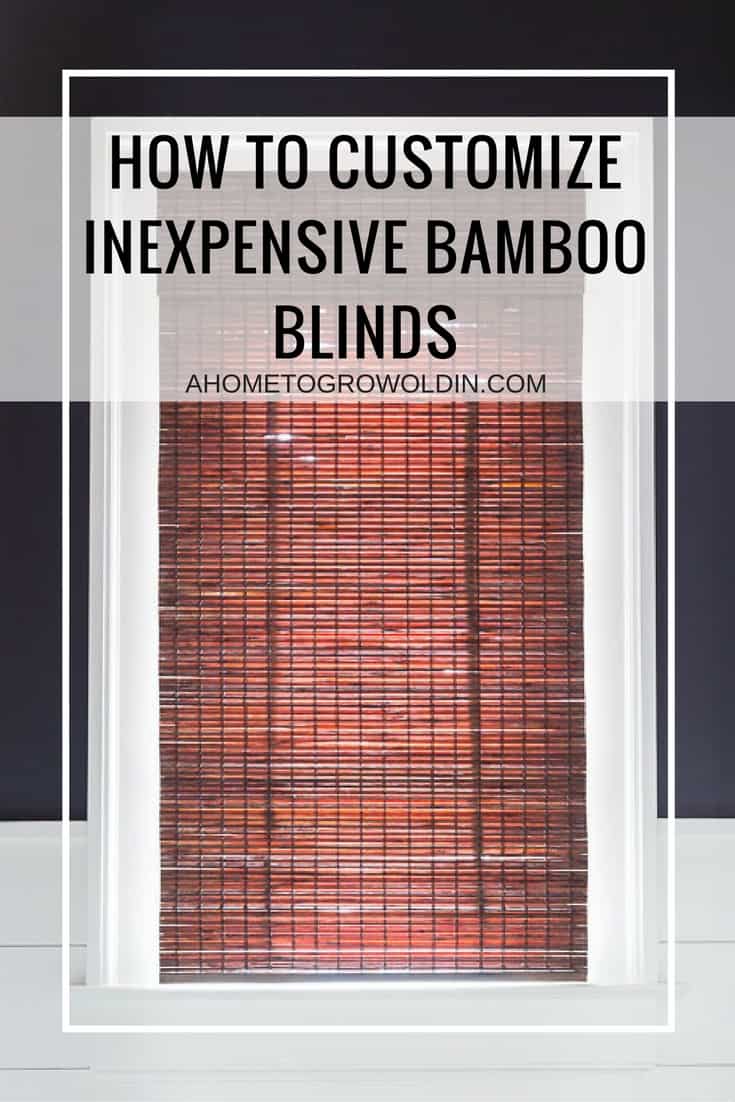
Bamboo shades are so popular right now because they look great in almost any style room from rustic to modern. They’re usually pretty inexpensive, too, unless you have an odd sized window like the window for our powder room. It’s narrow and long, and when I got a quote on a custom shade I was shocked at the price, and the sample didn’t look much nicer than the ready to hang versions that they sold in the store. I did a little research and found a way to get a custom bamboo shade for almost the same price as the ones they sold in the store by doing just a little work to it.
This post contains some affiliate links for your convenience. Click here to read my full disclosure policy.
Here’s what you need:
- cut to width bamboo shade
- scissors
- glue gun
- needle nose pliers
- box cutter
- staple gun (this is a newer version of mine)
I started out by hanging this bamboo shade. My local Home Depot would not cut the blind to width in the store, but they will online, and you can have it shipped to the store for free if you don’t meet their free shipping minimums.
This gave me a window treatment that was the right width for my window but was longer than it needed to be. This may not bother everyone, but when the shade was open, it hung lower down the window because of the extra material, so I wanted to take it off.
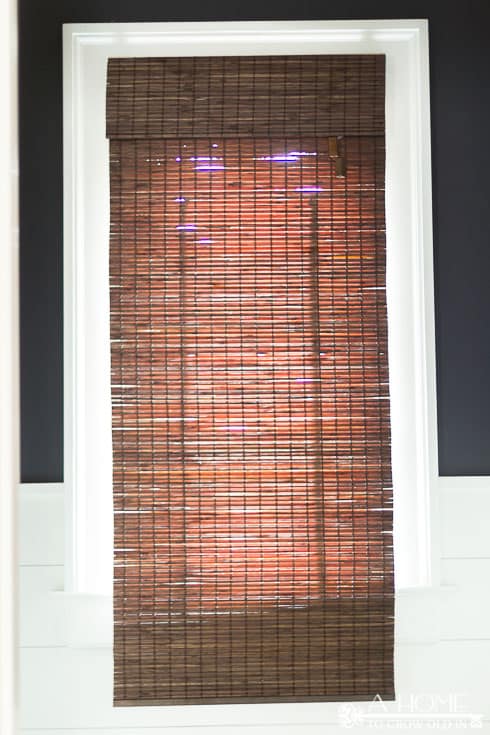
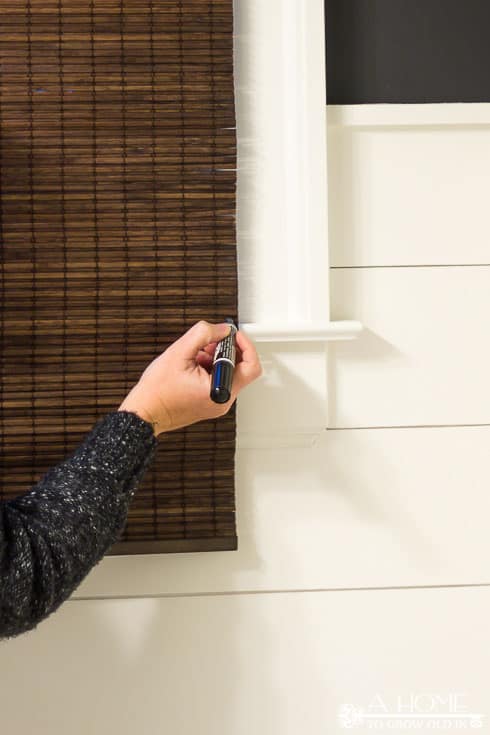
I marked the length that I wanted my shade to be with a pen.
Then, I took the blind down and laid it on a flat surface. Using my glue gun, I put a small dab of glue at every string, just above the desired length of the bamboo shade. This glue will hold all of the tiny slats in place after you cut it. If you skip this step, you will have bamboo slats fall out all over the place!
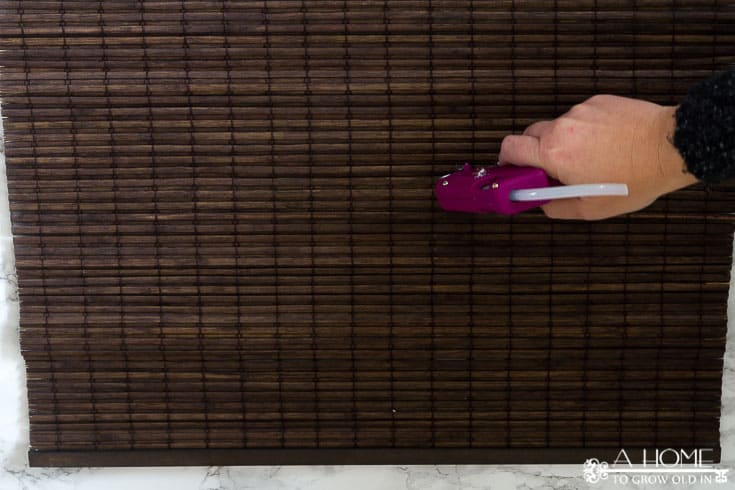
Give the glue a few minutes to harden, then cut across all of those strings, just below the dabs of glue. Be careful not to cut the 2 thicker strings that run along the backside of the blind. You could also flip the shade so that the backside is up while you cut it. I didn’t think to do this until after I cut off the extra part of the blind (luckily, I did not cut the thicker strings).
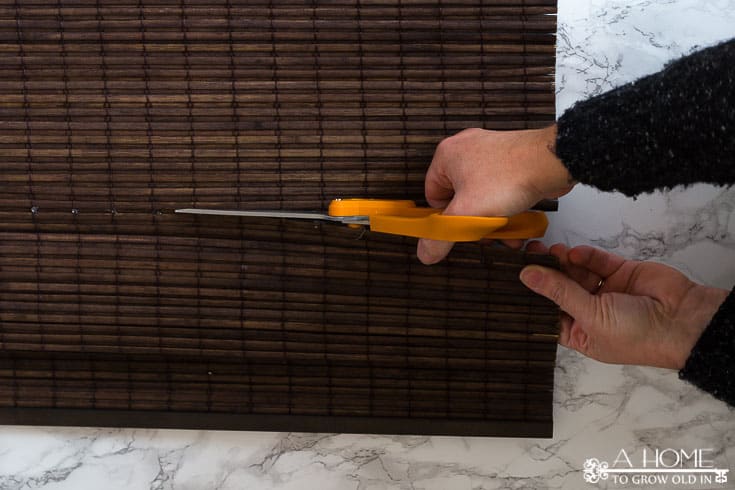
Once you cut completely across, you’ll have 2 sections that are still connected by the 2 thicker strings that pull the blind up and down. Untie these strings from the small rings on the section of the bamboo shade that you cut off.
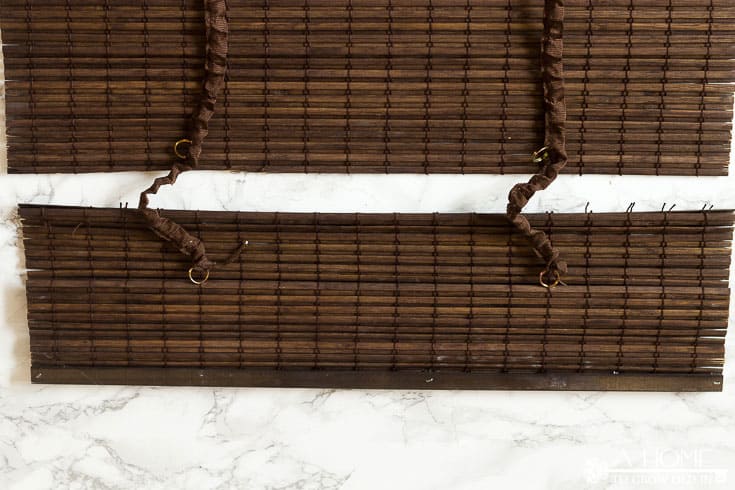
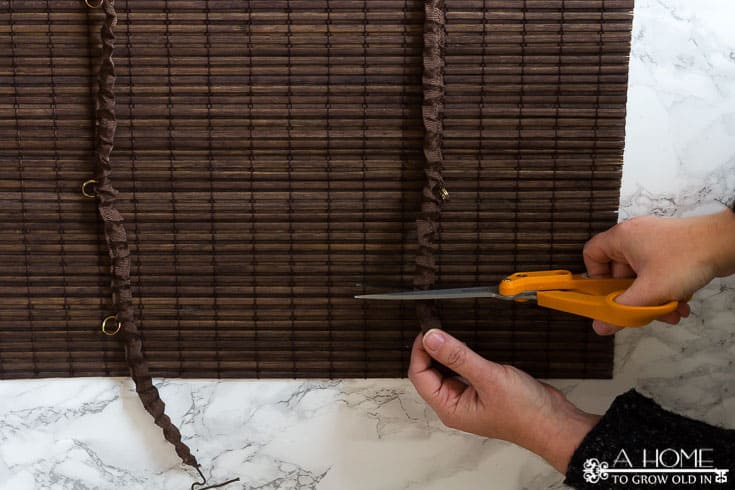
The placement of these rings decides where your shade folds when you raise it up. Once your 2 sections are disconnected you can raise up your shade to see if the bottom rings are in the right place. If they are not in the right place, you can move them (they work like a key ring) to a better place. Make sure to try opening the shade before cutting off any excess of this thicker string.
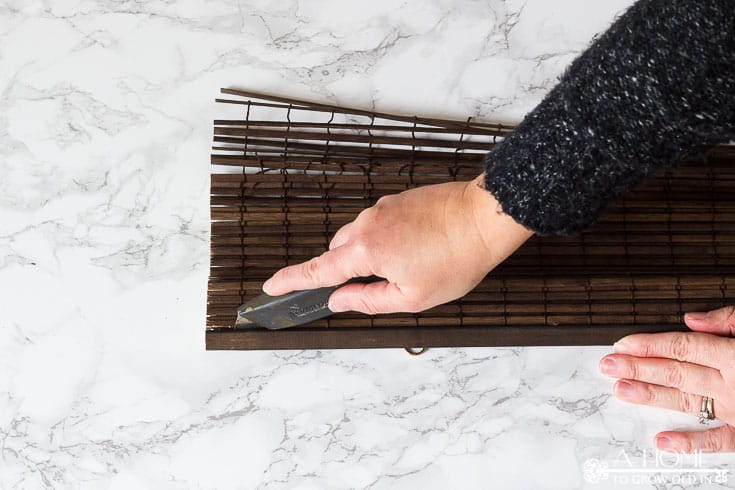
Next, you’ll want to remove the bar that finishes the bottom edge from the section of bamboo shade that you cut off. It’s held on by staples and glue. I used a needle nose pliers to remove the staples. You may also need a small flathead screwdriver to help lift up the staple.
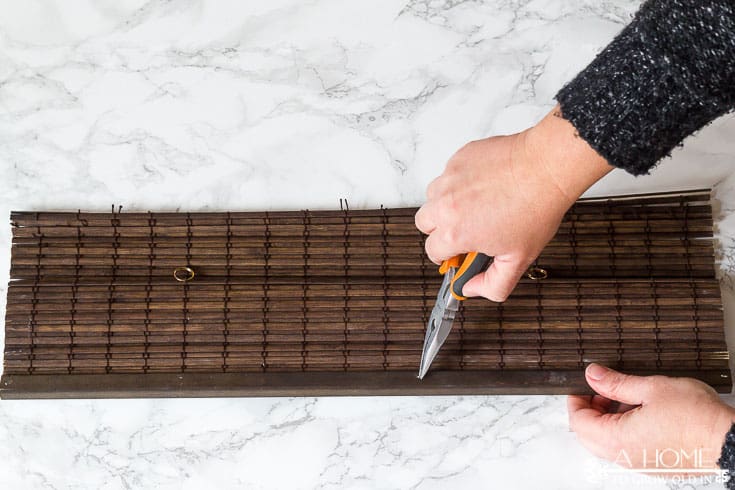
Then use a sharp box cutter to cut through any glue. It really helps if you have a fresh blade on your box cutter to get through the glue. My shade had 3 dabs of glue in the same area as each of the staples. After you remove the bar from the slats, make sure to remove any old glue that’s still in the opening of the bar. I was able to cut the glue out with the box cutter.
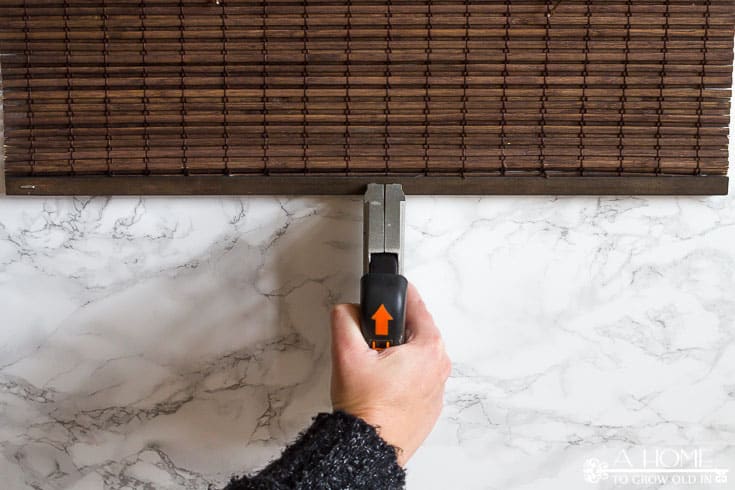
Once you remove the bar, you will reattach it the new bottom of your bamboo shade. Run a line of hot glue inside the opening of the bar and insert the new end into it. Use your staple gun to staple the bar back into place.
Rehang your bamboo shade and you’re done! You’ve got a custom bamboo shade.
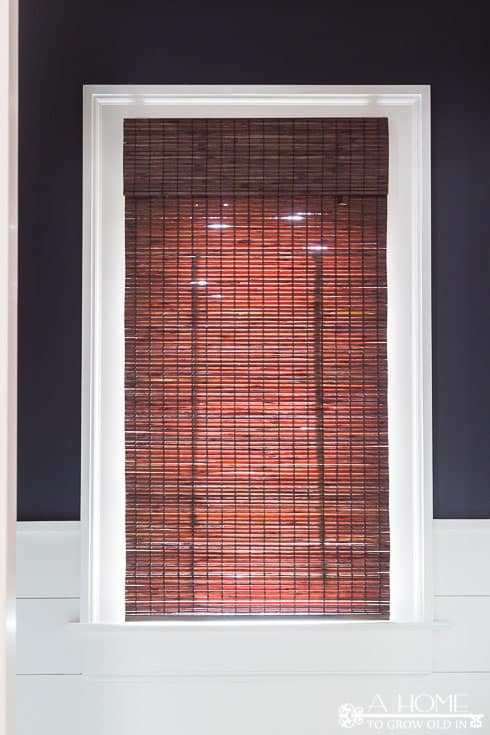
Shortening this blind has been on my “to do” list for a while. Now that the excess has been cut off there’s less bulk at the top when it’s open, and it lets in more light. It’s one of those super small things that really looks a lot better now that it’s done…and it probably only took me about 15 minutes.
Do you use bamboo blinds as a window treatment in your home? What did you do to fit them to your windows?
If you like this post, I’d love to stay in touch! You can sign up to receive my emails here. Email subscribers have exclusive access to my printables library that I’m adding to all the time. Check it out a few of the printables available below. Or, if you’d prefer, I’d love to also connect on social media. Those buttons are on the top right-hand side of the page! Hope to see you again!!!


What a BRILLIANT (and very handy) tutorial. Knowing these tips will surely come in handy to many of us out here. Thanks for your very detailed and well-illustrated instructions.
Hugs my friend,
Lynn