Using a crate is a super easy way to make a wooden dog toy box for your pampered pet! You’ll be ready to start organizing your dog toys in just a few hours!

I’ve got some big news, my friends! We recently adopted a dog and are absolutely in love with him! He has completely taken over our life. Roscoe was turned into a shelter as a stray and spent 6 weeks there and then a little more time with a foster before he came to our home. We don’t know much about his history other than he’s about 2 years old, but we have made it our mission to give this guy the life he should have had all along. Just like with kids, it’s crazy how quickly we accumulated toys for him. They were piling up in his bed, but the pile was getting too big! I needed to find a new place to keep them, so I came up with a cute dog toy box to store them in.
This post contains some affiliate links for your convenience (which means if you make a purchase after clicking a link I will earn a small commission but it won’t cost you a penny more)! Click here to read our full disclosure policy.
How to Make a Personalized DIY Pet Toy Box
This wooden dog toy box is an incredibly easy DIY project that you can finish in less than a couple of hours!
1. Gather Your Supplies and Tools
- wood crate
- sandpaper
- mouse sander (optional)
- wood filler
- spray paint
- drawer pulls (similar)
- vinyl letters or decals (if you don’t have a cutting machine)
- adhesive vinyl
- Cricut or other vinyl cutting machine (You can download the SVG file using the signup link below.)
2. Sand All Sides of your Wooden Crate
The outside of the crate is fairly well sanded, but the inside is a little rough, so I went over it with my mouse sander so that toys won’t get caught on it. I also filled in the staple holes with a little wood filler and sanded them smooth once the filler dried.
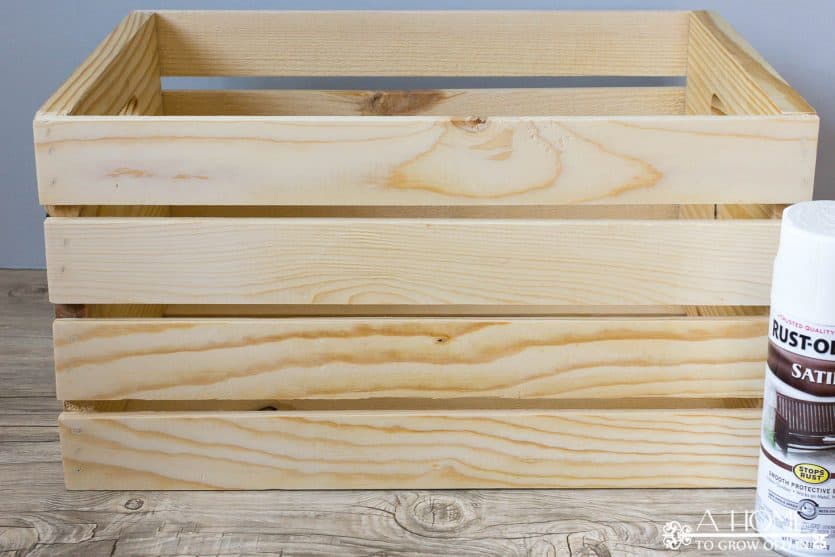
3. Paint the Wooden Crate
I vacuumed off all of the dust and gave the crate a couple of coats of white spray paint.
4. Cut Your Design Out Using Adhesive Vinyl
While the paint is drying, download using the signup below and cut out your design with your Silhouette Cameo or Cricut.
These Printables and/or SVG designs are exclusive for A Home To Grow Old In subscribers to download for FREE. Just sign-up below and you’ll receive an email with the information to access the resource library that contains the SVG.
Once you’ve confirmed your email address, you’ll be enrolled in our weekly newsletter full of our latest posts as well as content that is exclusive for A Home To Grow Old In subscribers. Plus, you’ll have access to our Resource Library that is full of free printables and SVG cut files.
Free printables and SVG files from A Home To Grow Old In are for your own PERSONAL USE ONLY.
In case you haven’t heard of Cricut before, it’s an electronic cutting machine. It looks and works a lot like a printer, except instead of using ink to draw lines or letters it has a tiny knife that cuts them out in various mediums like vinyl or fabric.
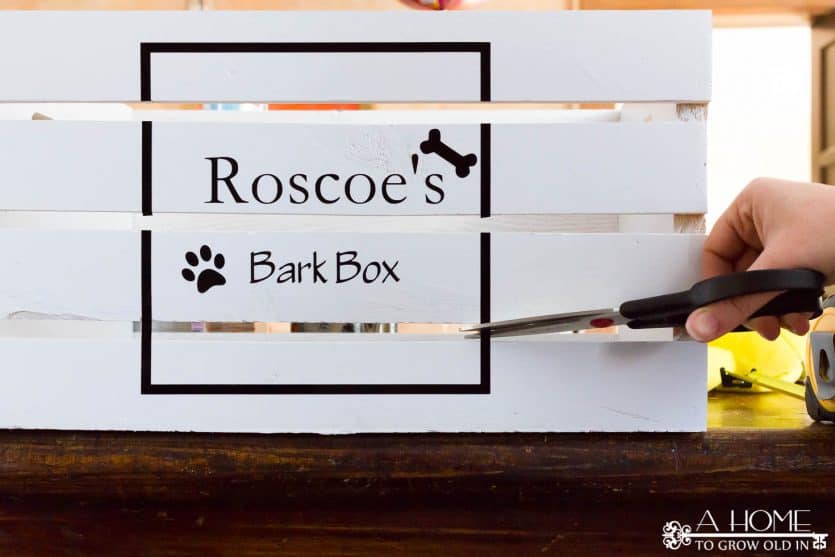
Cut the design out of permanent adhesive vinyl and apply it to the crate once the paint dries. I used scissors to snip the lines that overlapped the crate boards and folded the excess over the slats.
I planned to be done once I applied the vinyl, but when I stepped back to take a look at it, I felt like it needed a little something more. Then, I remembered some cup pulls I had leftover from another project and decided to add them to the sides after I sprayed them with my favorite gold spray paint. The crate already had openings on the sides of the crate to help you carry it, so the handles I added are purely ornamental, but they really help give it a more polished look.
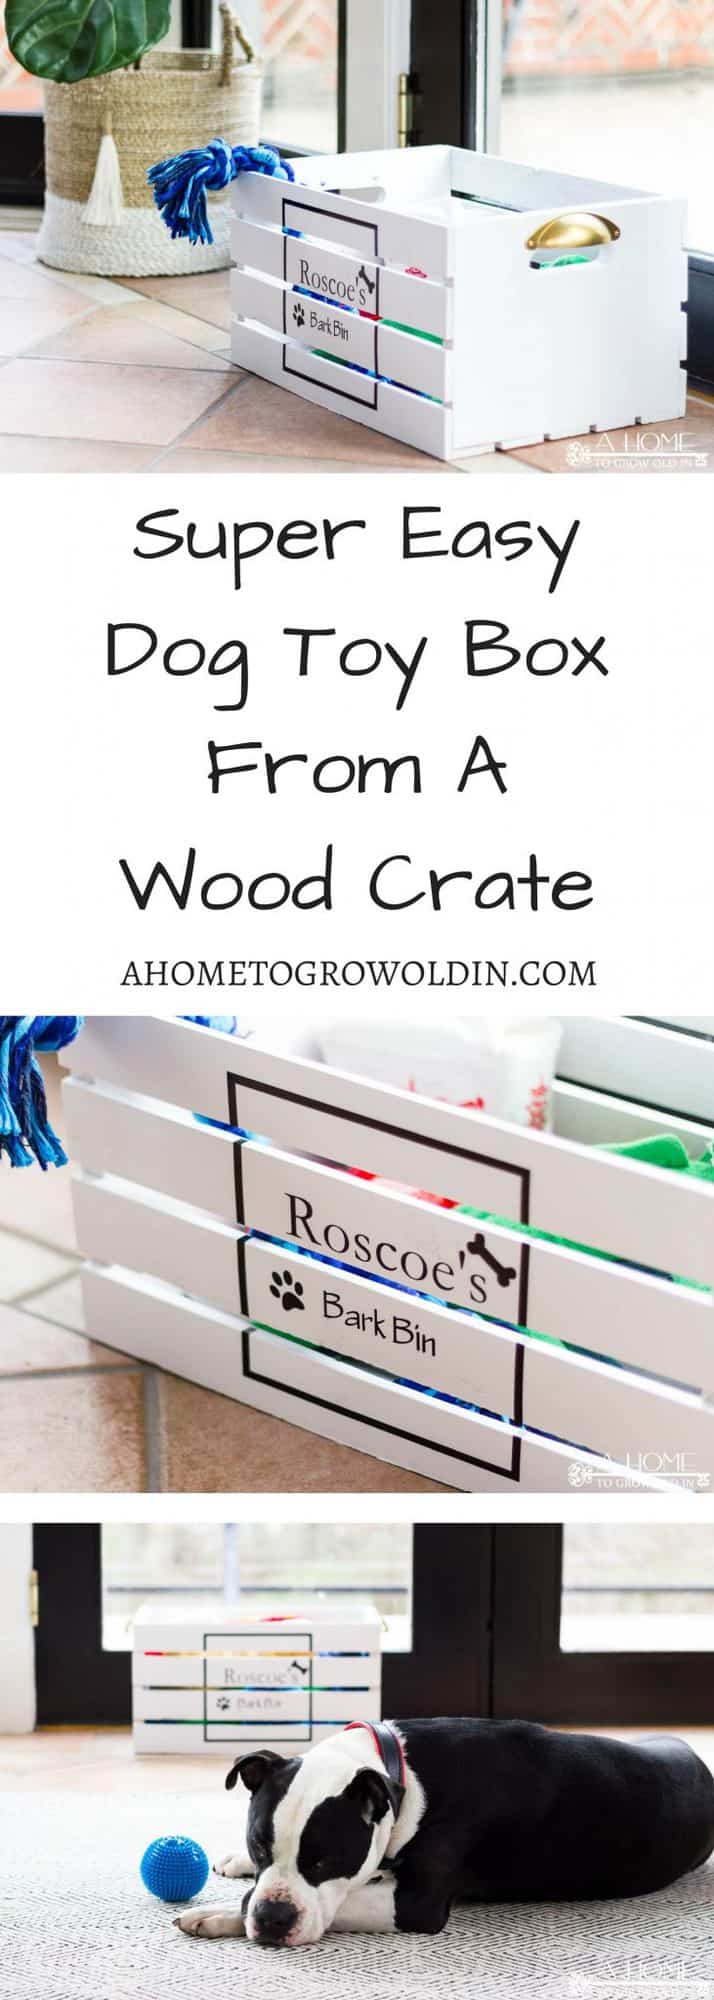
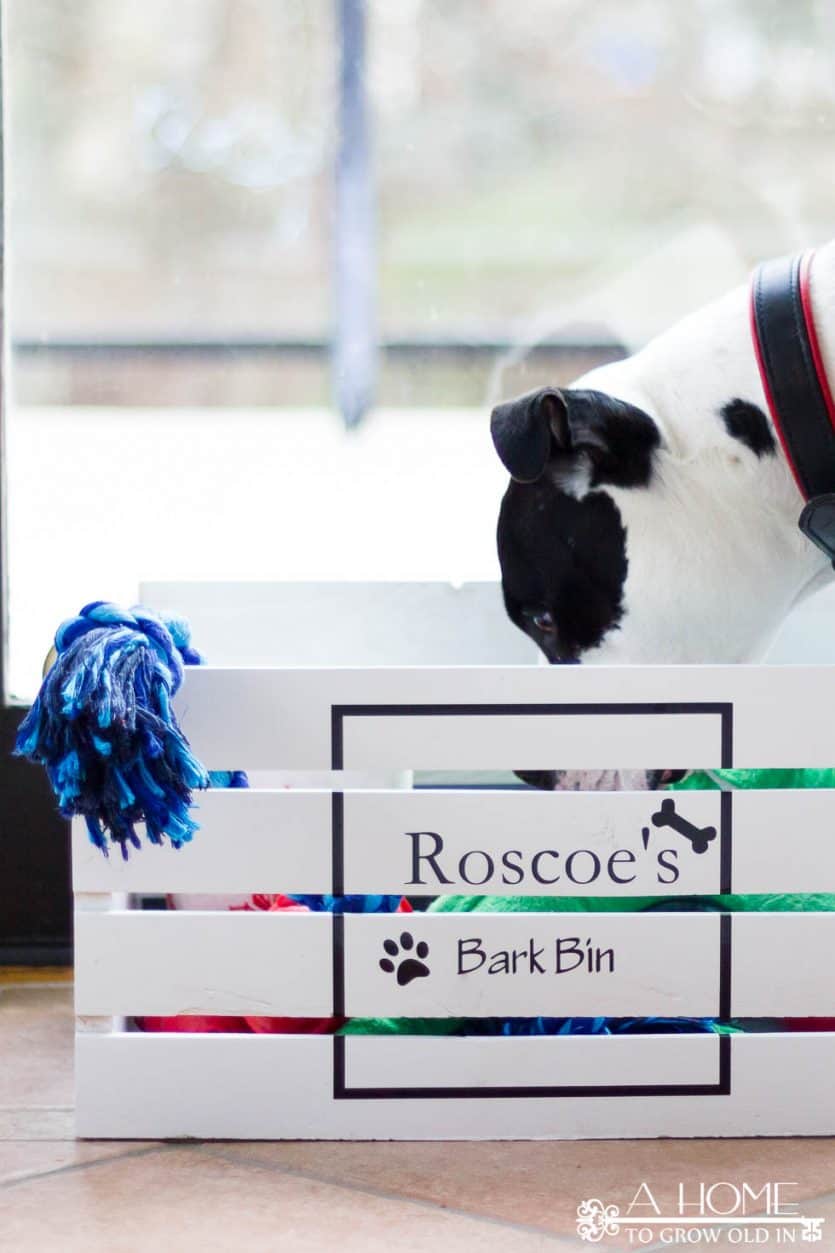
I’m almost ashamed at how easy this toy box was to make! I love that the crate is pre-made! All you have to do is give it a little paint and personalize it. It’s one of those projects that only took a little while to make but has already got a ton of use!
Use Your Wooden Dog Toy Box To Organization All Your Pet Clutter
I’d love to hear about your pampered pooches. How do you contain all of their toys? If you’re looking for more pet organizational ideas, check out these great dog storage ideas to contain all their clutter.
Tackle DIY Pet Beds, Food Bowl Stands, Leashes, and More
I gathered up 15 of my favorite DIY pet projects for both dogs and cats to share with you. There are so many great things that you can make for your furry friend! The great thing about DIYing your pet stuff is that you can make them exactly to your taste.
UPDATE: Unfortunately, less than 2 years after we adopted Roscoe he passed away from a mass on his spleen. He made a huge impact on our family in the relatively short time we had him, and he is missed very much.
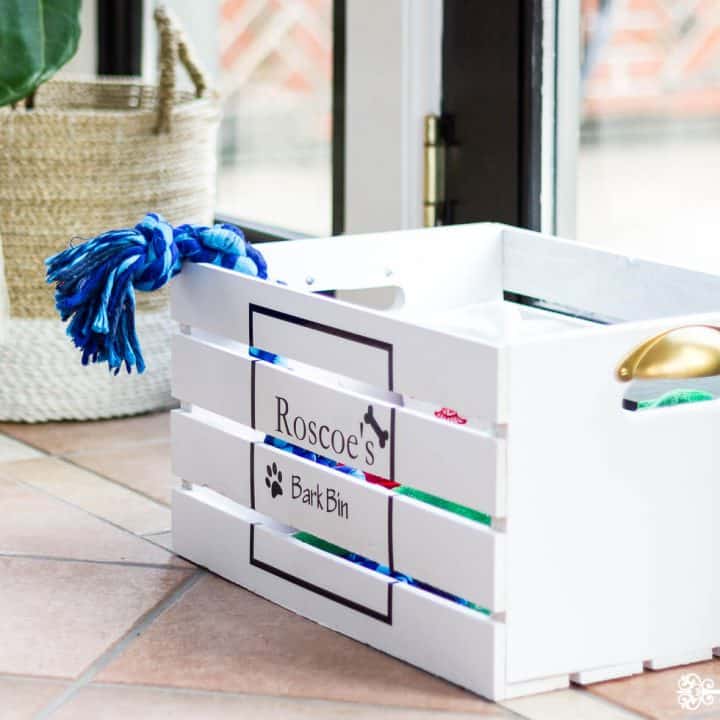
Easy DIY Dog Toy Box
Using a wooden crate is a super easy way to make a dog toy box for your pampered pet! You'll be ready to start organizing your dog toys in just a few of hours!
Materials
- wood crate
- sandpaper
- wood filler
- spray paint
- drawer pulls
- vinyl letters or decals (if you don't have a cutting machine)
- adhesive vinyl
Tools
- mouse sander
- Cricut or other cutting machine
Instructions
- Gather your supplies and tools.
- Sand all sides of your wood crate.
- Paint the wooden crate.
- Cut your design out using adhesive vinyl.
- Apply your adhesive design to the wooden crate once the paint dries.
- Start storing your pet's toys in your new toy box!
Originally posted March 2017. Updated September 2019.


Awwww, I have missed your posts, but I am happy you have found a new dog. He is so cute and I love this box you made! We keep Charlies toys in a basket, but I may have to make him a crate like this!
Thank you so much, Mary! Hearing that makes my day! I’ve missed being on here, but we’ve been having so much fun with our pup! I’m hoping to get back on schedule with posting again.
Awwww…what a cutie patootie! And a lucky boy to boot. I love that you plan on giving him the live he deserves…we speak the same language. And as lucky as he is, I know your family is better off with him in it.
Congrats to all of you.
And your bark box…too damn cute. Flora’s toys rarely get rounded up but when they do it’s in nothing as spiffy as Roscoe’s box. I’m not gonna show her…she’ll be jealous.
Have a great weekend my friend.
Hugs, Lynn
I love your new dog, Robin! Such a sweetie! And that box will be perfect for him. Our Molly was so small, we just kept her toys in a dog bed that she never used anymore.
Hi Robin, love this cute storage box. I’ve recently written a post about upcycled dog toys so have put a link to this tutorial in my post. Your dog looks absolutely gorgeous, great photos.
Hi Robin,
I love the toy box! Although Zak is one third Rosco’s size, he’s toy obsessed and I’ll need to make two boxes 🙂 They are so cute!
Congrats on Rosco! He is soooo adorable. I love the toy bin you made for him. I’m sure he loves it too!
Your family taking him in and giving him such a great life melts my heart. I love the crate idea. I need to make one of these because my floor looks like I have a toddler because my dog has her toys all over it.
I don’t have a dog, but I still love how you used the crate, I’m actually thinking now of how I can totally do the same thing to coral other things around my house a bit nicer! I’d love for you to share this at linkup, you can find it starting every Friday on my blog, http://www.domesticdeadline.com