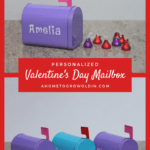
This inexpensive Personalized Valentine’s Day Mailbox is so easy to create and makes a super cute kid’s gift from a parent or grandparent or a box for school cards and candy.
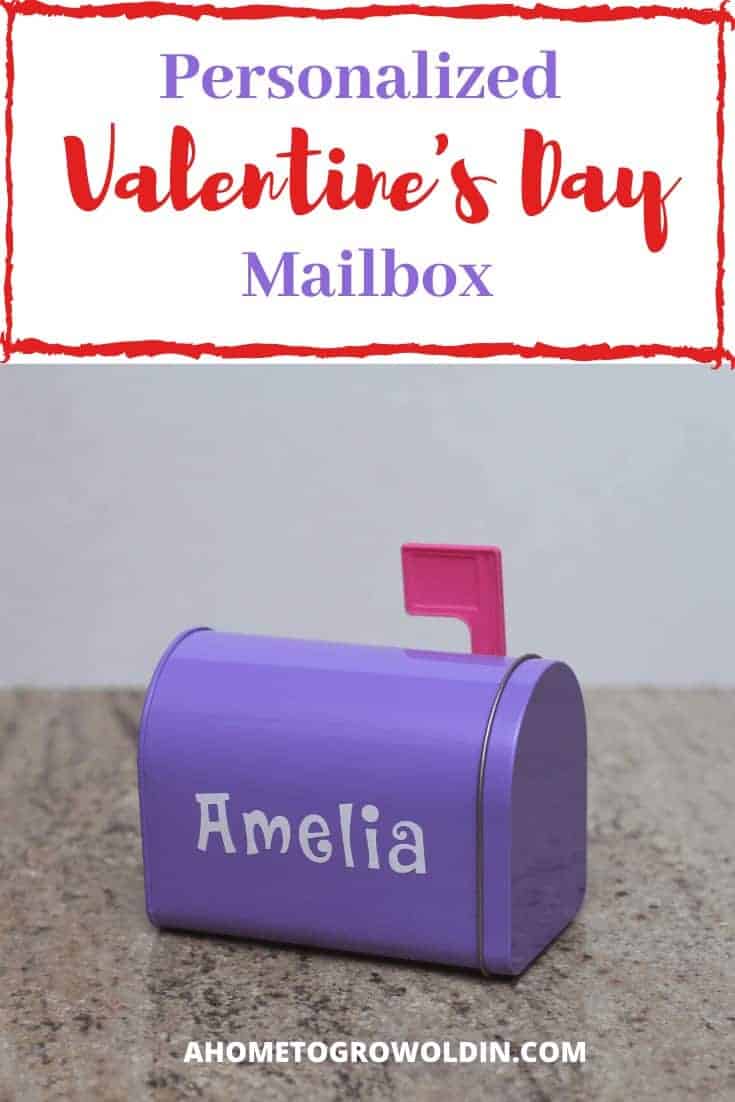
Every time I go to Target (which may be quite frequently!) I have to take a look at the dollar section right by where you walk in the store. It doesn’t help that I usually have my children with me and they always ask to look here as well. This is where I got the idea to make this cute personalized Valentine’s Day mailbox.
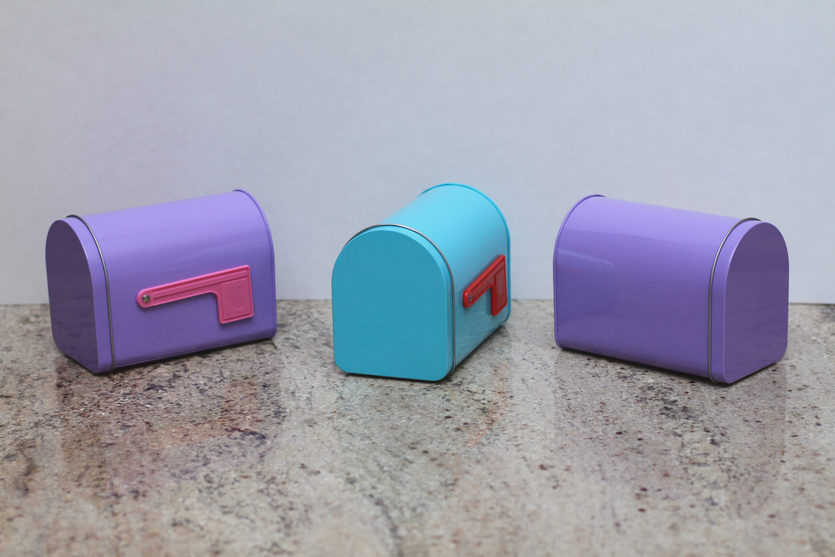
I saw the different colored mailboxes in a bin for only $1 each. Since I love using my Cricut, I figured I could personalize the mailboxes by adding each child’s name on them. I decided they would make cute gifts for my nieces and nephew.
This post contains some affiliate links for your convenience (which means if you make a purchase after clicking a link I will earn a small commission but it won’t cost you a penny more)! Click here to read our full disclosure policy.
HOW TO MAKE AN INEXPENSIVE PERSONALIZED VALENTINE’S DAY MAILBOX
It is ridiculous how easy these were to put together. Yet, they are such a cute and thoughtful gift for the recipient.
TOOLS AND SUPPLIES NEEDED:
- Mailbox (I got mine from the dollar section at Target)
- Cricut, or any vinyl cutting machine
- Adhesive vinyl
- Standard grip mat
- Transfer tape
OPTIONAL SUPPLIES:
- Vinyl letters (if you don’t have a vinyl cutting machine)
- Weeding Tool
- Scraper
INSTRUCTIONS:
1. Create and cut out your recipient’s name on adhesive vinyl
Using Cricut design space, type out the name of the child in any font you wish. The font I used was DK Jambo from DaFont. Then cut it out on adhesive vinyl with your Cricut machine, or other vinyl cutting machine.
I have the Cricut Maker, which is their latest version. It’s an electronic cutting machine that can cut vinyl, paper, fabric, faux leather, balsa wood, and more. The Cricut uses different tools from blades and scoring wheels to pens that cut, draw, and emboss on these mediums, making the possibilities endless.
If you don’t have a vinyl cutting machine, you can easily purchase vinyl letters at a craft store and stick those on your box.
2. Weed adhesive vinyl
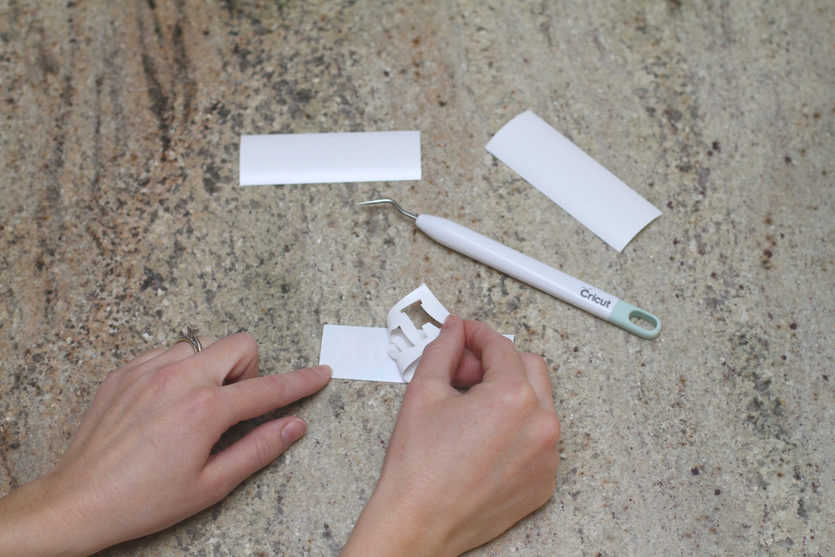
Weed your design by removing all the negative pieces, leaving the liner intact. While you can do this part by hand, having the weeding tool set does make this part go faster and easier.
Once you’ve confirmed your email address, you will receive our weekly newsletter full of our latest posts, as well as content that is exclusive for A Home To Grow Old In subscribers. Plus, you’ll have access to our Resource Library that is full of FREE printables and SVG cut files.
3. Prepare vinyl design with transfer tape
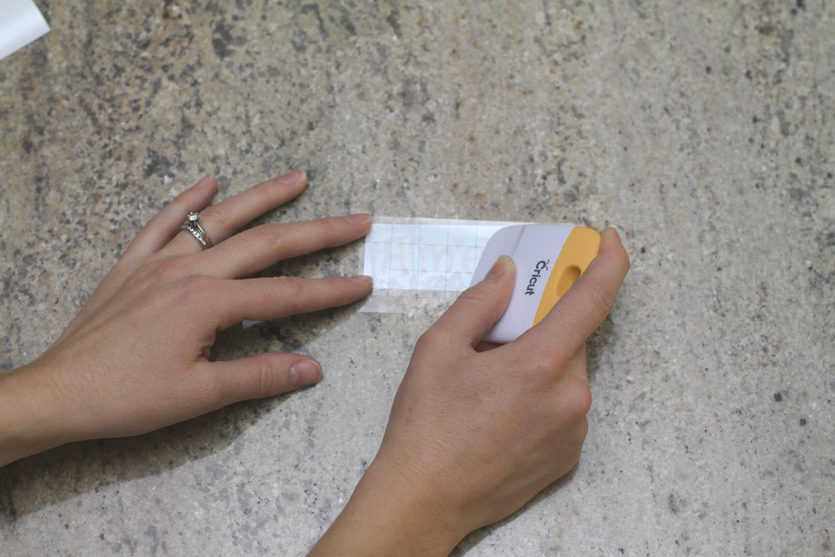
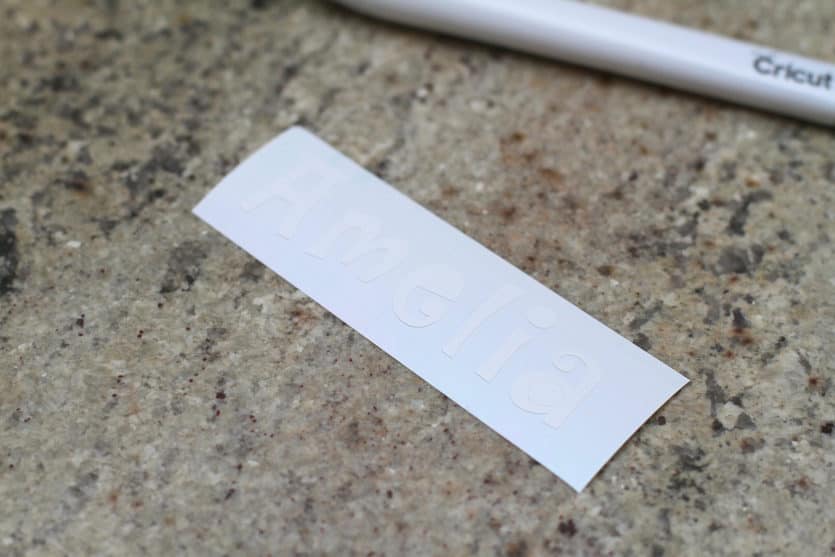
After all the negative pieces are off the liner, it’s time to put your design on the transfer tape. Remove the transfer tape liner and carefully place the transfer tape, adhesive side down, on your design. Now burnish (rub) the tape onto the vinyl to ensure it sticks firmly. While a credit card works well for this part, it is helpful having the scraper.
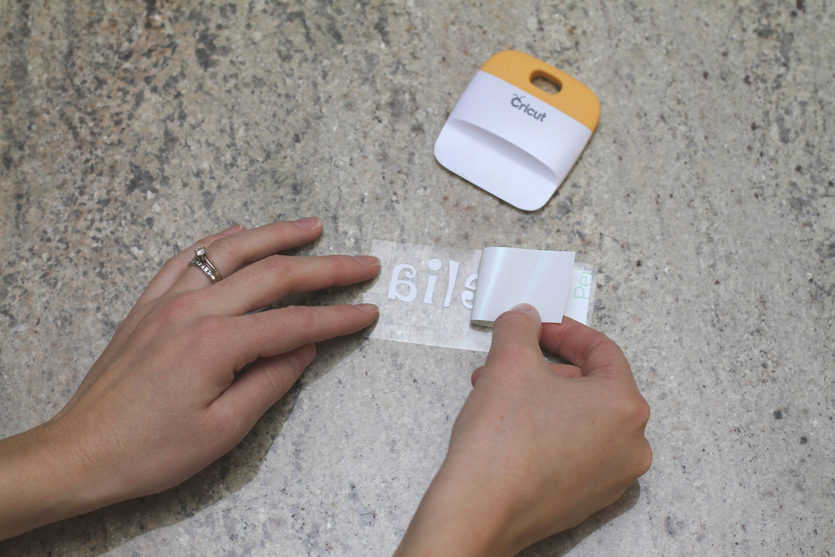
After the transfer tape is on, slowly peel the vinyl liner off at a 45 degree angle. If any of the vinyl sticks, rub the transfer tape with the scraper again, then continue to peel the liner off. I found it helpful to also burnish the backside of the vinyl design, directly on the liner. It made it easier to peel the liner off without the vinyl sticking.
4. Apply design to surface of Valentine’s Day mailbox
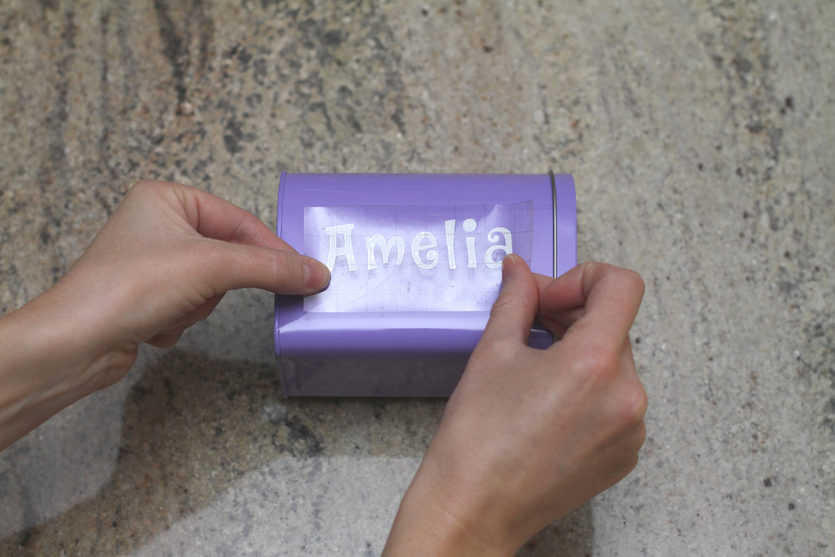
Carefully apply the design, using the grid on the transfer tape to help you with layout position.
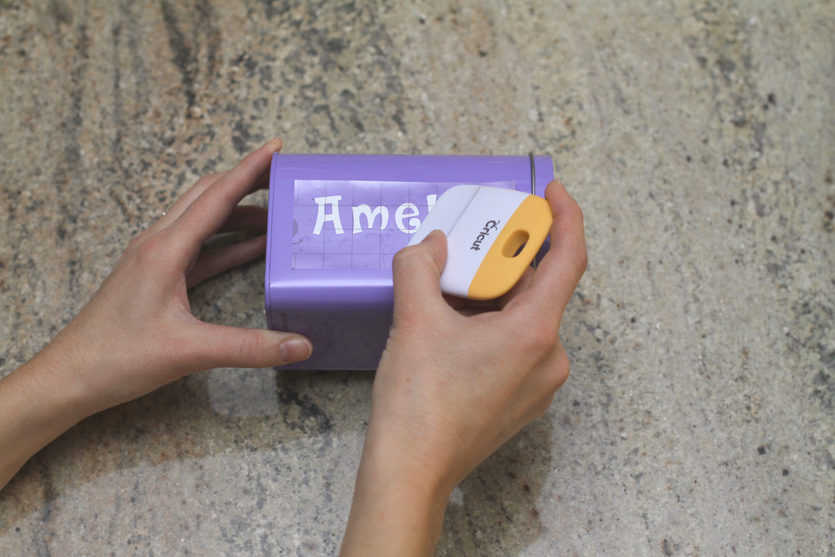
Once your design is where you want it on your Valentine’s Day Mailbox, use your scraper to burnish it. Starting from the center and working out to the edges is helpful in removing bubbles. Afterward, slowly peel the transfer tape off at a 45 degree angle. Same as above, if any of the vinyl is still sticking to the tape, then just rub it with the scraper and try peeling again. I find the vinyl sticks quite well to the surface and I don’t have much trouble peeling off the tape.
5. Your Valentine’s Day Mailbox is now ready to use or be gifted!
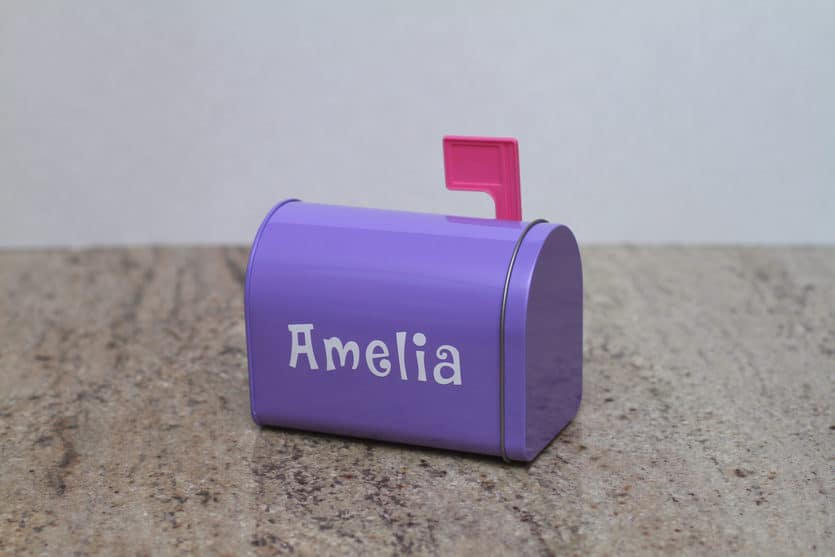
How adorable and easy was that?! I love finding an item that I can personalize to give as a thoughtful gift. I repeated the process for the other two mailboxes. Depending on what you are using them for, you can decide how much you want to decorate them. I wanted to provide my nieces and nephew with a gift that they could use throughout the year.
I have seen some creatively decorated mailboxes with hearts, bows, gems, and all sorts of stickers. What is great about this project is that you can choose how creative you want to be. No matter how you embellish these mailboxes, your recipient will love them.
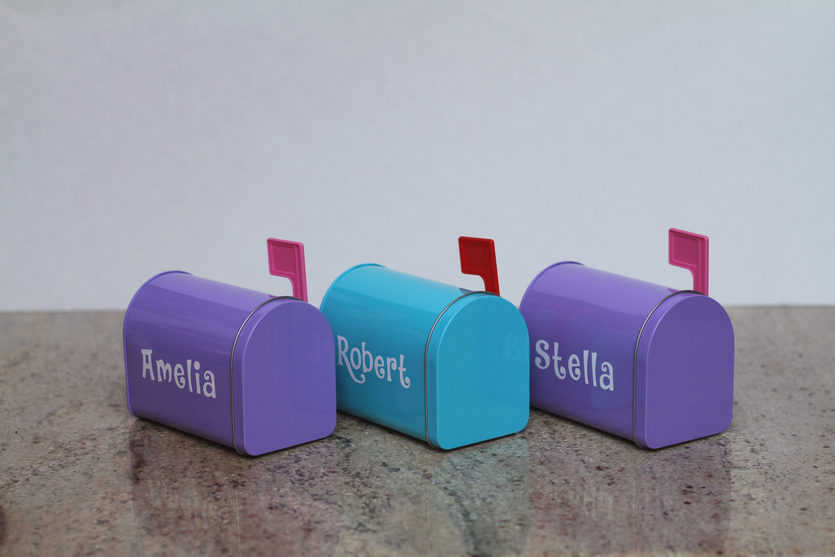
WHAT CAN YOU PUT IN A VALENTINE’S DAY MAILBOX?
Valentine’s Day Mailboxes are popular at school where children hand out valentine’s gifts to all their classmates. These would make great Valentine’s Day boxes for school. The little cards and candy that classmates hand out would fit in these mailboxes and look cute on their desks.
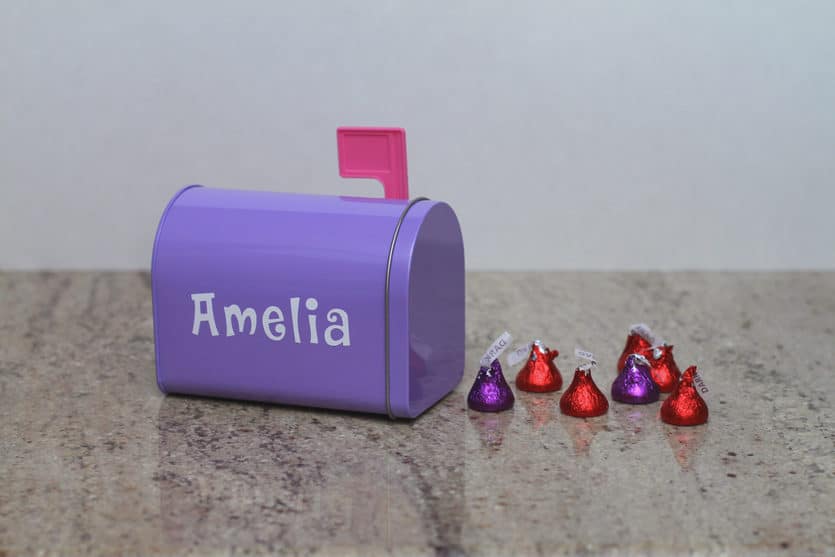
Instead of making them for your children for school, you can do what I did and make them as a gift. Grandparents wanting to do a little something special for Valentine’s Day can personalize the mailbox. Then, they can add a little card, candy, or even a small stuffed animal to gift to their grandchildren. Tie a bow on it and it makes an easy adorable DIY gift. There are so many creative ideas for Valentine’s Day boxes that you can make a couple of different varieties.

How to Make a Personalized Valentine's Day Mailbox
This inexpensive Personalized Valentine’s Day Mailbox is so easy to throw together and makes a super cute kid’s gift from a parent or grandparent or a box for school cards and candy.
Materials
- Mini mailbox
- Adhesive vinyl
- Transfer tape
Tools
- Cricut
- Standard grip mat
- Weeding toolset
- Scraper
Instructions
- Create and cut out your recipient's name on adhesive vinyl.
- Weed adhesive vinyl.
- Prepare vinyl design with transfer tape.
- Apply design to surface.
- Your Valentine's Day mailbox is now ready!
We would love to see how you decorate your Valentine’s Day mailbox. If you make one, please tag us on social media so we can see it!
What’s Next?
You may also enjoy these Valentines ideas on A Home To Grow Old In:



Leave a Reply