This post contains some affiliate links for your convenience (which means if you make a purchase after clicking a link I will earn a small commission but it won’t cost you a penny more)! Click here to read our full disclosure policy.
The living room has had some big changes in just a short time. I had family visiting, so, of course, I put them to work while they were here. Makes you want to come visit me, doesn’t it? #familyischeaplabor In just an afternoon, we got the living room painted. Goodbye antique white! I also picked a rug, which was just delivered, and found an amazing coffee table. I cannot even begin to tell you of my love of this coffee table. All I can say is that it’s vintage, brass, and awesome! There’s still lots to do in the room, but it looks so amazing in just a short period of time! Sit tight, and I’ll be revealing it all as soon as I get a few more things done.
One of the things I noticed when I started setting up the room was how much warmer the room looked with the rug and some more furniture. It’s made me rethink putting up curtains. Initially, I thought I needed curtains to help warm up the room. The windows on both ends of the room are one of its best features, and unfortunately I think the curtains would take away from how beautiful the windows are. We don’t really need them for privacy, and now that I’ve seen how the room looks a little more finished, I’m thinking they are just not necessary.
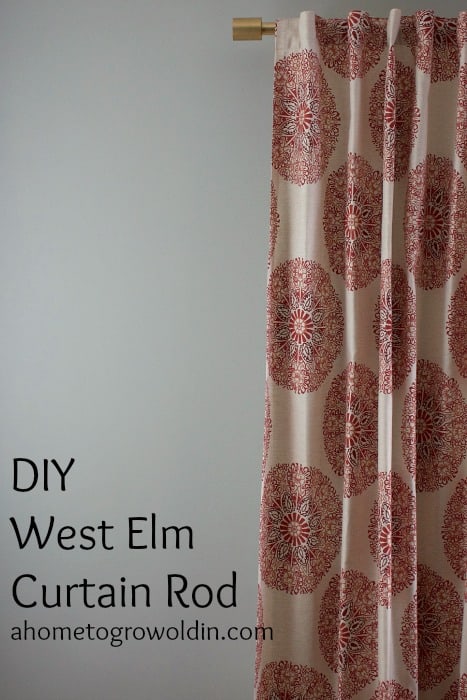
The big heartbreak in all of this was that I was really excited about the curtain rods I planned to use. I included the West Elm Oversized Curtain Rods in my inspiration board for the living room, and I didn’t want to just forget about them. No worries, though, I’ve found another room I can use them in. The window in our guest bedroom is very large, and it was really hard to justify the cost of the West Elm version, so I thought of a way to come up with something very similar.
The links in this post may contain affiliate links, and I will receive a small commission if you make a purchase after clicking on my link. This does not change your cost at all, and I would not promote anything that I would not buy myself. That’s not my style! Thanks for your support!
Here are the parts that I used:
- Ikea Hugad Curtain Rod
- Ikea Betydlig Wall Brackets
- 2 in. round dowel
- Wood Pole Connector Screws
- Spray Primer
- Rust-Oleum Metallic Gold Spray Paint
- Sanding sponge, 120 and 220 grit
- Tack cloth
To start, we cut two 2.5″ lengths off the dowel with our miter saw. You can also probably get the nice folks at the hardware store to do this for you. *Quick tip- If you cut these pieces yourself, it helps to wrap painter’s tape around the area where you make your cut. The tape will help keep the cut edges from splintering as much.* These are the pieces that became the finials.
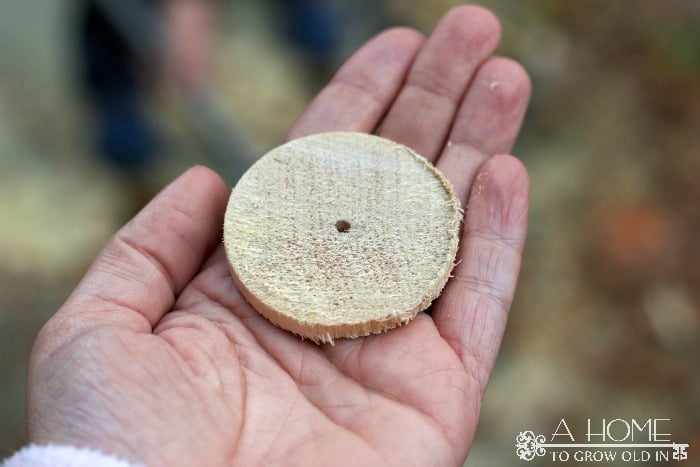
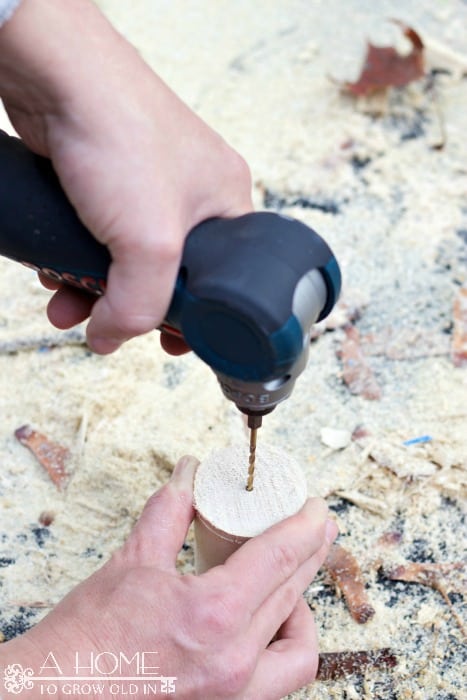
Next, we drilled a small pilot hole into the center of one end of each finial for our connector screw. This was actually the trickiest part. It was pretty difficult to get the pilot hole centered, so we created a template. We cut off about a .25″ piece of the dowel, and marked the center. We then drilled a small hole all the way through the .25″ piece of dowel, and used this as our template. It was much easier centering the drill on the thinner piece of wood than the finial piece, and it gave us consistency on both finials. The template was held on top of the finial piece to align the drill bit so that our pilot hole was perfectly centered on the finial.
Once we had our pilot hole done, I gave the finials a really good sanding, starting first with the 120 grit sanding sponge and finishing with the 220 grit sponge. If your saw left a lot of splinters on the finial you may need to start with a smaller grit sponge and work your way up to the smoother sponges.
Then, the finials, curtain rod, and brackets received a coat of a spray primer. After the primer dried, I gave everything a very light sanding with the 220 grit sanding sponge to make sure the paint had a very smooth surface to adhere to, and wiped everything down with a tack cloth to make sure there was no dust left behind. I used 2 coats of gold spray paint to top it off.
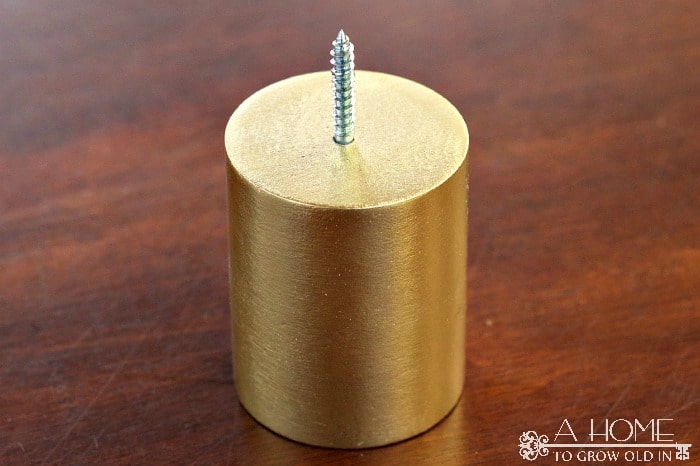
The only thing left to do once the paint dried was to screw one side of the connector screws into the pilot holes in each of the finial pieces. The finished finials can then be screwed into the curtain rod once it is hung.
Guys, this project was super easy and fun! My husband and I worked on this together, which we always enjoy doing. Plus, the total cost of curtain rod only cost me about $25 (which is over $130 savings off the real deal), and I have plenty of dowel left if I want to make more. Minus the paint drying time, I think this project took us less than an hour and a half, and that was with us stumbling and figuring things out along the way.
I’m so excited with how these curtain rods turned out! If you try this out, I’d love to see your pictures. Tag me at #ahometogrowoldin, and let me know how you like them.
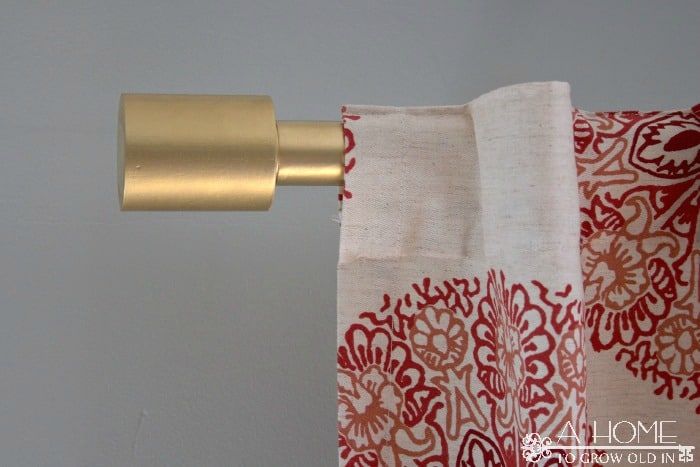
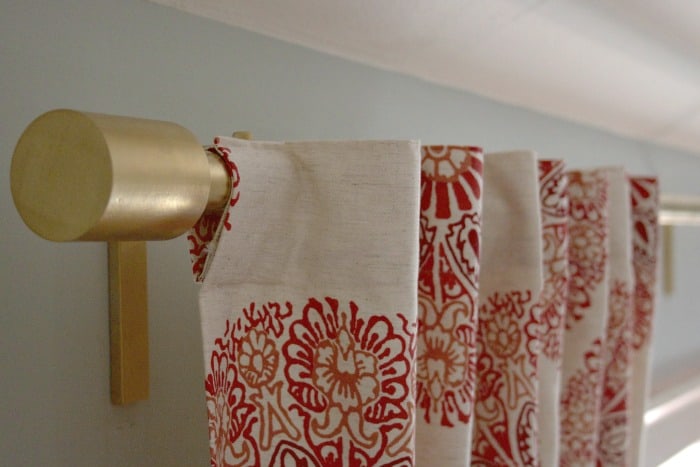
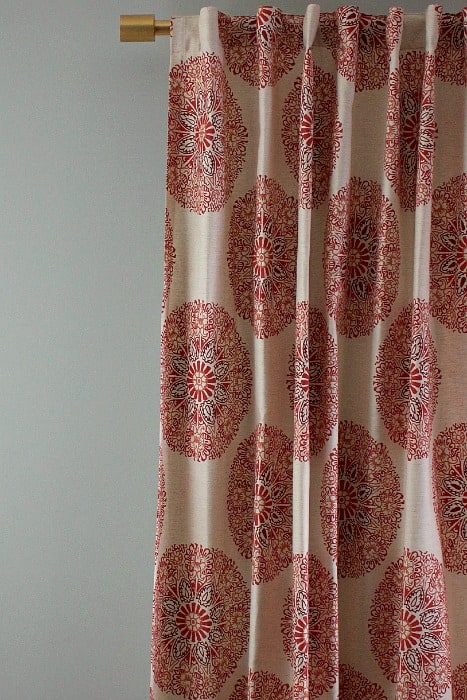


Robin, great thinking on making your curtain rod have just that little bit more ‘it factor’. Love them and have pinned the idea as i intend to borrow your idea sometime in the near future! Thanks for sharing.
I’m so happy to hear that you like it! Let me know how it turns out. Thanks!
Great project and I love the finished look. Thank you for taking the time to link up your project with us at the Brag About It link party!
~Laurie
Thanks, Laurie! And, thanks for hosting!
This is a great project and I love the finished look. Plus {gold}.
Thank you for sharing this week at Brag About It link party on VMG206 (Mondays at Midnight). I plan to feature you next week!
~ Megin of VMG206
That’s awesome! I love your link party! Thank you so much!
Your curtain rod turned out beautifully. It has a very expensive look. Thanks for sharing. I will be pinning to come back to later. ~Jennifer
Thanks Jennifer! I couldn’t be happier with how they turned out. Let me know if you make them.
Love this idea and I need some living room curtains. Thank you for the suggestions.
Jen
#pinterestparty
That’s so nice to hear, Jen!
What a great idea, they look fantastic! Ikea is the only place I shop for curtain hardware!
Thanks Jesica! It’s hard to beat Ikea. Glad to hear you like them.
YAY! I was super sad when I priced the West Elm one and the Crate and Barrel curtain rods like these. Didn’t want to drop over $100 on a curtain rod and so I’m so excited to take on this project! Thanks for the great inspiration!
I feel ya on the the price, Meridith! The room I originally planned on using these in needed 2 rods, and even though I loved how they looked, I just couldn’t bring myself to spend over $200 on them. Thanks so much for stopping by!
I love way you and your hubby made. I never gave curtain rods much thought, but after seeing yours, I must change that. Your curtain rod is very beaùtiful.
Ivory, you are so sweet! I can’t bring myself to pay for those expensive curtain rods, so this ended being a great way to get the same look for less money! Thanks so much for checking it out!
Hi Robin, I have a few questions. which color rod did you choose to spray paint? I’m assuming you chose one that would be easier to coat. And how many coats did it take to get your desired color? I’m new to all of this.