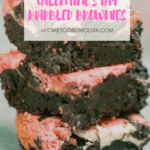
Valentine’s Day is the perfect day to give out these delicious fudgy cheesecake marbled brownies as a yummy treat with our free printable gift tag.
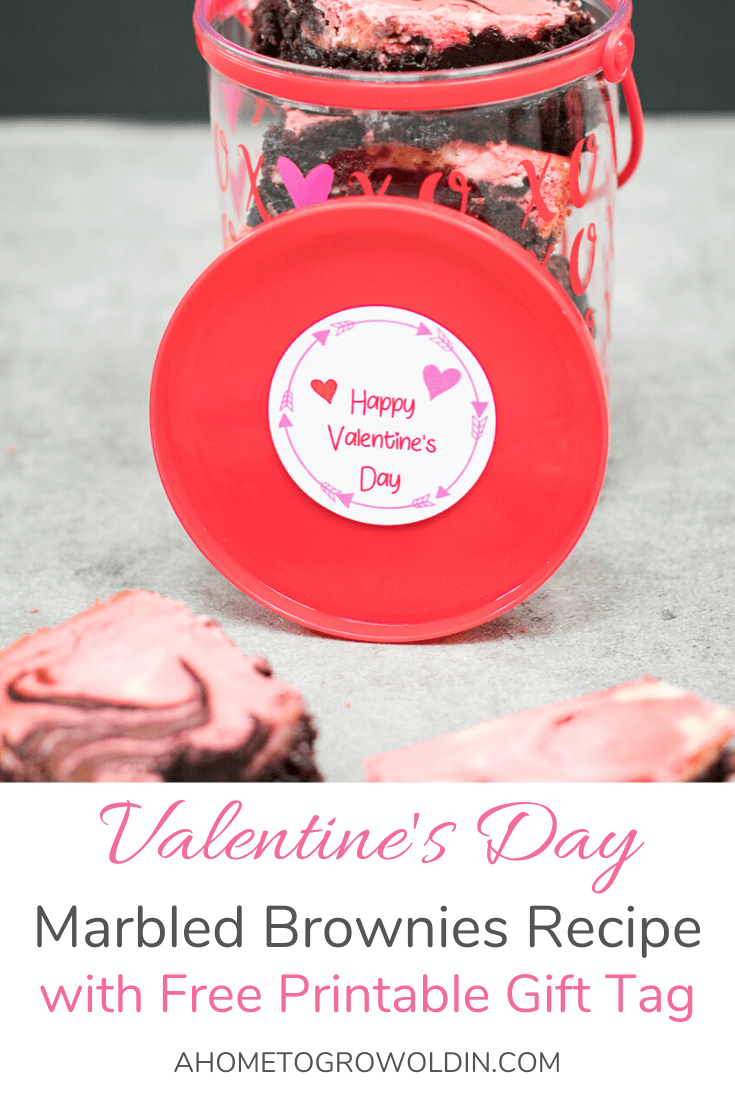
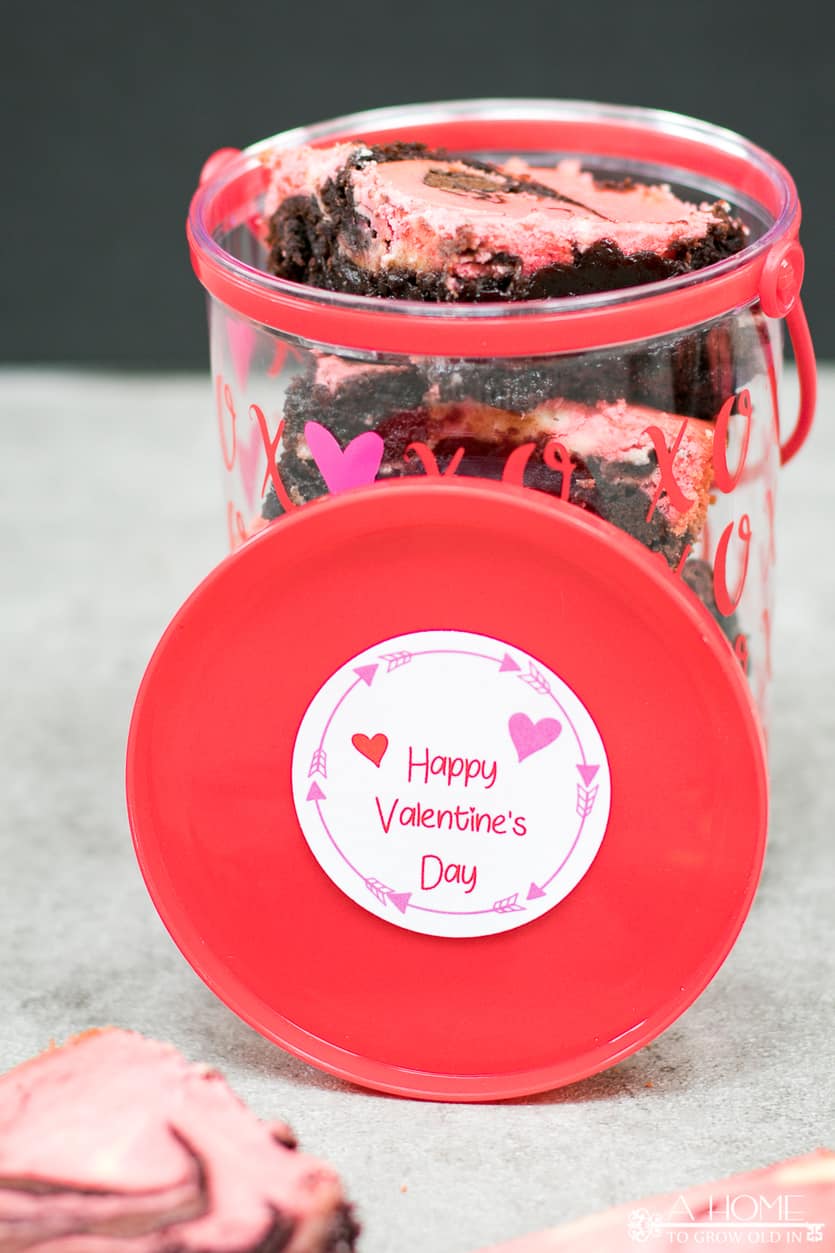
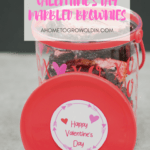
Valentine’s Day is a fun holiday to give out cute little gifts. Therefore, when I came across these adorable Valentine’s containers at the Dollar Store, I knew what I was going to do with them. They fit these delicious marbled brownies perfectly and with our Valentine’s gift tag, make a great gift for the boys’ teachers.
My boys’ classroom tic-tac-toe Valentine’s gifts are all set, but I hadn’t figured out teacher gifts yet. I made a change to the marbled brownies recipe so that they would be more Valentine-y (red food coloring) and they are good to go!
This post contains some affiliate links for your convenience (which means if you make a purchase after clicking a link I will earn a small commission but it won’t cost you a penny more)! Click here to read our full disclosure policy.
What other occasions can you make fudgy marbled brownies for?
These super yummy marbled brownies are an excellent dessert choice for any time of year, just leave out the red food coloring. You can totally customize them for other holidays as well. Looking for a St. Patrick’s Day treat? Then, add green food coloring. Easter is coming up. Do you want to serve an easy Easter treat? Make these marbled brownies, but add purple and/or yellow food coloring to the topping mixture.
How do I access the free Valentine’s Day gift tag printable?
If you are making them for a cute Valentine’s gift like us, then download our free printable gift tag to adorn your container. They are the perfect size to cut out with a 2″ circle punch and then affix to your gift with double-sided tape. You can also punch a small hole at the top and tie a ribbon on it to hang from your Valentine’s container. The gift tags, as well as our recipe binder, are available in our resource library. Just use the sign up form below to gain access.
Once you’ve confirmed your email address, you will receive our weekly newsletter full of our latest posts, as well as content that is exclusive for A Home To Grow Old In subscribers. Plus, you’ll have access to our Resource Library that is full of FREE printables and SVG cut files.
How long do cheesecake marbled brownies last?
Do you need to refrigerate marbled brownies? Cheesecake brownies can be left at room temperature in an airtight container for a couple of days. Then, they should be refrigerated or put in the freezer. In the fridge, they can last about a week. If enclosed in a proper freezer bag or container, the brownies will last about three months in the freezer.
HOW TO MAKE VALENTINE’S DAY CHEESECAKE MARBLED BROWNIES
Making these marbled brownies is so easy because you just use a boxed brownie mix as the base. Then swirl in your simple ingredient cream cheese topping. If you are curious about other ways to take your basic brownie up a notch, check out these fun ways to jazz up boxed brownies.
KITCHEN TOOLS NEEDED:
- Mixing bowls
- Spatula
- Baking dish
- Straight spatula (I have one of these on hand, so I used it for the swirling)
INGREDIENTS NEEDED:
- Brownie mix
- Oil
- Eggs
- Cream cheese
- Sugar
- Vanilla
- Food coloring
INSTRUCTIONS:
1. Preheat oven and grease pan.
Preheat your oven to 325 degrees and grease your 9×9 baking dish.
2. Prepare the brownie box mix per its directions.
Follow the box brownie mix directions; adding the water, oil, and eggs, and mixing it all together. Reserve 1 cup of the batter. Pour the rest into the greased baking dish.
3. Make cream cheese topping.
Mix cheesecake topping ingredients. Then set aside 1 cup’s worth of the topping. Add a couple of drops of red food coloring to the cup’s worth and mix, to make it a shade of pink.
Tip: When using the gel food coloring, I recommend taking a toothpick and dipping it in the coloring. Then dip it into the white topping batter. Continue this way until you get your desired color. That way you don’t accidentally add too much color. You can always add more!
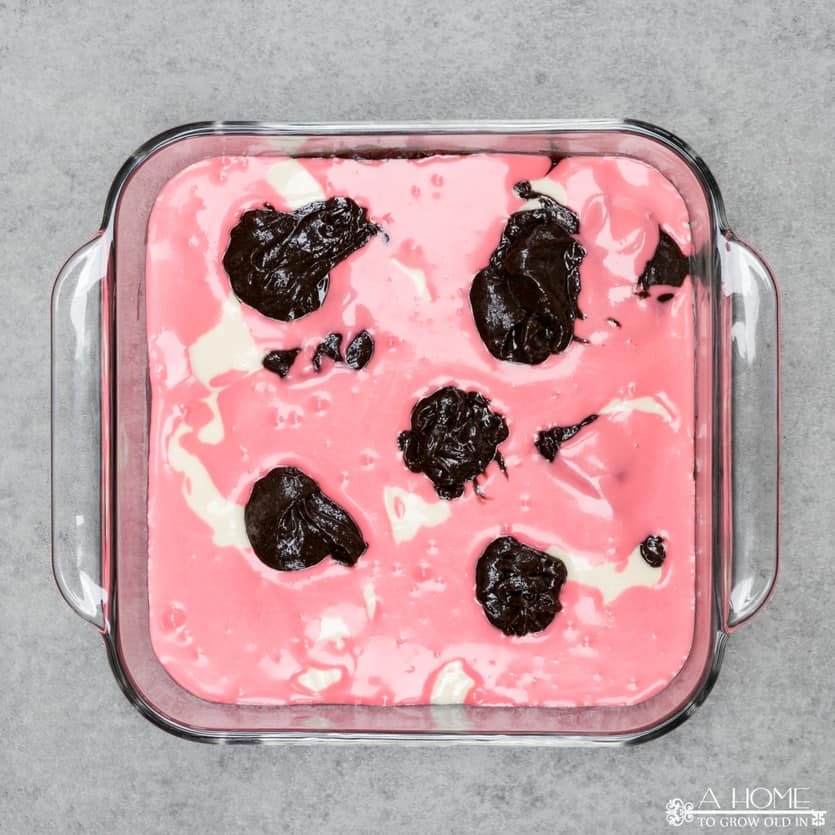
4. Dollop each of the three toppings on top of the batter in the pan.
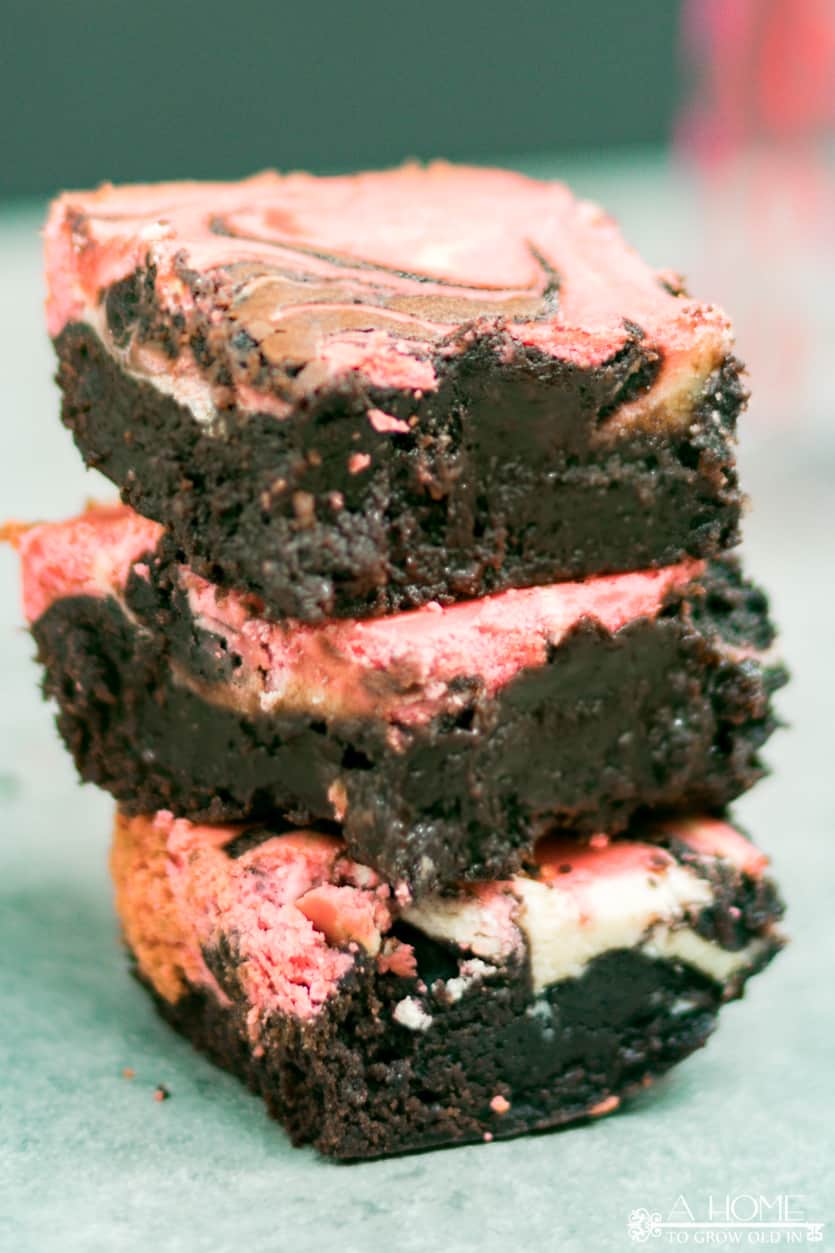
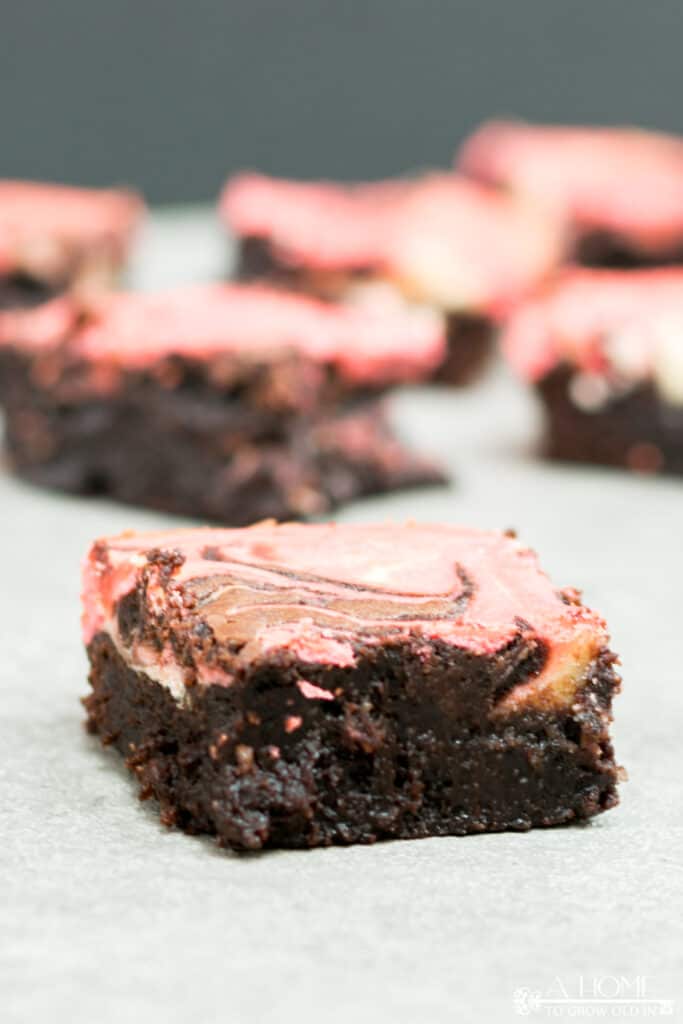
Take each of the three different toppings and layer dollops of each on top of the already poured brownie mix. Then use your knife to swirl them around to create the marbled effect. Doesn’t it look pretty with the pink?!
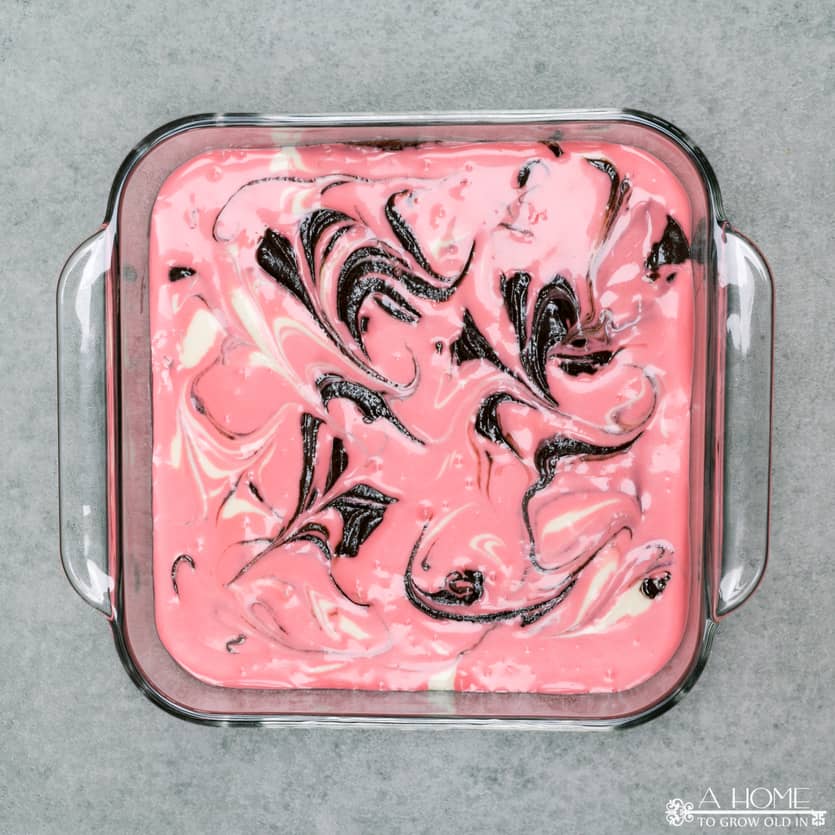
5. Bake marbled brownies.
Bake your brownies for 45-50 minutes. Make sure to check them towards the end and add 5 minutes if necessary.
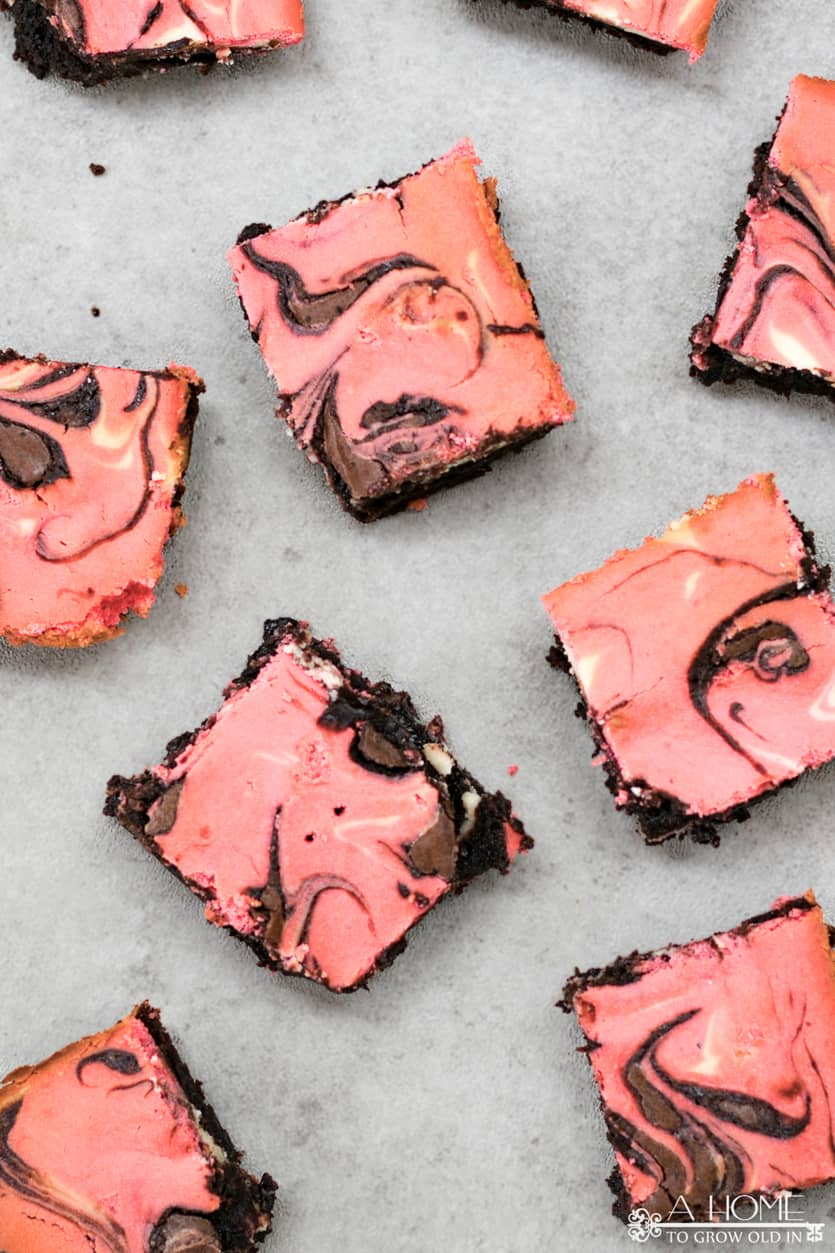
Allow the pan to cool on a wired rack. Wait at least two hours before cutting into them to allow the brownies to properly set. Then they are ready to eat! Or give away as a gift…. but you know you will be trying at least one!
Tips for baking marbled brownies
Cheesecake marbled brownies are a simple recipe to put together, but can sometimes be a little tricky to bake. After baking them several times, I have a few tips that may help you get the perfect brownie.
- First, add an extra egg to the brownie mix instructions. If it says two eggs, make it with three. That will ensure a cakier consistency that will help firm up the marbled brownies.
- Next, decrease the oven temperature by 25 degrees. I baked the brownies in a glass dish and the box said 350 degrees, so that is why I baked them at 325 degrees instead.
- Along with the decrease in temperature, increase your baking time 5-10 minutes. When the brownies are getting close to the end of the timer, check them every five minutes and add five minutes accordingly.
- Lastly, if the brownies appear to be cooking too much on the edges and need more time in the middle, line the edges with aluminum foil. This will add a layer of protection to the edges, while still allowing the middle the extra bake time it needs.
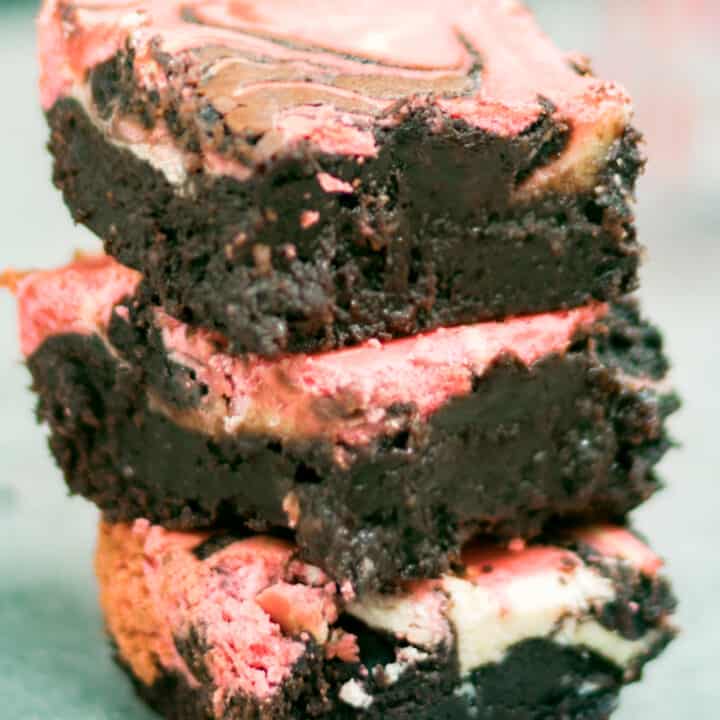
Valentine's Day Cheesecake Marbled Brownies
Valentine's Day is the perfect day to give out these delicious fudgy cheesecake marbled brownies as a yummy treat with our free printable gift tag.
Ingredients
- Brownie box mix
- 1/2 cup oil
- 4 eggs
- 8 oz cream cheese
- 1/2 cup sugar
- 1/2 tsp vanilla
- Red food coloring
Instructions
- Preheat oven to 325 degrees and grease a 9x9 baking pan.
- Prepare brownie mix per box directions. Reserve 1 cup of the batter. Pour the rest of the batter into the baking dish.
- Mix cream cheese, 1 egg, 1/2 cup sugar, and vanilla.
- Set aside 1 cup of the cream cheese topping and add a couple of drops of red food coloring. Mix to make a shade of pink.
- Layer dollops of the leftover brownie mix, white cheesecake mix, and pink mixture. Then swirl them around with a knife.
- Bake for 45-50 minutes.
Notes
Towards the end of the baking time, check the brownies every five minutes and add time if necessary.
Nutrition Information
Yield 9 Serving Size 1Amount Per Serving Calories 300Total Fat 25gSaturated Fat 7gTrans Fat 0gUnsaturated Fat 16gCholesterol 112mgSodium 130mgCarbohydrates 15gFiber 0gSugar 12gProtein 5g

What’s Next?
You may also enjoy these dessert ideas on A Home To Grow Old In:




Leave a Reply