I always thought pallet signs would be a piece of cake to make, and they’re really not that difficult, but there are a few things to think about before making your first DIY pallet sign.
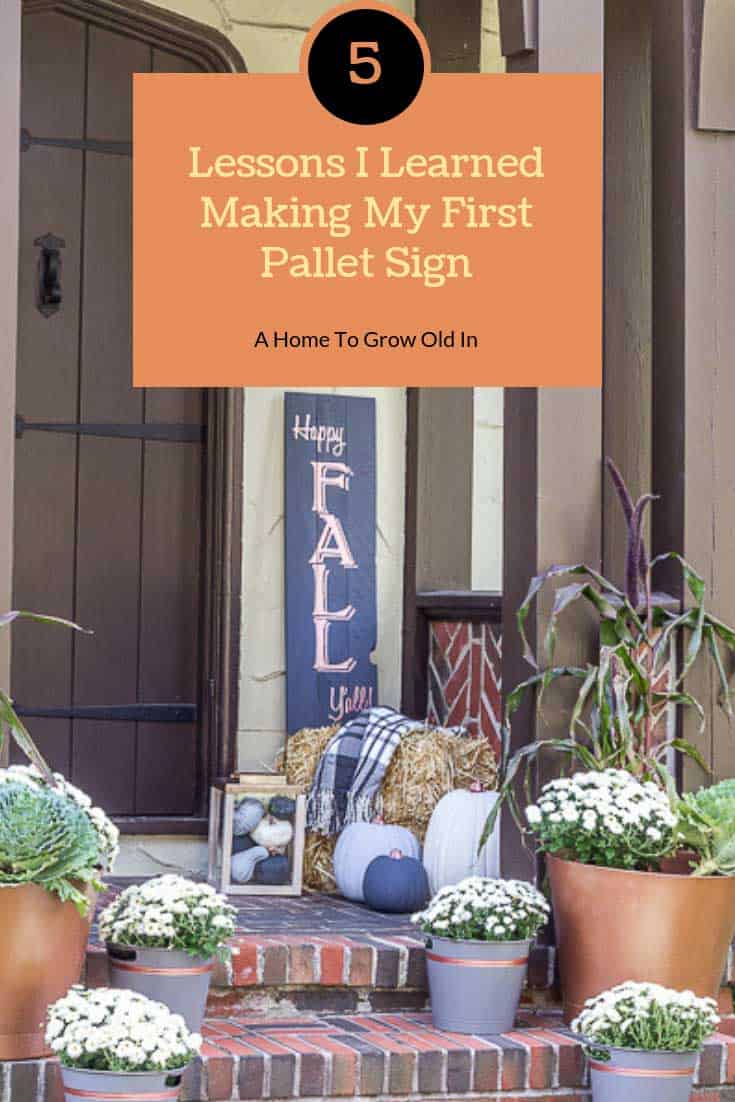
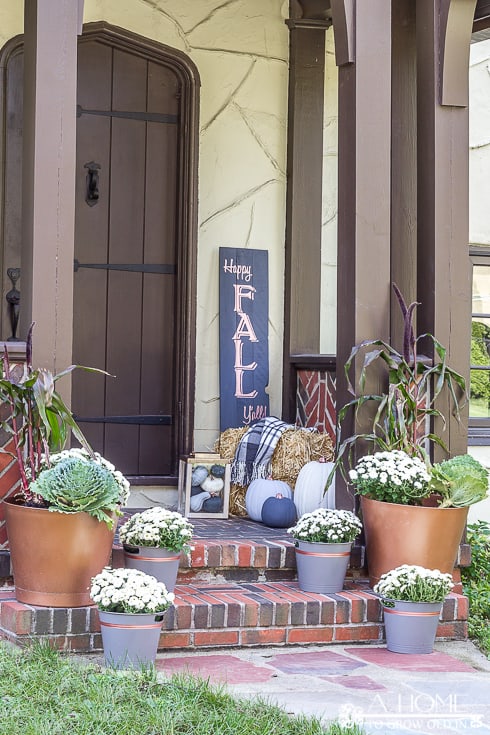
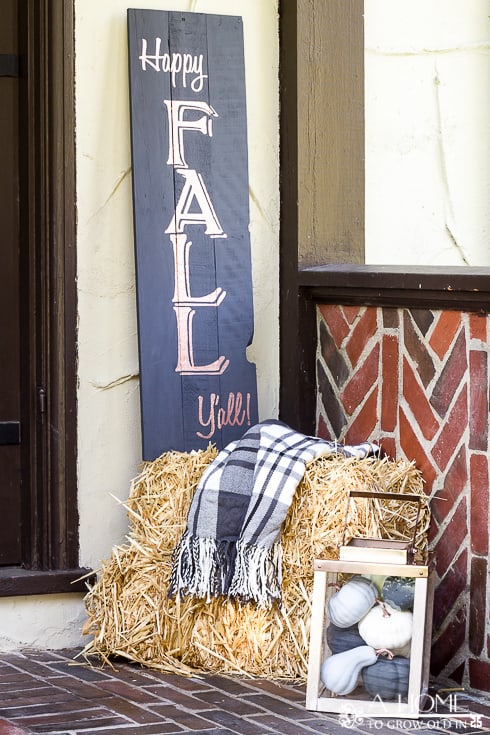
I hope you enjoyed checking out our Fall Home Tour last week. One of my favorite new fall items is this “Happy Fall Y’all” DIY pallet sign I made for our front porch. I don’t have a lot of rustic decor, so although I’ve made other types of signs, and I’ve stenciled countless items, this is my first time to put together a pallet sign. I’m over the moon on how this turned out, but it was a little more challenging than I expected. I think my expectations were like this…you get a free pallet, easily take it apart, assembly the sign with your perfect pieces of pallet wood, paint and stencil it, and you’re done with your beautiful sign that took you no time at all. I would make it again in a heartbeat, but it didn’t go quite that easily, and I thought I’d share my experience with you so you know what to expect when you make yours for the first time.
This post contains some affiliate links for your convenience. Click here to read my full disclosure policy.
Taking Apart A Pallet Is Not Easy
Wow! Taking apart a pallet is not easy. Luckily, I had 2 pallets, because I broke about half of the wood trying to get it off. I watched several videos that used a hammer and small pry bar to remove the wood, and that’s how I broke most of my wood. In the technique’s defense, I found my pallets outside, and I have no idea how long they were out there, so maybe my wood was in worse condition than most. Finally, I came across the following video, and I started taking off some boards that didn’t break. I won’t say it’s a perfect method, but it definitely gave me the most success, and I was able to quickly remove the boards.
Don’t expect Your Wood To Be The Same Width or Thickness or Length
Once I got my boards apart, I started to put together my DIY pallet sign. I very quickly realized that the boards vary quite a bit between how long, wide, or thick they are. Length wasn’t too much of a problem. I just used our miter saw to cut them to the same length. Thickness I could somewhat ignore, but the width made it a little more challenging. The problem was that the width was different from one end of the same board to the other. This would make the board either crooked when placed next to another board or leave a larger gap between the boards in some areas. These are the kinds of things that add to the rustic charm of a pallet sign, but you’ll want to play around with your board placement to find the best fit for the boards.
Don’t Expect The Wood To Look Pretty
Pallet wood is dirty. Most of them have been outside and may have bugs. That is definitely something to think about if you plan to bring your sign inside. I am just keeping my sign outside on my porch, so I just sanded it down, but if I were planning to bring it inside, I may have scrubbed it down with a bleach solution first.
Work in Sections
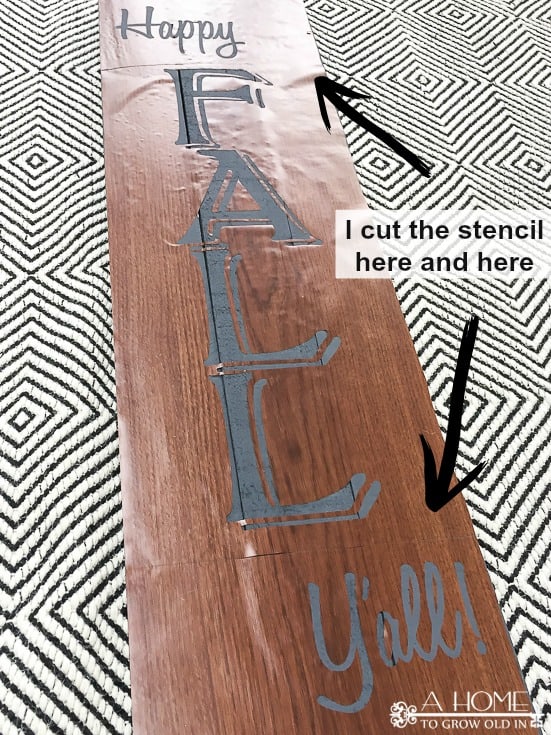
My pallet sign was 36″ long, and I’m not used to stenciling such a big area. I cut my stencil out of vinyl (or you can use stencil film) with my Silhouette Cameo. I found it difficult to get that long of a piece of vinyl straight, so I cut my vinyl in 3 sections to make it a little easier to work with. I matched each of the sections as I applied them to the board.
Expect Bleed on Your DIY Pallet Sign
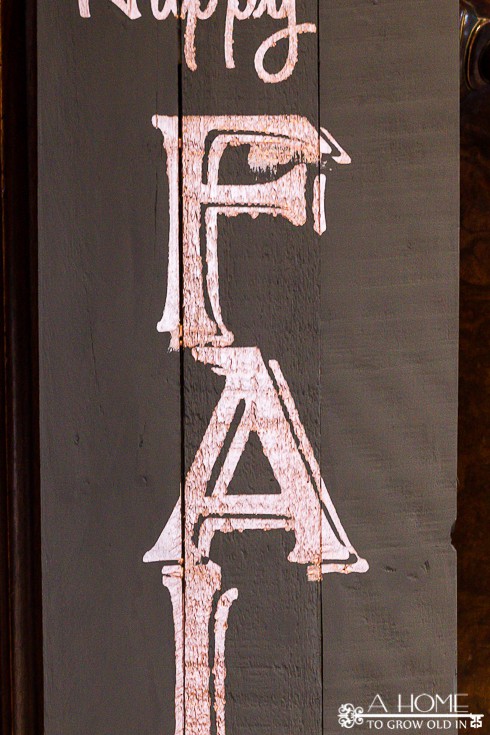
I usually go around the edges of a stencil with a thin layer of ModPodge to seal it and prevent paint from seeping in. I decided not to do that with this sign because of how large it was. I thought that it would take more time to apply the ModPodge than it would be to touch up the areas that bled through. My project was fairly easy because I was stenciling paint on top of painted boards. If I had stained the boards, I probably would go ahead with the ModPodge because there was quite a bit of seeping. You can see below that some areas of the boards are really rough, and allowed a lot of paint to get under the stencil leaving big spots and making the lines not crisp. The nice thing about working with this large of an area is that it’s a lot easier to touch up than smaller stenciled projects. There’s lots of room in between the letters to get in with a small paint brush.
Take a look at how it turned out! I painted the boards with Decoart’s Chalky Relic, and the letter’s in Decoart’s Rose Gold. The sign went quickly once I was able to remove the boards from the pallet. Now, I have extra pallet wood leftover, so I’m trying to figure out what to make next. What kind of DIY pallet sign are you making?
Looking for fall home decor? Check out these posts:


Love this, I don’t have a vinyl cutting machine and use the old fashion method of stenciling/transfer. But I have had to get over my OCD with the letters being perfect and realizing that is what makes these special. they are NOT perfect. Thanks for sharing.
I have the same OCD problem Kathleen, so I totally feel your pain! I recently stenciled our bathroom floor and kept trying to touch up the imperfections. I finally had to remind myself that they are hand painted floors and the imperfections are part of the beauty of it! Good luck on your future projects, and have a great New Year!
Kathleen, if you have a computer & printer you can go to Avery.com, make up your wording for a sign, then print it on a plastic sheet protector. I trim off the hole punch strip first &
put the closed end in first. Be careful picking up so as not to smear ink. Carefully lay ink side down on prepared wood. Slowly press the ink with gentle pressure. Lift the plastic & you can go over the wording with your paint pens. Good luck.
Pallet wood can definitely be a challenge to work with, but the end result was worth some of the headache – looks great!