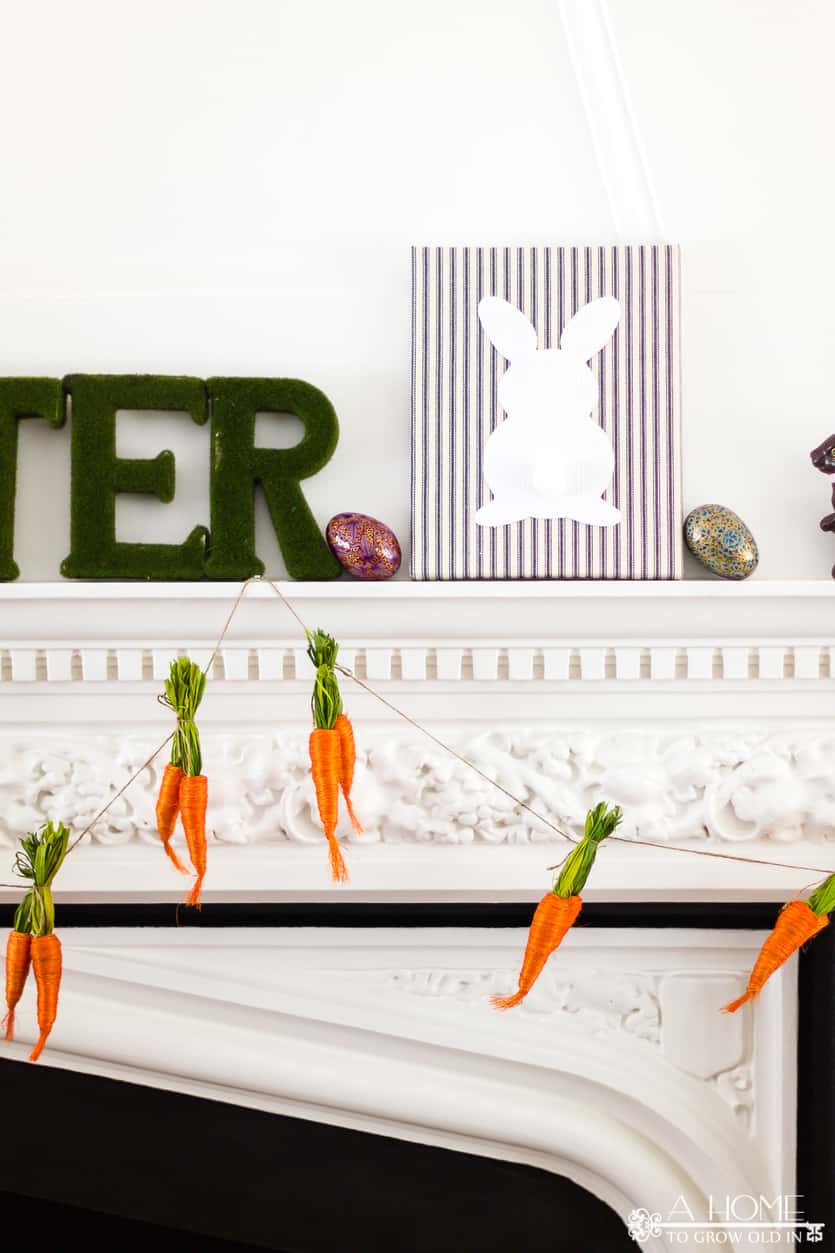
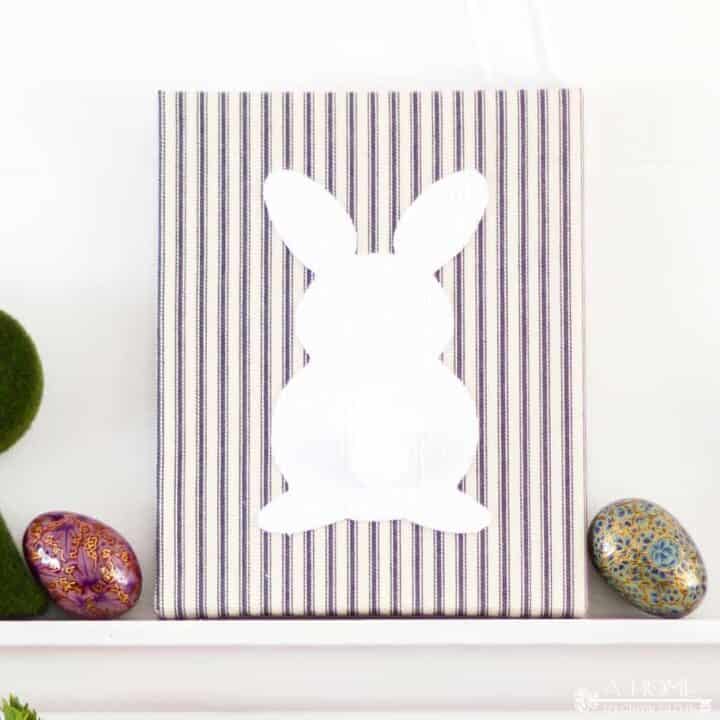
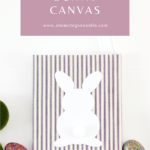
This easy DIY fabric wrapped bunny canvas is the perfect spring or Easter decor addition for your fireplace, living room, or entryway table. Customize the fabric to any home decor style whether it’s modern or farmhouse!
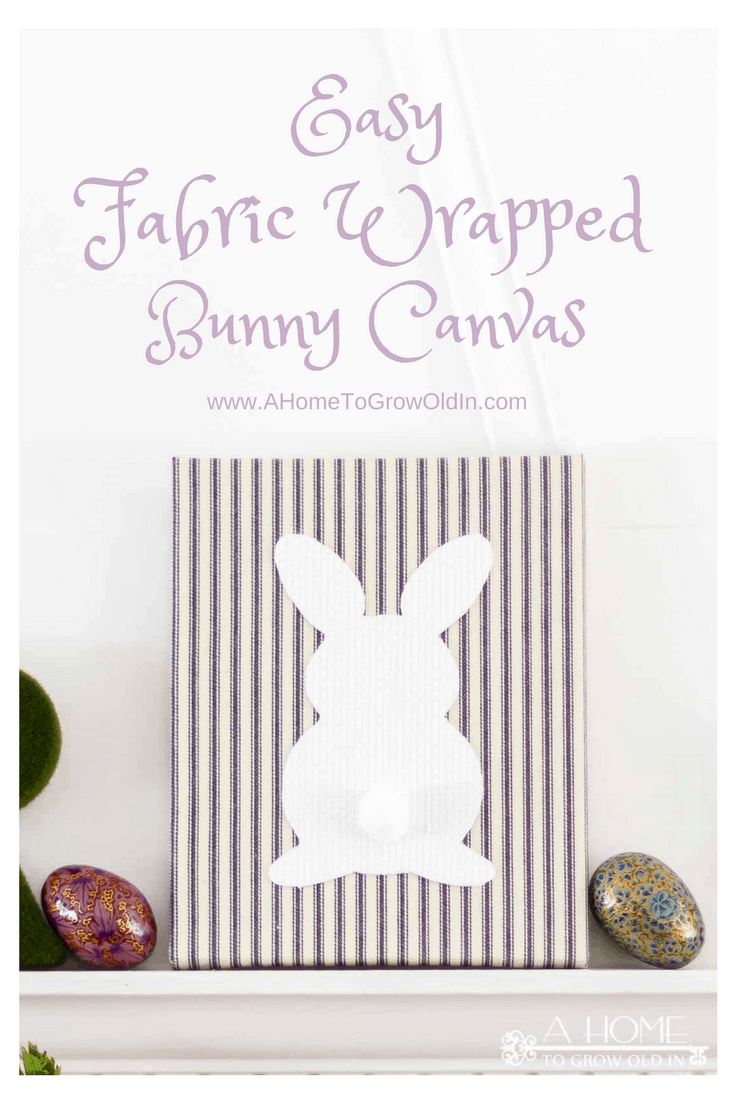
I don’t know about you, but I start getting restless during the final weeks of winter leading up to spring. It’s still a bit chilly outside, and I’m so over winter and ready for longer days and beautiful spring colors. My house always seems so bare after the Christmas decorations come down, and now I’m ready for some spring decor to spruce things up.
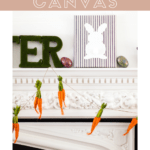
Even though I use a lot of the same seasonal decorations each year, I love to make a few new things to change things up a bit by making my own decorations like this floral door hanger. Recently, I made this cute little fabric wrapped bunny canvas to decorate my fireplace, and it’s just perfect for both spring and Easter home decor. I love how it looks on my mantel, but it would also look lovely on an entryway table or even the kitchen countertop!
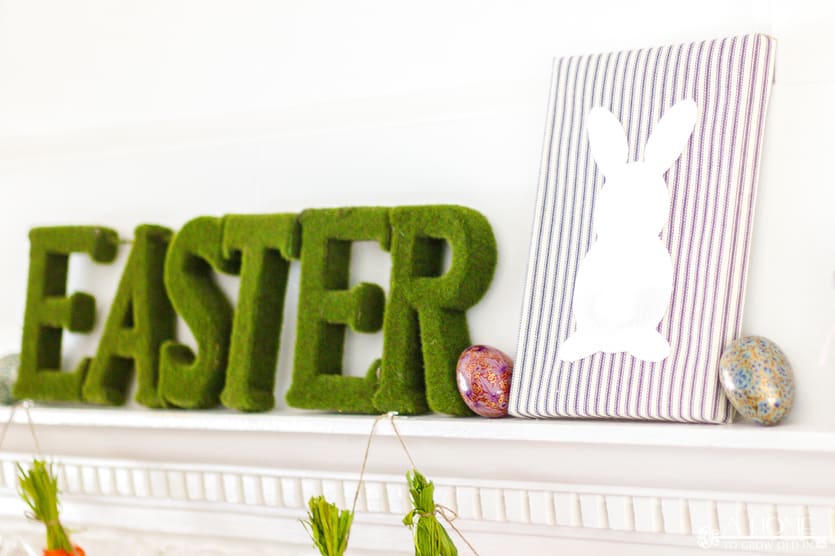
HOW TO MAKE A FABRIC WRAPPED BUNNY CANVAS
This canvas is so easy to make without using any special tools. Of course, if you have a Cricut or Silhouette cutting machine you’re more than welcome to use it, but you really don’t need to!
What you need:
This post contains some affiliate links for your convenience (which means if you make a purchase after clicking a link I will earn a small commission but it won’t cost you a penny more)! Click here to read our full disclosure policy.
Helpful Tools:
- Cutting mat
- Fabric scissors or Cricut or other cutting machine
Supplies Needed:
- 2 different kinds of fabric (1/3 of a yard is plenty for the fabric you will use on the canvas)
- 8 x 10″ canvas
- fabric glue
- cardstock
- spray adhesive
- pom pom
Instructions:
We’ve broken this out into two parts before putting it all together. Don’t worry, you’ll have this beautiful fabric wrapped bunny canvas made in no time at all.
Make the bunny
1. Download the template or cut file.
Download the PDF or SVG file for the bunny template from the resource library.
These Printables and/or SVG designs are exclusive for A Home To Grow Old In subscribers to download for FREE. Just sign-up below and you’ll receive an email with the information to access the resource library that contains the SVG.
Once you’ve confirmed your email address, you’ll be enrolled in our weekly newsletter full of our latest posts as well as content that is exclusive for A Home To Grow Old In subscribers. Plus, you’ll have access to our Resource Library that is full of free printables and SVG cut files.
Free printables and SVG files from A Home To Grow Old In are for your own PERSONAL USE ONLY.
2. Print out the template.
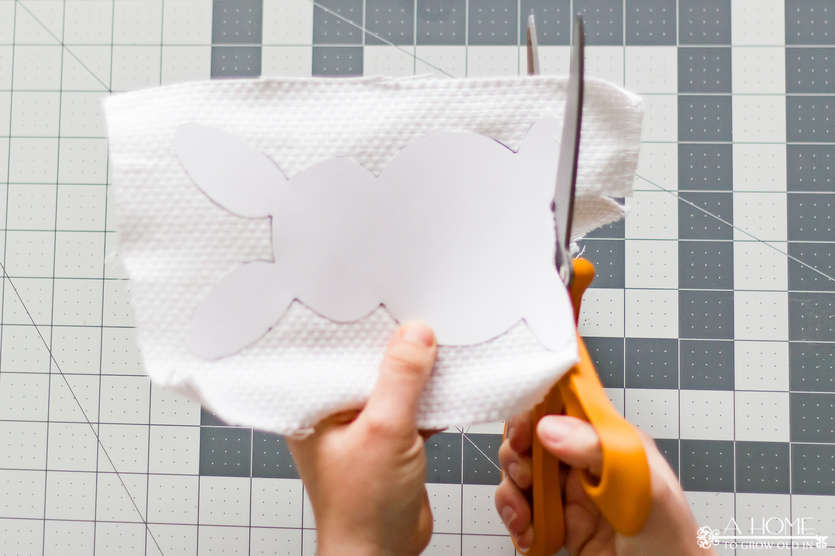
Print and cut out the bunny template on cardstock. It’s a very simple design and cuts beautifully with just fabric scissors.
3. Cut out the bunny from fabric.
Now is a good time to iron out any wrinkles in either piece of fabric.
Spray one side of the cardstock bunny template with the spray adhesive. Position the template on the backside of the fabric you wish to use for the bunny and press it down. Allow the adhesive to dry for a couple of minutes.
Cut the excess fabric away from the template. If you notice any fabric fraying, you can trim the strings off and apply a small amount of fabric glue to the edges of the fabric with a toothpick. The fabric glue dries clear, but it has a bit of a sheen to it so you want to be as careful as possible not to get any on the front of the bunny.
How to make the fabric wrapped canvas
1. Cut the fabric to fit the canvas.
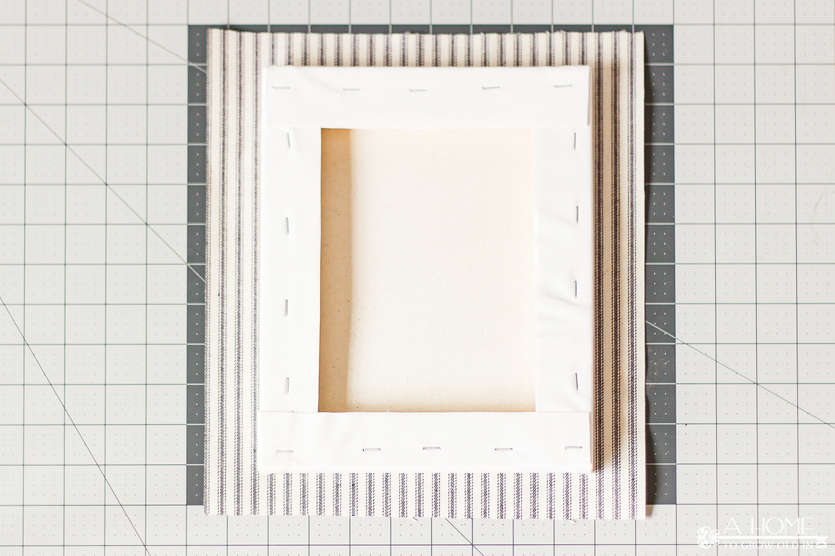
Cut the fabric so that there is enough material to evenly wrap around the back of the canvas.
2. Position the fabric on the canvas.
Apply spray adhesive to the back of the fabric to help hold it in place while you wrap it around the canvas. Make sure to position the fabric on the canvas paying attention to any pattern there may be on the fabric.
3. Wrap and secure the fabric to the back of the canvas.
Begin wrapping the fabric around the canvas by cutting a small notch (looks like a tab) in the corner of the fabric to make it easier to fold. Begin with the long edge first and secure it with a small amount of fabric glue. Run a line of fabric glue along the back of the long side of the canvas to secure any excess fabric.
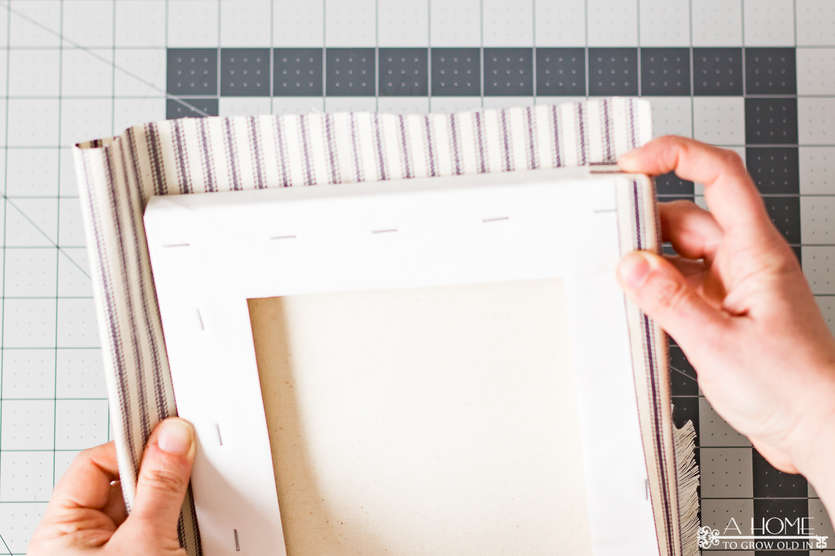
Then, wrap the shorter sides over and secure the edges with more fabric glue.
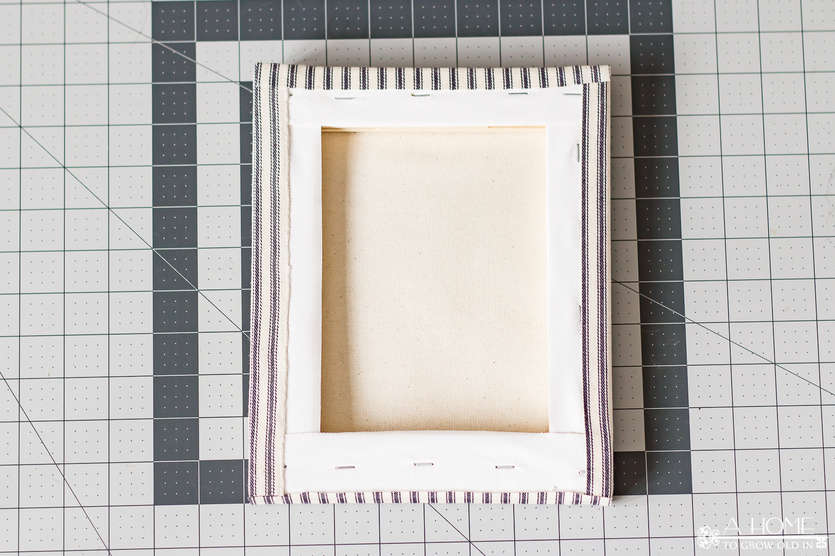
4. Adhere the bunny to the canvas.
Apply a small amount of fabric glue to the back (cardstock side) of the bunny. Glue to bunny to the center of the canvas. For a finishing touch, add a small amount of glue to a pompom and position it on the bunny as a tail.
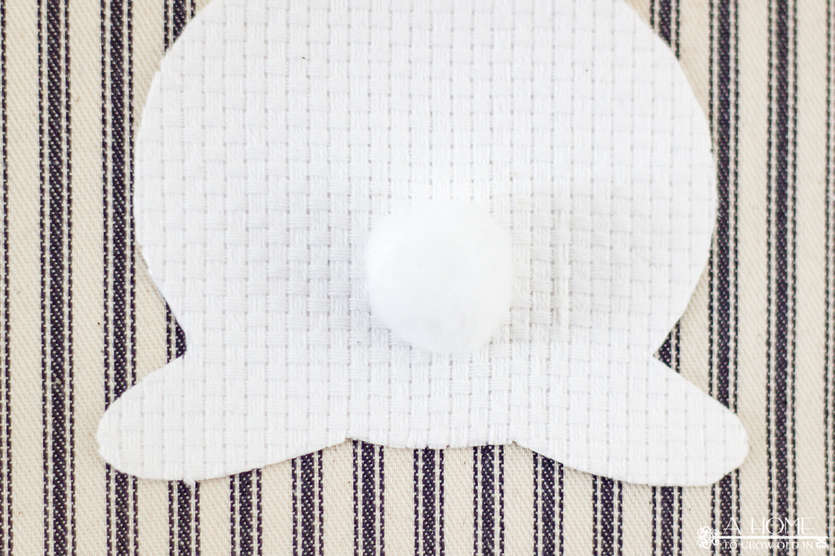
That’s all there is to it. I’m pretty smitten with this little guy! Depending on the fabric you use, it could easily make this spring art to go with any style of home decor whether you prefer traditional, modern, or farmhouse.
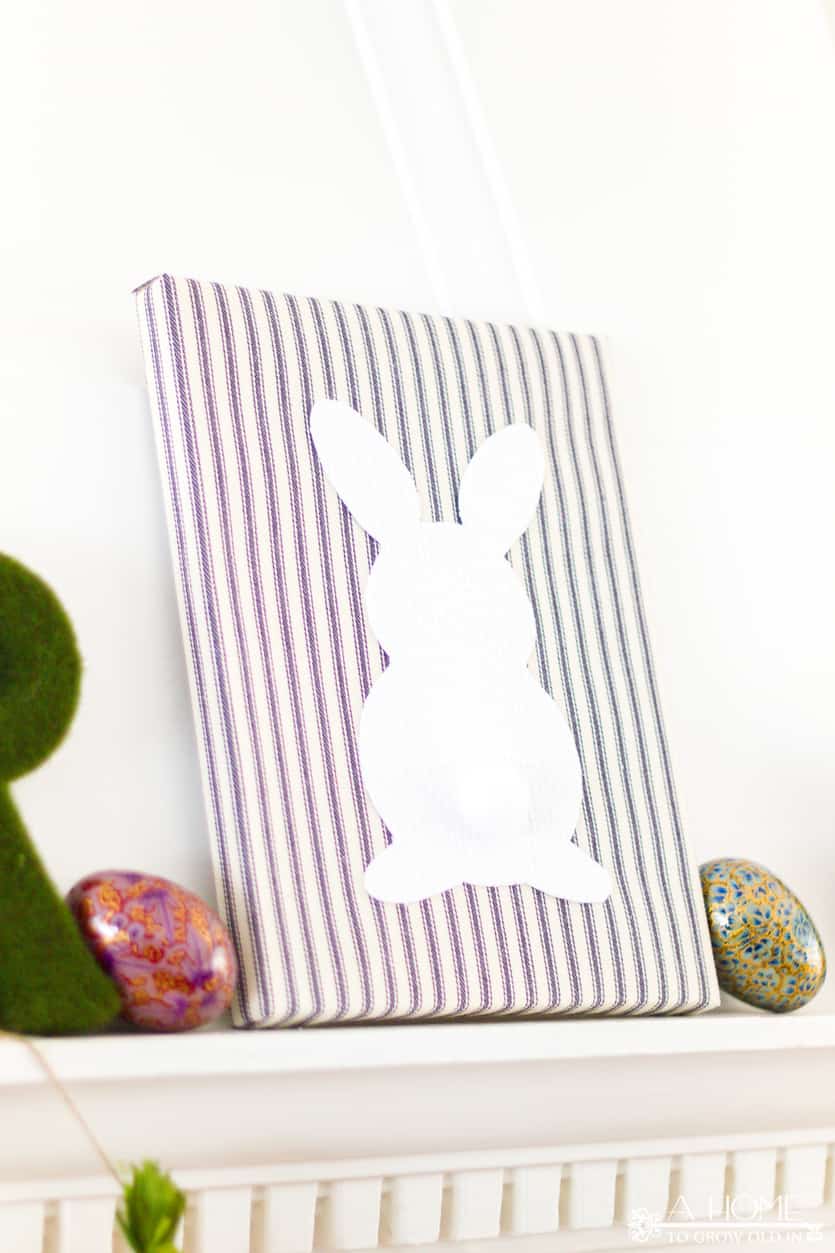
Don’t you just love some easy DIY spring decor? Making this fabric wrapped canvas bunny was just what I needed to help beat the winter blues. Are you ready to start decorating your home for spring and Easter?
How do you cut fabric with your Cricut?
I have experience cutting fabric with my Cricut Maker. However, the Cricut Explore Air 2 also cuts fabric. If you have never cut fabric with your Cricut machine before, it is really easy. It is just like cutting vinyl. Upload the bunny SVG file into Cricut Design Space and adjust it to the size you would like. You need a Fabric Grip Mat and make sure you use the rotary blade to cut the fabric. Place the fabric on the mat and load it into the machine. Then you cut it, it is that simple. You may find that it is easier than freehand cutting the design, as the Cricut cuts it precisely.
What’s next?
Looking for more spring ideas?
Fabric Wrapped Bunny Canvas
Materials
- 2 different kinds of fabric
- 8x10" canvas
- fabric glue
- cardstock
- spray adhesive
- pom pom
Tools
- cutting mat
- Fabric scissors or Cricut or another cutting machine
Instructions
Make the Bunny
- Download the template or cut file.
- Print out the template on cardstock.
- Cut the bunny from fabric.
Make the Fabric Wrapped Canvas
- Cut the fabric to fit the canvas.
- Position the fabric on the canvas.
- Wrap and secure the fabric to the back of the canvas.
- Adhere the bunny to the canvas.


Leave a Reply