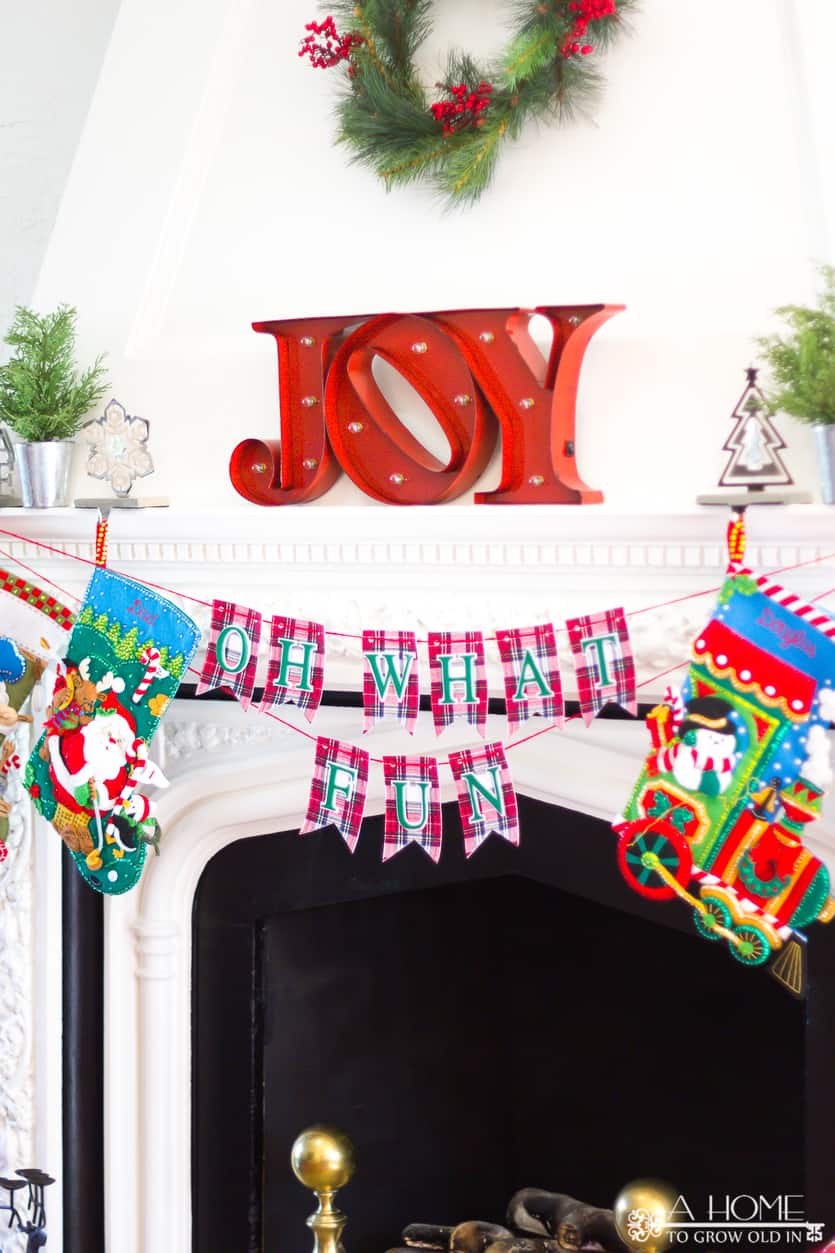
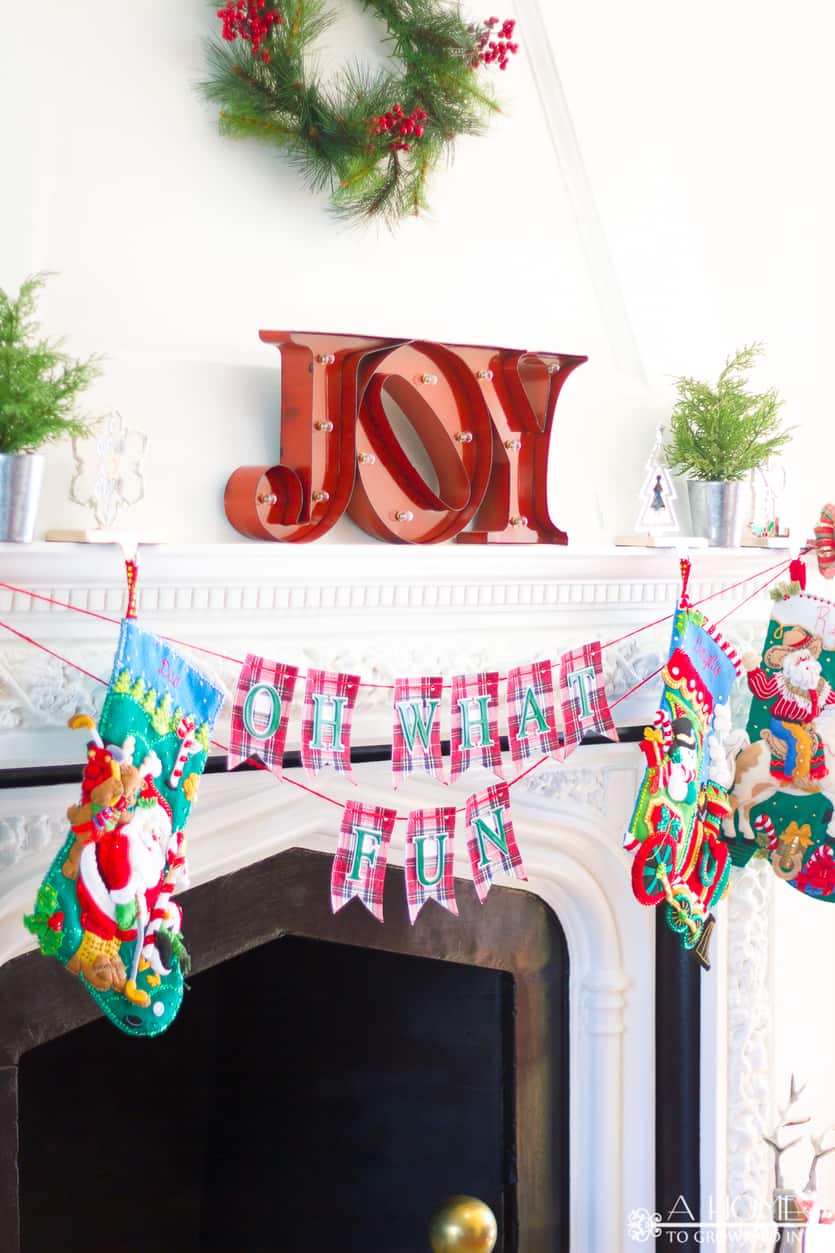
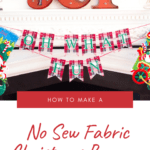
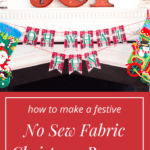
Add a little holiday spirit with this easy festive DIY fabric Christmas Banner or Bunting! It’s the perfect Christmas decoration for the fireplace mantle.

We are big fans of easy DIY home decor projects around here, especially seasonal decor! I also love decorating with fabric accents because it adds some texture to my decor, but I’m not big into sewing. I’ve come up with a few ways around sewing with these No Sew Placemats and these Easy Flannel Coasters, and today I thought I’d share this easy way on how to make a Christmas bunting without having to break out the sewing machine.
Our fireplace is one of my favorite features of our home, and I love to highlight it. It’s original to our home, which is over 90 years old, but it’s not easy to decorate because the mantle is so narrow. So, because if that, I am always looking for decor items that don’t have a lot of width. Hanging a Christmas bunting is a perfect way to decorate it!
HOW DO YOU MAKE AN EASY NO-SEW CHRISTMAS BANNER
This is an easy DIY Christmas decoration that uses tools you probably already have at home.
WHAT YOU NEED:
This post contains some affiliate links for your convenience (which means if you make a purchase after clicking a link I will earn a small commission but it won’t cost you a penny more)! Click here to read our full disclosure policy.
CRAFT TOOLS NEEDED:
SUPPLIES NEEDED:
- Fabric (similar)
- Felt
- Foam Sheet
- Spray Adhesive
- Spray Paint
- Cardstock
- Craft Glue
- Ribbon or Twine
- Fray Check
INSTRUCTIONS:
1. Make a Template for the Banner Pieces
To start, use a piece of cardstock to print and cut a template for the banner pieces.
2. Apply Felt to the Back of the Fabric.
Use a piece of fabric and felt that is large enough to fit all of the banner pieces. The felt helps give the banner some structure so that the pieces don’t curl up easily.
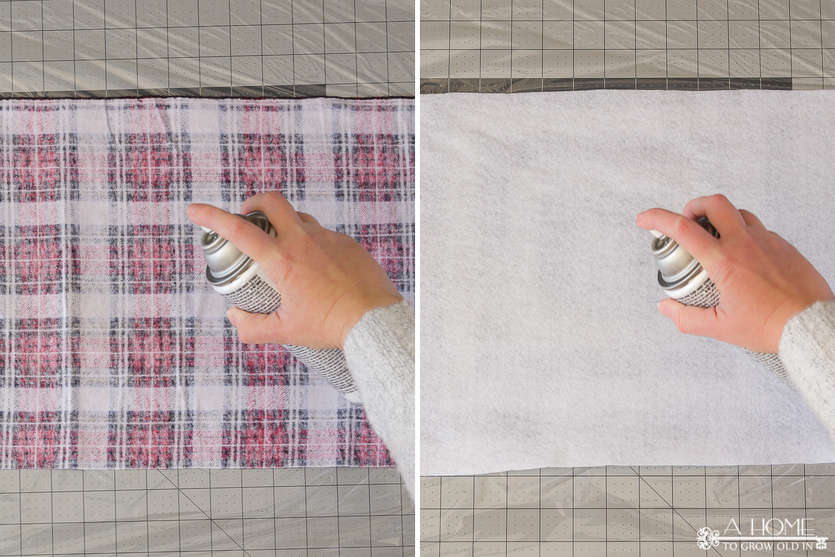
Because this is a no sew Christmas banner, I applied an even coat of spray adhesive on the backside of the fabric and top side of the felt to adhere the two materials.
Make sure to cover your surfaces so that you don’t get overspray on anything and that you are in a well-ventilated area.
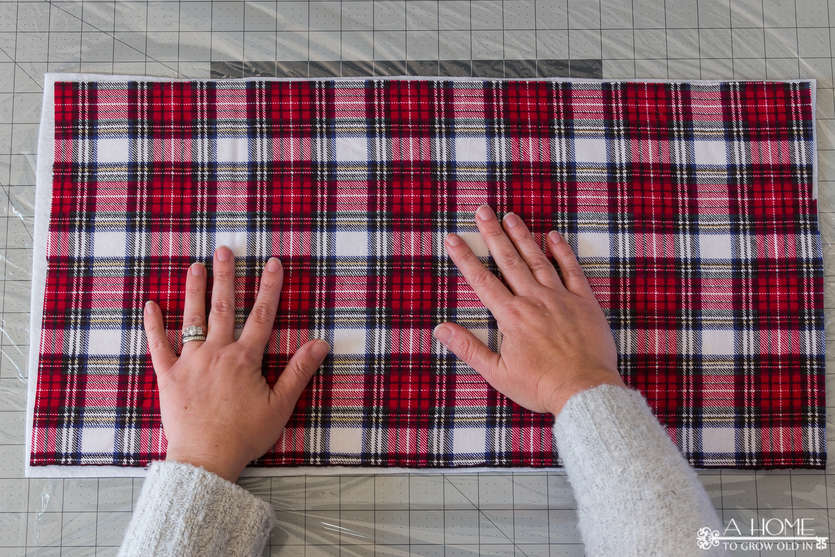
Sandwich the fabric and felt together and smooth out any wrinkles with your hands.
3. Cut out the Christmas Banner Pieces
Use the template you cut out of cardstock to trace the banner pieces onto the fabric. If your fabric has a pattern, make sure to pay attention to where you place the template before you start tracing.
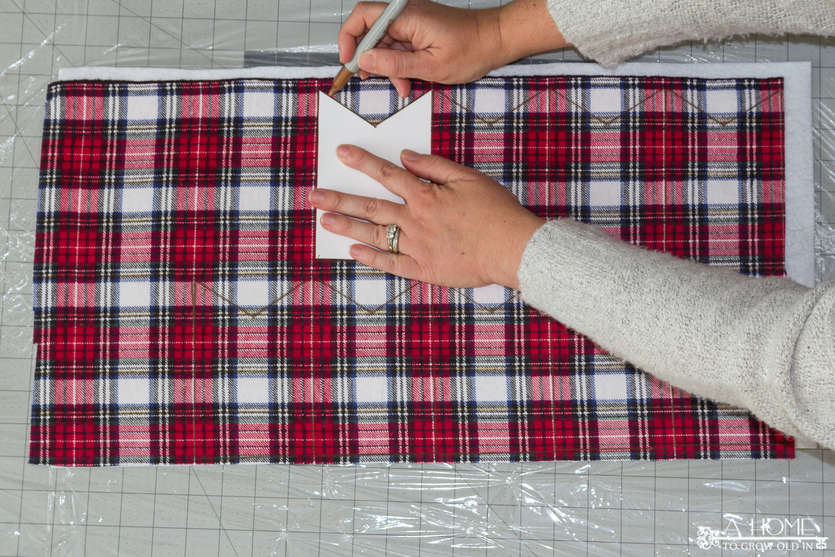
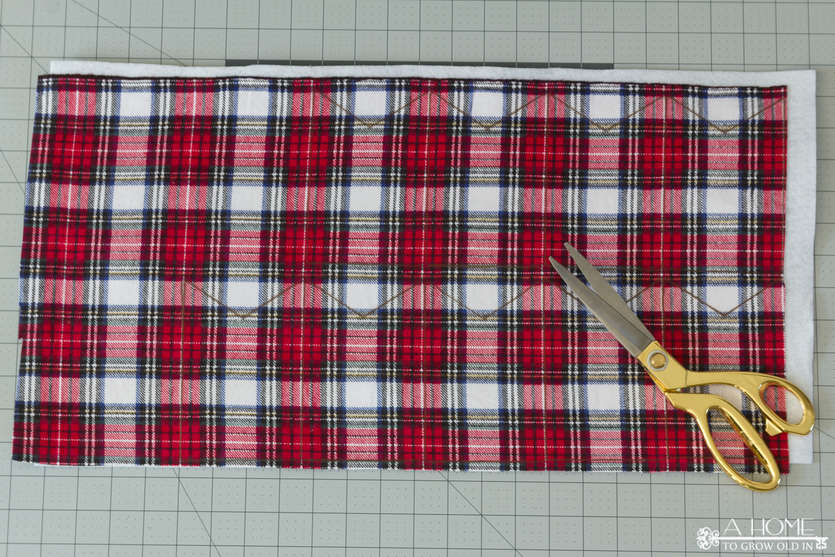
Once all your bunting pieces are traced, cut them out with scissors. The nice thing about using flannel is that you don’t have to worry about fraying, however, if you use a different type of fabric you may want to use Fray Check on the ends to keep them from unraveling.
4. Make Letters for your Christmas Bunting
Now it’s time to start working on your letters. You can definitely use wood letters, but I could not find the right size for the banner so I decided to create my own with foam.
I simply used a word processor to print out a bold font. I used the words “Oh What Fun”, but you can use any phrase you’d like. Print out your letters on cardstock and cut out each individual letter to make a template.
Then use your letter templates to trace onto the foam and cut them out.

5. Give the Letters Some Color
Once you’ve cut out your letters you can spray paint your foam letters if desired. You can purchase colored foam, but you get a beautiful glossy finish with a little spray paint. It gives the letters the look of painted wood, and you can’t tell the letters are made out of foam. I found it best to apply a couple of coats of paint about 30 minutes apart.
6. Make The Letters Stand Out on Your Christmas Banner
To help the letters stand out a little better on the busy plaid flannel fabric, I decided to add a felt layer. You may not need to do this depending on the fabric you’re using, but I love the layered effect.
Trace your foam letters onto a piece of felt, but give them a slightly larger margin. Then, cut out these bigger letters.
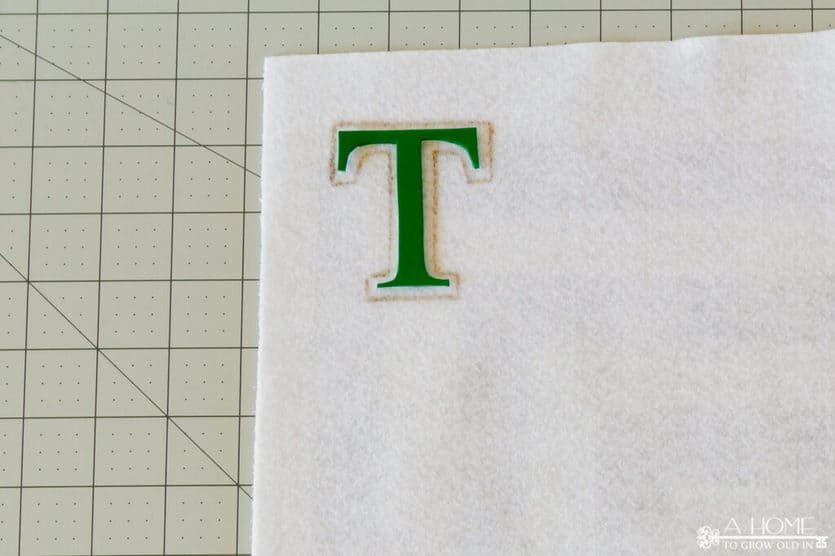
7. Apply the Letters to the Bunting Pieces
Now it’s time to start putting everything together. Glue the felt letters onto the bunting pieces, and top it by gluing the foam letters on last.
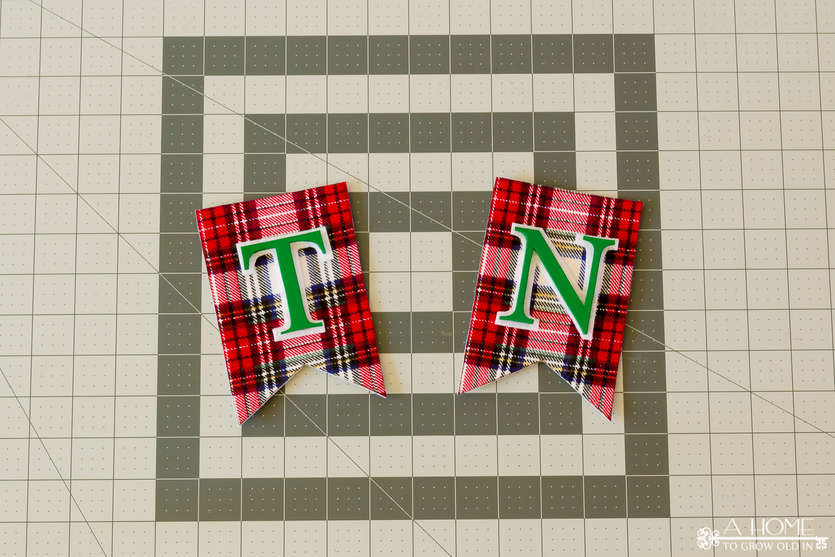
8. Hang your Christmas Banner with String or Twine
You’re almost done! Punch holes into the top of the bunting pieces and use string or twine to hang up your banner.
Once you’ve confirmed your email address, you will receive our weekly newsletter full of our latest posts, as well as content that is exclusive for A Home To Grow Old In subscribers. Plus, you’ll have access to our Resource Library that is full of FREE printables and SVG cut files.
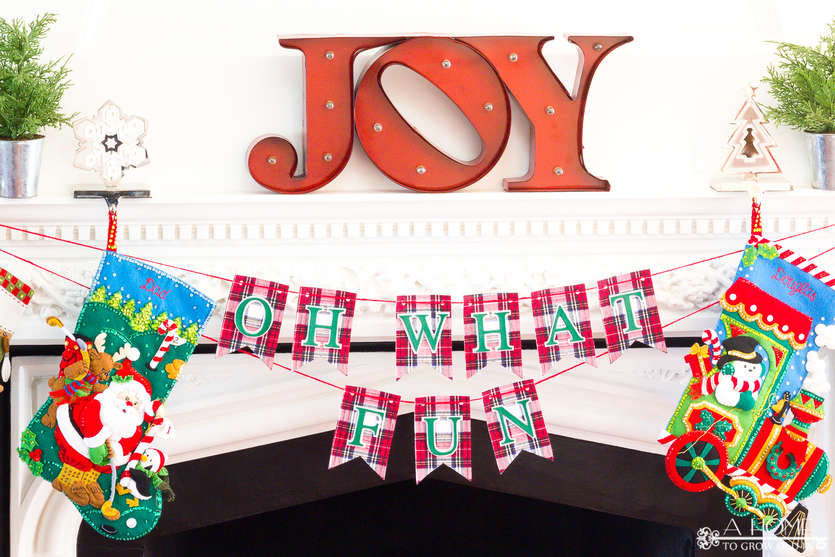
How Else Can I Use This Christmas Banner?
I’ve had this Christmas bunting for a few years now, and it’s held up really well. Because I like to change up my Christmas decorations a bit every year I’ve used it in several places. When I decorated for Christmas another year, I draped it over a mirror in my entryway. I’ve also hung it over my stove to bring a little holiday cheer to the kitchen. It’s a versatile decoration that you can layer over other pieces.
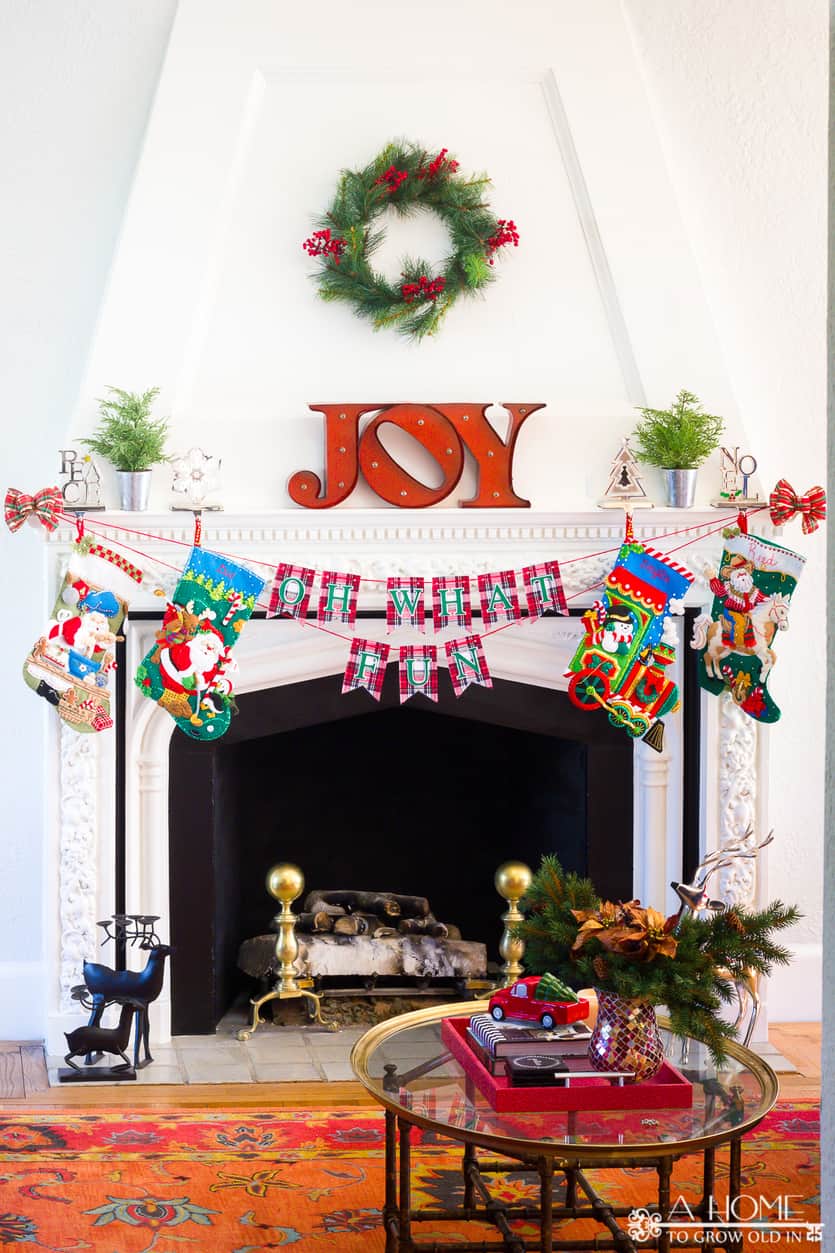
What Other Phrases Can I Use on My Christmas Banner?
I chose to use “Oh What Fun” on my banner, but maybe that’s not your jam. There are so many sayings you could use for the Christmas holidays. My only suggestion would be to keep it short by using 3 words or less. If you’re stumped, here are a few other Christmas sayings I was considering.
- Believe
- All Is Calm
- Merry and Bright
- Merry Christmas Y’all
- Let It Snow
- Ho Ho Ho
How Can I Make A Bunting for Other Seasons?
It’s simple to take this template and make a banner for other seasons. Just use fabric with the colors of the season you are creating for. Pastels work great for spring, earth tones look fantastic in the fall, and of course, red, white, and blue is perfect for summer. I shared a list of favorite fabrics for different seasons when I created these DIY Flannel Coasters.
Here are a few cute phrases you can use on your bunting for various seasons:
- It’s Fall, Y’all
- Give Thanks
- Sweater Weather
- Hello Spring
- Love Grows Here
- Summer Lovin’
- Walking On Sunshine
- Stars and Stripes
So, what do you think about no sew projects? Yay or nay? They are my favorite way to get projects done with fabric quickly, but I know many of you really enjoy sewing. Check out this tutorial on how to make a Christmas bunting if you’d prefer to try your hand at sewing one.
Shop the Look!
Interested in some of the other decorations used to decorate our fireplace? Here are some similar items.
What’s Next?
You may also enjoy these Easy DIY Ideas on A Home To Grow Old In:
- Easy Dog Toy Box
- How to Make a Decorative Storage Box
- How to Age Galvanized Metal to Make Herb Planters

How To Create a Christmas Bunting
Add a little holiday spirit with this easy festive DIY fabric Christmas Banner or Bunting! It's the perfect Christmas decoration for the fireplace mantle.
Materials
- Cardstock
- Fabric
- Felt
- Foam Sheet
- Spray Adhesive
- Spray Paint
- Craft Glue
- Ribbon or Twine
- Fray Check
Tools
- Scissors
- Pen
- Hole Punch
Instructions
- Make a Template for the Banner Pieces
- Apply Felt to the Back of the Fabric with Spray Adhesive
- Cut out the Banner Pieces using the Template
- Make Letters for your Holiday Bunting
- Give the Letters Some Color
- Make Your Letters Stand Out
- Apply the Letters to the Bunting Pieces with Craft Glue
- Hang your Banner with String or Twine


Leave a Reply